How to Bake Perfect Muffins: A Beginner's Guide

Baking muffins from scratch is a rewarding experience. The aroma of warm, sweet batter transforming into golden, fluffy treats is a simple pleasure. This guide is designed to walk you through the process, ensuring consistently delicious muffins every time. We'll focus on the science behind the ingredients and techniques, giving you the knowledge to troubleshoot and customize your recipes.
Muffins offer a delightful balance of textures and flavors. The slightly crisp exterior gives way to a tender, moist interior, making them perfect for breakfast, snacks, or even dessert. The versatility of muffins allows for endless customization – from adding berries and nuts to experimenting with different spices and extracts.
Understanding Flour for Muffins
The type of flour you use significantly impacts the texture of your muffins. All-purpose flour is a good starting point, providing a balance of gluten development for structure and tenderness. However, experimenting with other flours can yield interesting results.
- All-Purpose Flour: The standard choice. Provides good structure and a tender crumb. Bleached all-purpose flour will create a slightly more tender muffin.
- Cake Flour: Contains less protein than all-purpose flour, resulting in a very tender, delicate crumb. Use in combination with all-purpose flour for best results.
- Whole Wheat Flour: Adds a nutty flavor and a slightly denser texture. Substitute up to half of the all-purpose flour with whole wheat flour.
- Gluten-Free Flour Blends: Ensure the blend contains xanthan gum or another binding agent to mimic gluten's structure.
Why Bake Muffins This Way?
- Versatility: Muffins can be sweet or savory, incorporating a wide range of ingredients.
- Flavor: Freshly baked muffins offer superior flavor compared to store-bought options, allowing you to control the sweetness and ingredients.
- Convenience: Muffins are portable and can be made ahead of time, making them ideal for busy mornings or on-the-go snacks.
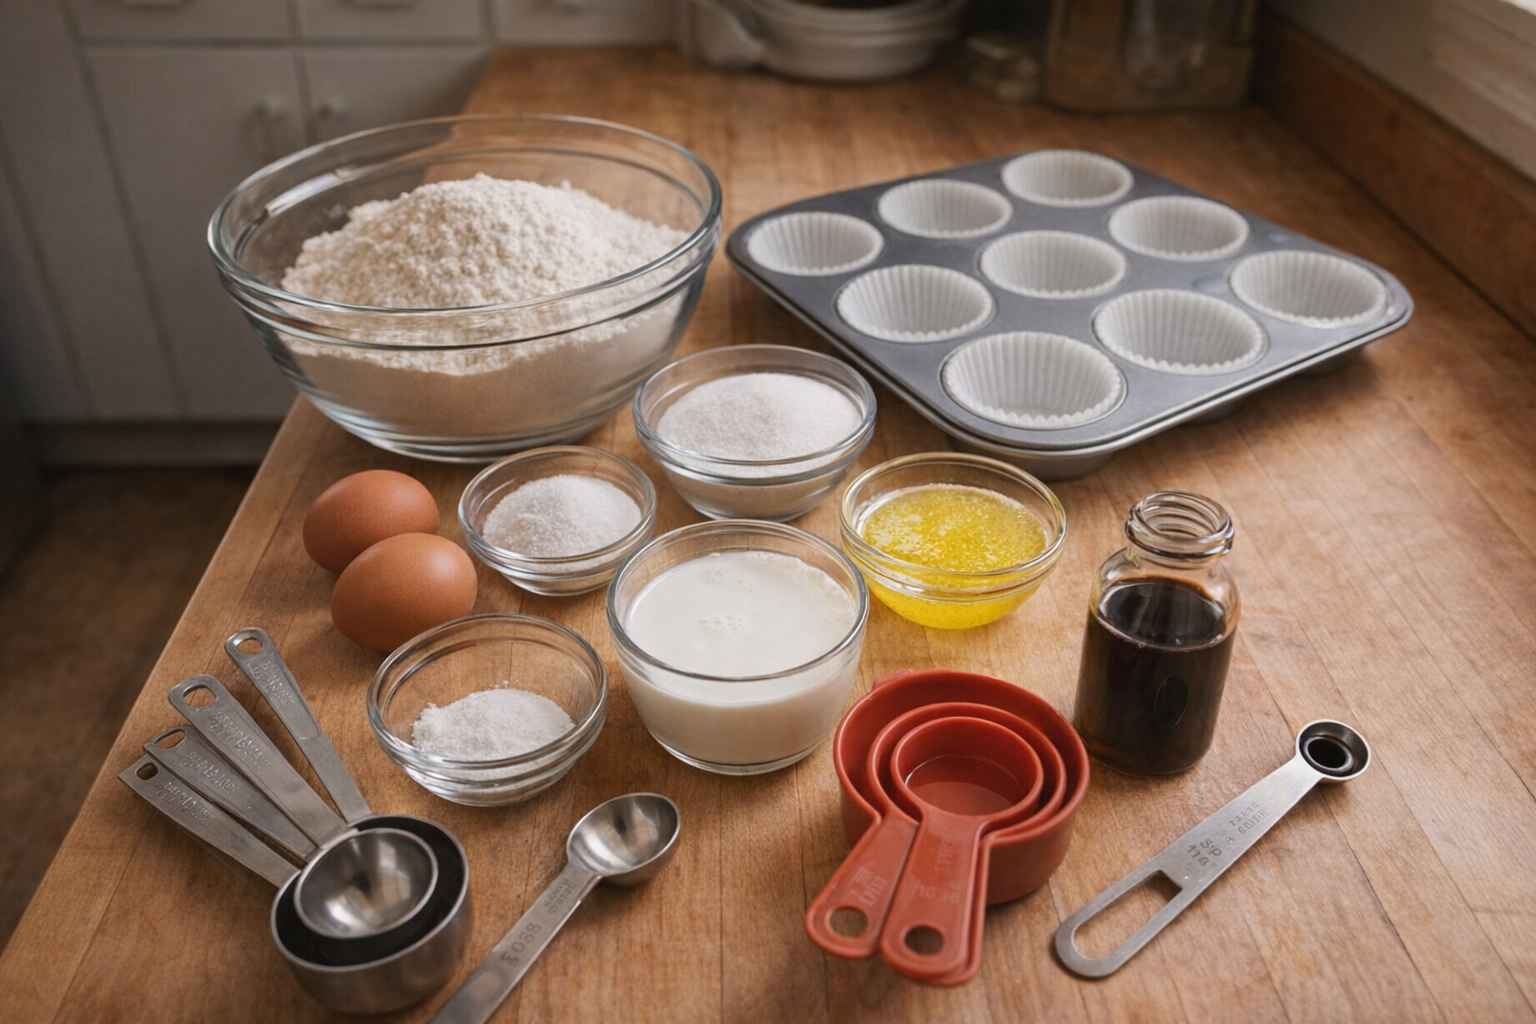
Preparation (Mise en Place)
Before you start mixing, it's crucial to gather and prepare all your ingredients. This process, known as "mise en place," ensures a smooth and efficient baking experience.
- Preheat the Oven: Preheat your oven to 375°F (190°C). Accurate oven temperature is essential for proper rising and even baking. Use an oven thermometer to verify.
- Prepare the Muffin Tin: Line a 12-cup muffin tin with paper liners or grease it thoroughly with cooking spray. Paper liners make removing the muffins easier and prevent sticking.
- Measure Ingredients: Measure all ingredients accurately using measuring cups and spoons. Baking is a science, and precise measurements are crucial for success.
- Bring Eggs to Room Temperature: Room temperature eggs emulsify better and create a smoother batter. Submerge cold eggs in warm water for 5-10 minutes to quickly bring them to room temperature.
- Melt and Cool Butter (if using): Melt butter in a microwave or saucepan. Allow it to cool slightly before adding it to the batter to prevent cooking the eggs.
Essential Tools
- Mixing Bowls (2): One for dry ingredients and one for wet ingredients.
- Whisk: For combining dry ingredients.
- Rubber Spatula: For gently folding wet and dry ingredients together.
- Measuring Cups and Spoons: For accurate measurements.
- Muffin Tin (12-cup): For baking the muffins.
- Paper Liners or Cooking Spray: To prevent sticking.
- Ice Cream Scoop or Portioning Spoon: Ensures consistent muffin size.
The Cooking Method(s)
We'll explore the classic muffin baking method with variations for maximizing flavor and texture.
H2 Classic Muffin Method
This method involves combining dry and wet ingredients separately before gently folding them together. It's a reliable technique for achieving a tender crumb.
Ingredients:
- 2 cups (250g) all-purpose flour
- 3 teaspoons (12g) baking powder
- ½ teaspoon (3g) salt
- ¾ cup (150g) granulated sugar
- 1 large egg, lightly beaten
- 1 cup (240ml) milk
- ¼ cup (60ml) vegetable oil or melted butter
- 1 teaspoon (5ml) vanilla extract (optional)
- Combine Dry Ingredients: In a large bowl, whisk together the flour, baking powder, and salt. Ensure the baking powder is evenly distributed.
- Combine Wet Ingredients: In a separate bowl, whisk together the egg, milk, oil (or melted butter), and vanilla extract (if using).
- Create a Well: Make a well in the center of the dry ingredients and pour in the wet ingredients.
- Gently Fold: Use a rubber spatula to gently fold the wet and dry ingredients together until just combined. Do not overmix! A few streaks of flour are okay. Overmixing develops gluten and results in tough muffins.
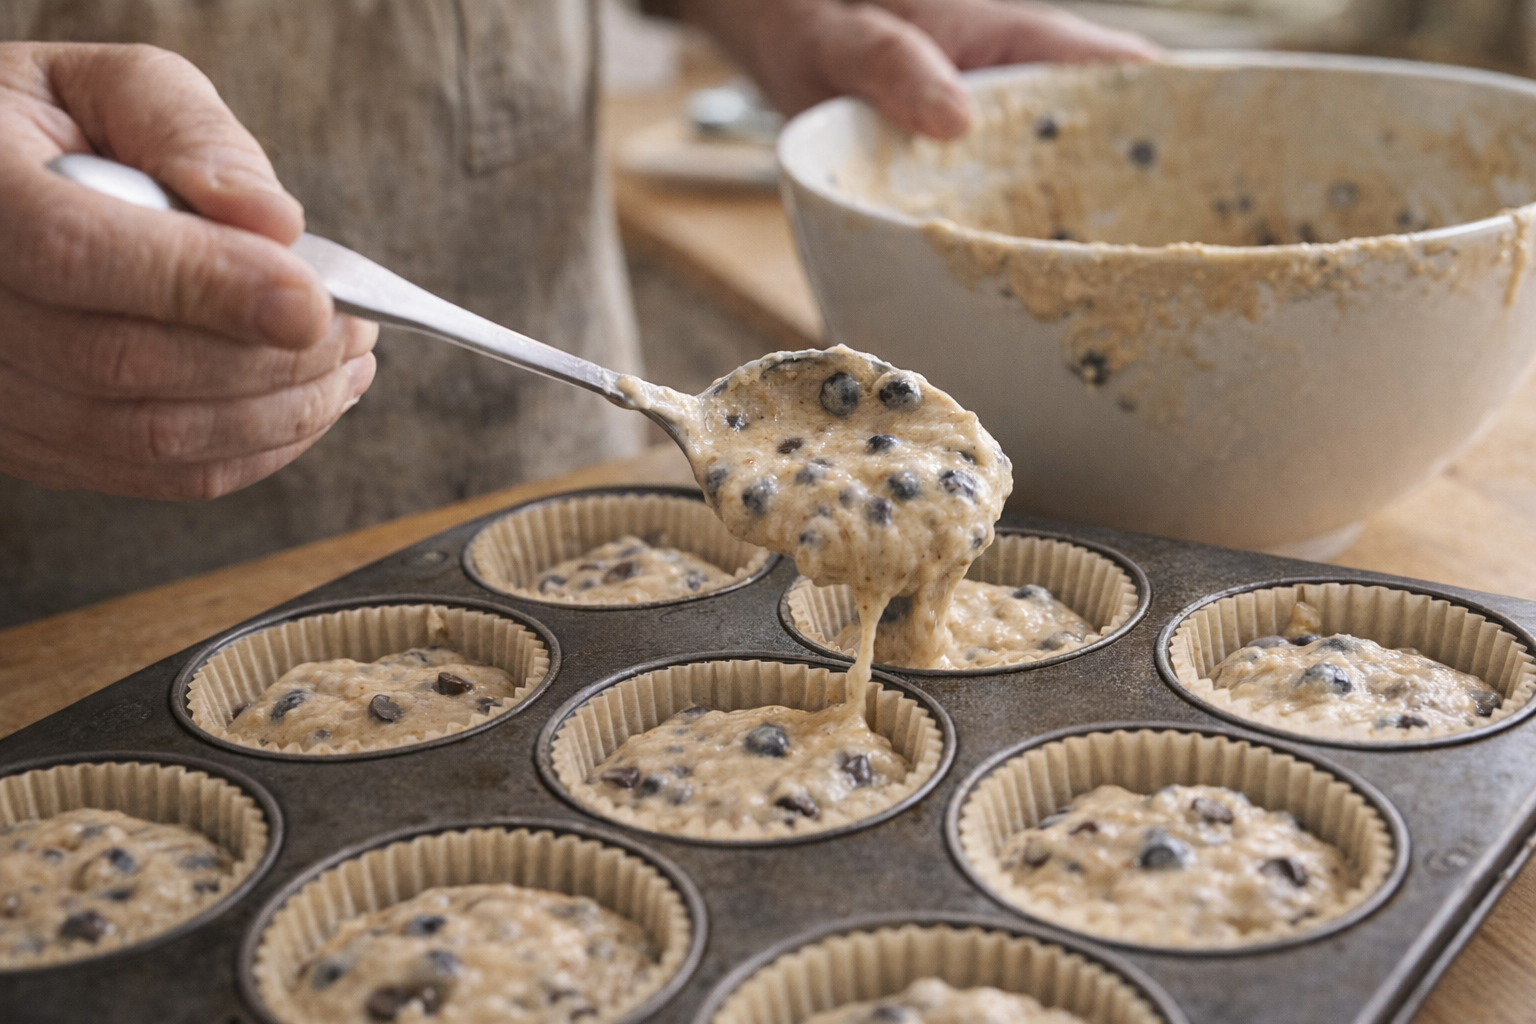
- Add Mix-Ins (Optional): Gently fold in any desired mix-ins, such as berries, nuts, or chocolate chips.
- Fill Muffin Tin: Fill each muffin cup about two-thirds full using an ice cream scoop or spoon. This ensures even baking and prevents overflowing.
- Bake: Bake in the preheated oven for 18-20 minutes, or until a toothpick inserted into the center comes out with a few moist crumbs attached. The muffins should be golden brown on top.
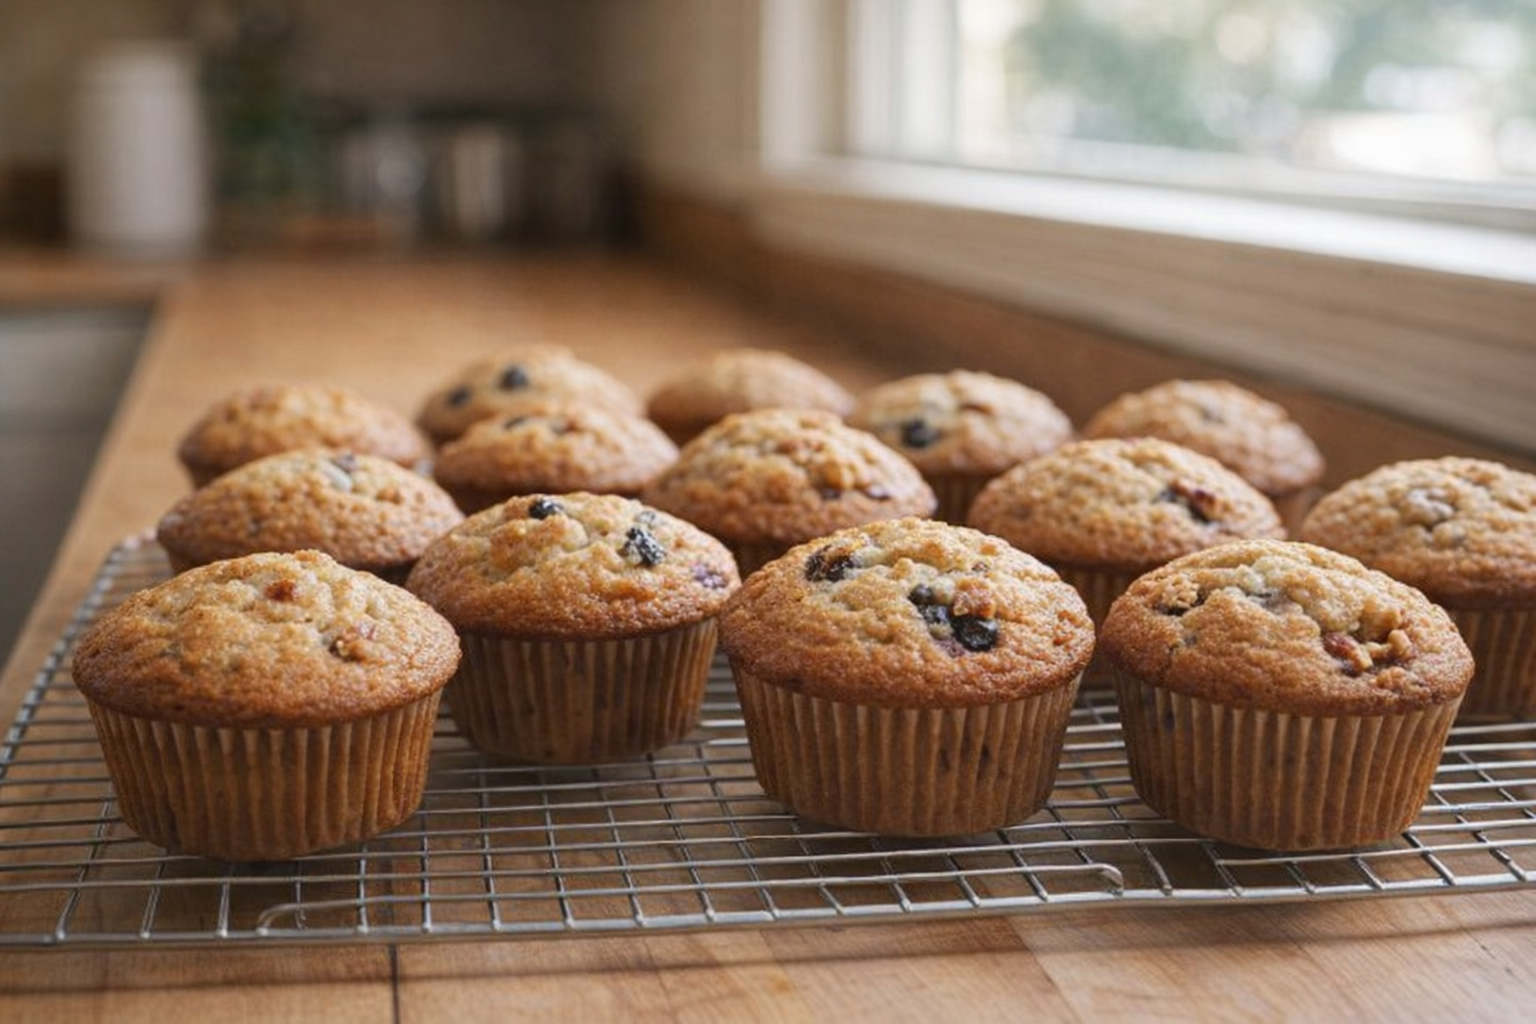
- Cool: Let the muffins cool in the tin for 5 minutes before transferring them to a wire rack to cool completely. This prevents the bottoms from becoming soggy.
Cooking Time & Doneness Guide
Specific Times and Internal Temperatures:
- Baking Time: 18-20 minutes at 375°F (190°C).
- Internal Temperature: Not typically measured for muffins, but they are done when a toothpick inserted into the center comes out with a few moist crumbs attached.
Visual Cues
- Golden Brown Tops: The muffins should be golden brown on top and around the edges.
- Sprung Back: When lightly touched, the tops of the muffins should spring back slightly.
- Even Shape: The muffins should be evenly domed and not sunken in the center.
Tips for Perfection
- Don't Overmix: Overmixing is the biggest mistake in muffin baking. It develops gluten, leading to tough, dense muffins.
- Use Room Temperature Ingredients: Room temperature ingredients combine more easily and create a smoother batter.
- Preheat Thoroughly: Ensure your oven is fully preheated before baking. This helps the muffins rise properly and bake evenly.
- Rotate the Muffin Tin: Rotate the muffin tin halfway through baking to ensure even browning.
Storage & Reheating
Storage:
- Room Temperature: Store muffins in an airtight container at room temperature for up to 2 days.
- Freezer: Freeze muffins for up to 2 months. Wrap them individually in plastic wrap and then place them in a freezer bag.
Reheating:
- Oven: Reheat frozen muffins in a preheated oven at 350°F (175°C) for 5-10 minutes, or until warmed through.
- Microwave: Microwave muffins for 20-30 seconds until heated through. Be careful not to overheat, or they will become tough.
Serving Suggestions
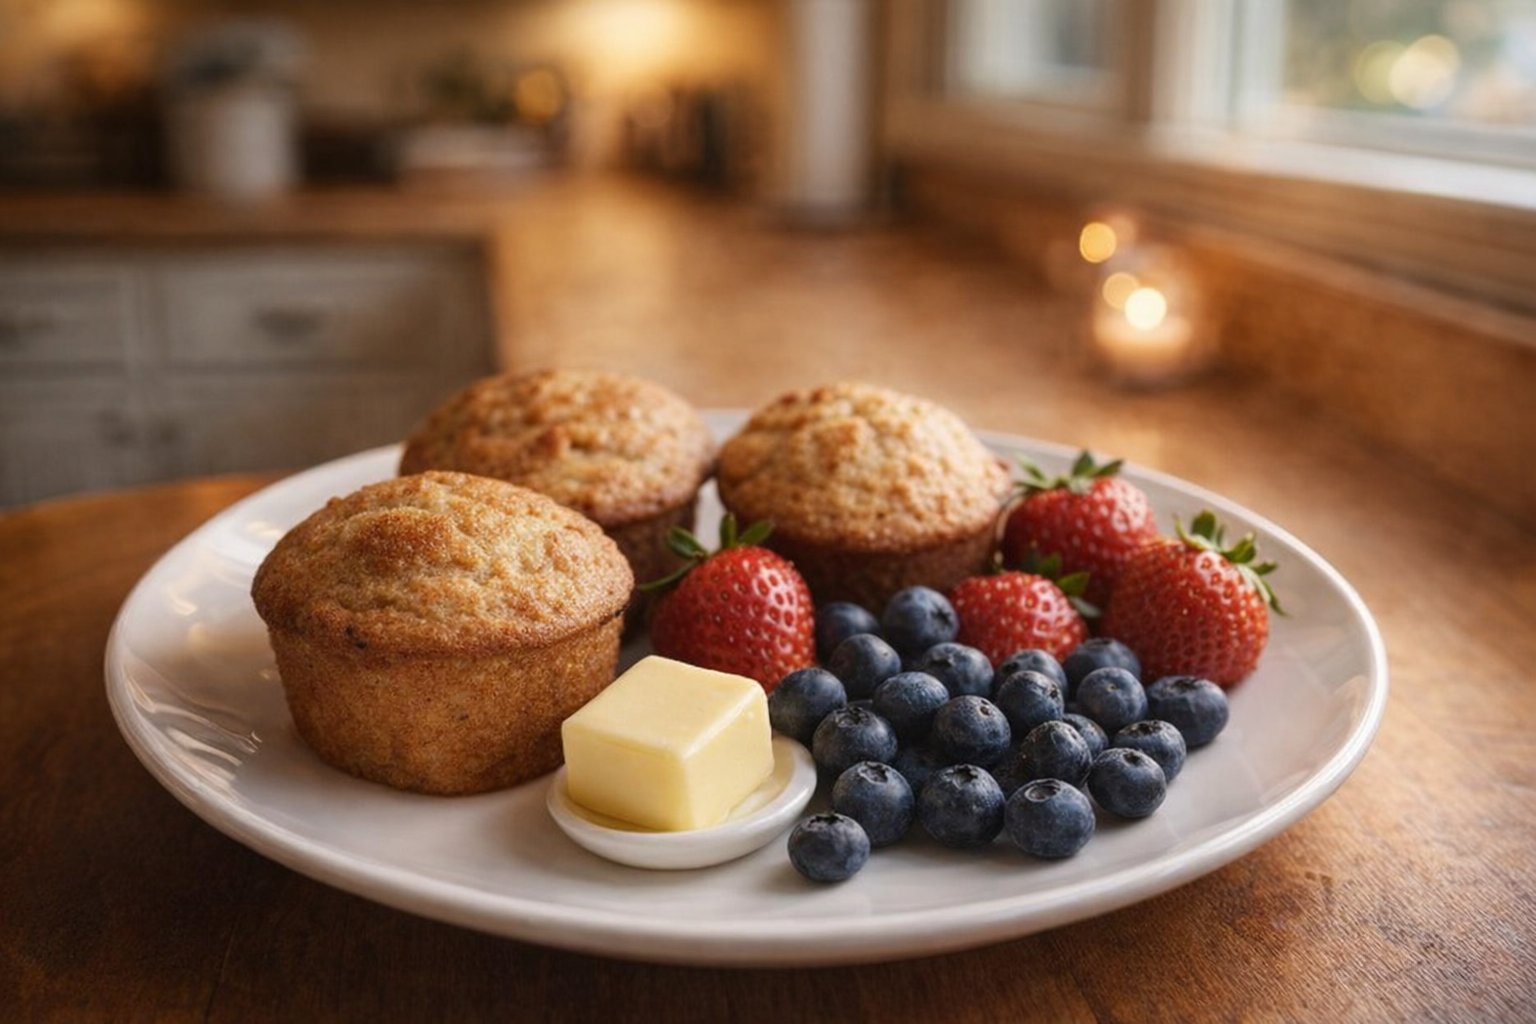
- Breakfast with Coffee or Tea: Pair muffins with your favorite hot beverage for a quick and satisfying breakfast.
- Snack with Fruit: Serve muffins alongside a bowl of fresh fruit for a balanced and healthy snack.
- Dessert with Ice Cream or Whipped Cream: Top warm muffins with a scoop of vanilla ice cream or a dollop of whipped cream for a simple yet elegant dessert.
- As a Sandwich Bread: Slice muffins in half and use them as bread for mini sandwiches with savory fillings.
💡 Pro Tips
- Mix the dry and wet ingredients just until barely combined to prevent overworking the gluten and ensuring a tender crumb.
- Bring all cold ingredients like eggs and milk to room temperature before mixing to achieve a more uniform batter consistency.
- Fill every other cavity in the muffin tin to allow better heat circulation, which helps the muffins rise taller and more evenly.
- Use a large cookie or ice cream scoop to portion the batter into the liners for consistent sizing and even baking times.
- Let the muffins cool in the pan for only five minutes before moving them to a wire rack to prevent soggy bottoms from steam.
Frequently Asked Questions
Flat muffins can be caused by several factors, including using old baking powder or overmixing the batter. Make sure your baking powder is fresh and mix the wet and dry ingredients just until combined to avoid developing too much gluten.
Yes, you can substitute oil for butter. Use a neutral-flavored oil like canola or vegetable oil in a 1:1 ratio. Keep in mind that this might slightly alter the texture, making the muffins a bit more moist and less rich.
Store leftover muffins in an airtight container at room temperature for up to 2-3 days. For longer storage, you can freeze them. Wrap each muffin individually in plastic wrap, then place them in a freezer bag for up to 2-3 months. Thaw at room temperature before enjoying.
Yes, you can still bake muffins without liners. Just make sure to grease your muffin tin very thoroughly with cooking spray or butter. This will prevent the muffins from sticking and make them easier to remove once baked.