 delishing
How to Bake Salmon in the Oven: A Foolproof Guide to Flaky Perfection

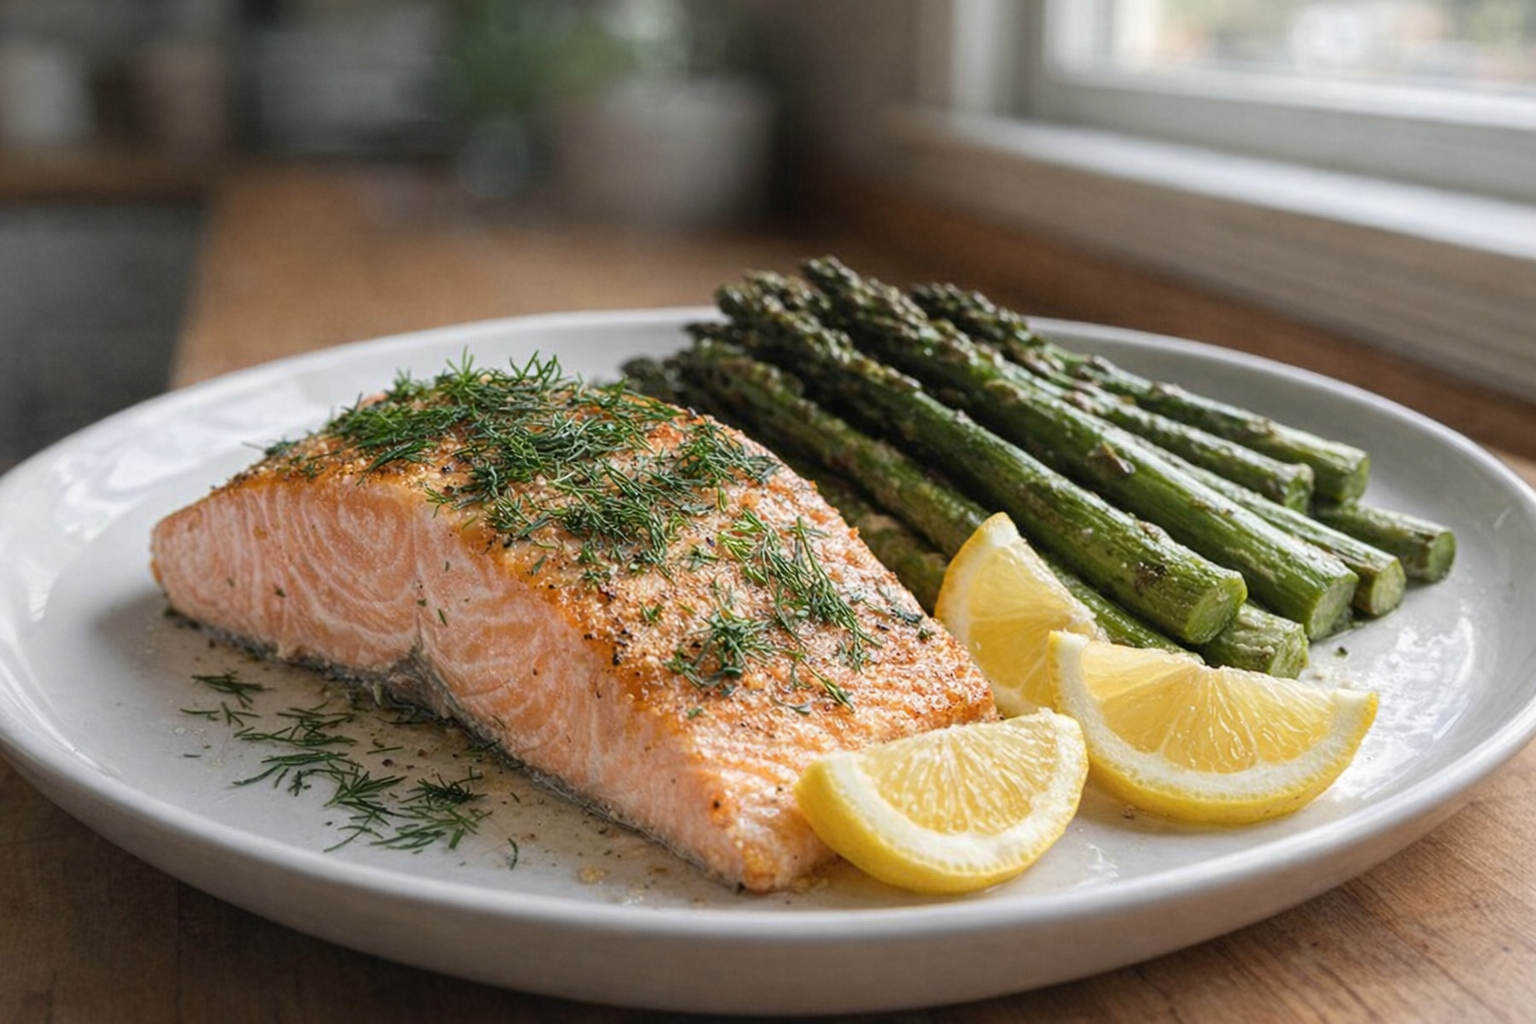
Baked salmon is a weeknight staple for good reason. Its delicate, slightly sweet flavor pairs well with countless sides, and baking is a hands-off method that yields consistently moist and tender results. This guide will teach you how to bake salmon like a pro, ensuring perfectly cooked, flaky fish every time. We'll cover everything from selecting the right salmon to troubleshooting common mistakes.
Baking salmon allows the fish to cook evenly, preserving its natural moisture and delicate texture. The simple lemon-butter sauce enhances the salmon's inherent flavors without overpowering them, resulting in a dish that's both healthy and satisfying. Mastering this technique opens the door to countless variations and flavor combinations.
Understanding Salmon Cuts
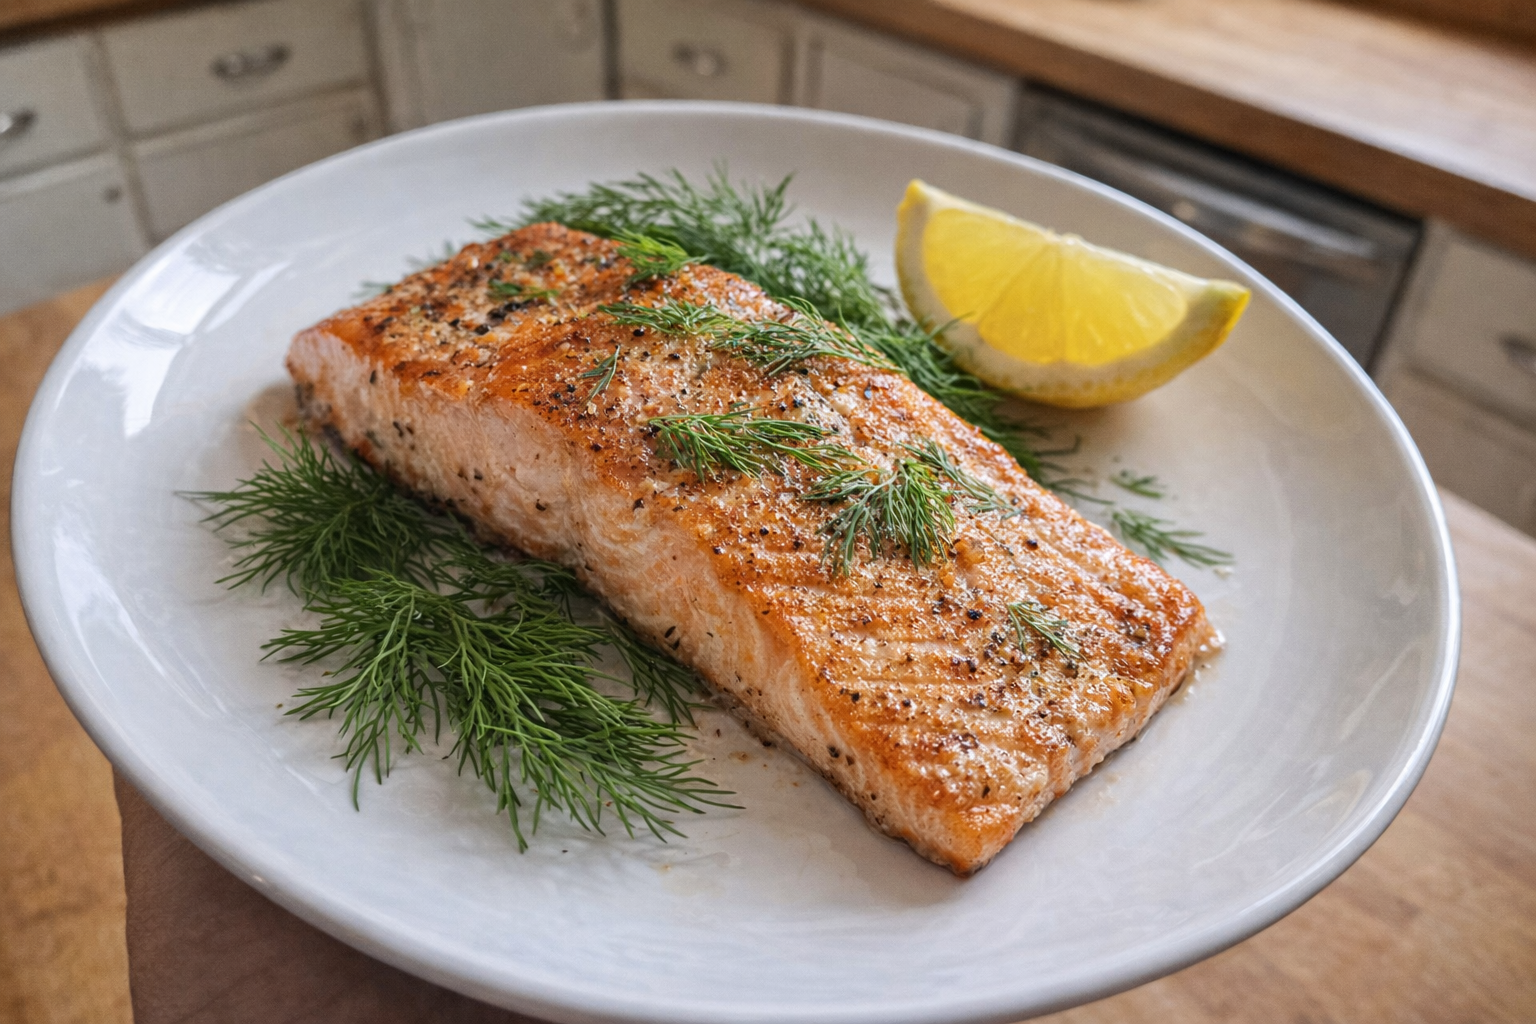
Choosing the right cut of salmon is the first step towards baking success. Salmon comes in various forms, each with its own characteristics. When buying salmon, look for flesh that is vibrant in color, firm to the touch, and smells fresh, not overly fishy. Avoid salmon with any browning or dullness.
- Fillets: These are the most common cut for baking. They're typically skin-on or skin-off and offer a good balance of flavor and convenience.
- Steaks: Salmon steaks are cross-sections of the fish, usually with the bone in. They can be more flavorful but may require slightly longer cooking times.
- Whole Side: A whole side of salmon is ideal for feeding a crowd. Baking a whole side requires careful monitoring to ensure even cooking.
Why Cook Salmon This Way?
- Versatility: Baked salmon is a blank canvas for flavors. From simple lemon and herbs to spicy Asian-inspired marinades, the possibilities are endless.
- Flavor: Baking gently cooks the salmon, allowing its natural flavors to shine through. The lemon-butter sauce adds brightness and richness without masking the fish's delicate taste.
- Convenience: Baking is a hands-off method, freeing you up to prepare side dishes or relax while the salmon cooks.
Preparation (Mise en Place)
Before you begin, ensure your salmon is properly prepared. If using frozen salmon, thaw it completely in the refrigerator overnight. Pat the salmon dry with paper towels to remove excess moisture, which will help the surface to brown slightly in the oven.
Essential Tools
- Baking Sheet: A standard baking sheet is essential for even heat distribution.
- Parchment Paper or Aluminum Foil: Lining the baking sheet with parchment paper or foil prevents sticking and makes cleanup easier.
- Small Bowl: For mixing the lemon-butter sauce and seasoning.
- Pastry Brush: To brush the sauce over the salmon.
- Meat Thermometer (Optional): For ensuring the salmon is cooked to the perfect internal temperature.
The Cooking Method
This method focuses on baking salmon fillets with a simple yet flavorful lemon-butter sauce.
Baking Salmon with Lemon-Butter Sauce
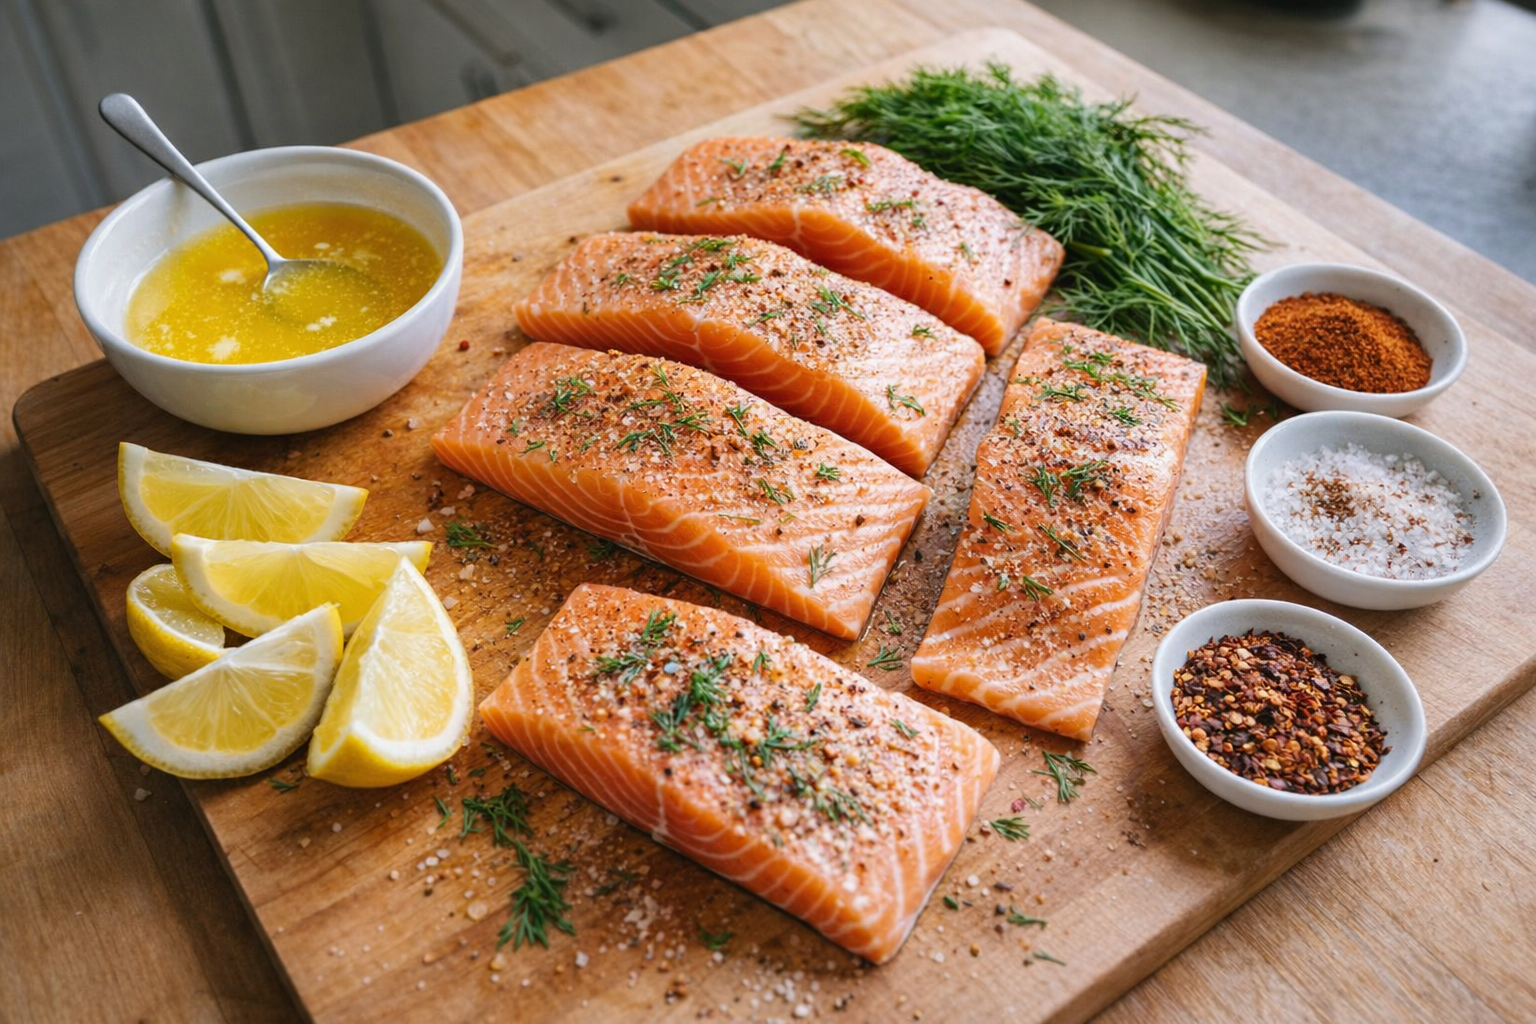
Ingredients:
- Salmon fillets (4, about 6 ounces/170g each), skin on or off
- Butter (2 tablespoons/30g), melted
- Lemon juice (2 tablespoons/30ml), freshly squeezed
- Salt (1/2 teaspoon)
- Black pepper (1/4 teaspoon)
- Fresh parsley (2 tablespoons/30ml), chopped
- Fresh dill (2 tablespoons/30ml), chopped
- Garlic (2 cloves), minced
- Preheat the Oven: Preheat your oven to 400°F (200°C). Line a baking sheet with parchment paper or aluminum foil. The subtle warmth of the oven starts to fill the kitchen.
- Prepare the Sauce: In a small bowl, whisk together the melted butter, lemon juice, salt, pepper, minced garlic, parsley, and dill. The aroma of lemon and garlic mingle, promising a flavorful dish.
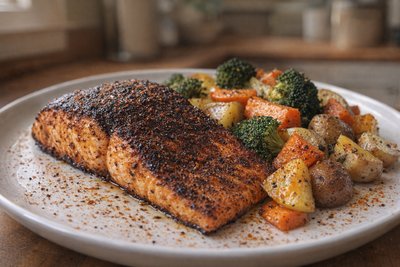
- Season the Salmon: Place the salmon fillets on the prepared baking sheet. Brush the lemon-butter sauce evenly over the top of each fillet, ensuring the fish is well coated. The bright yellow sauce glistens on the pink salmon.
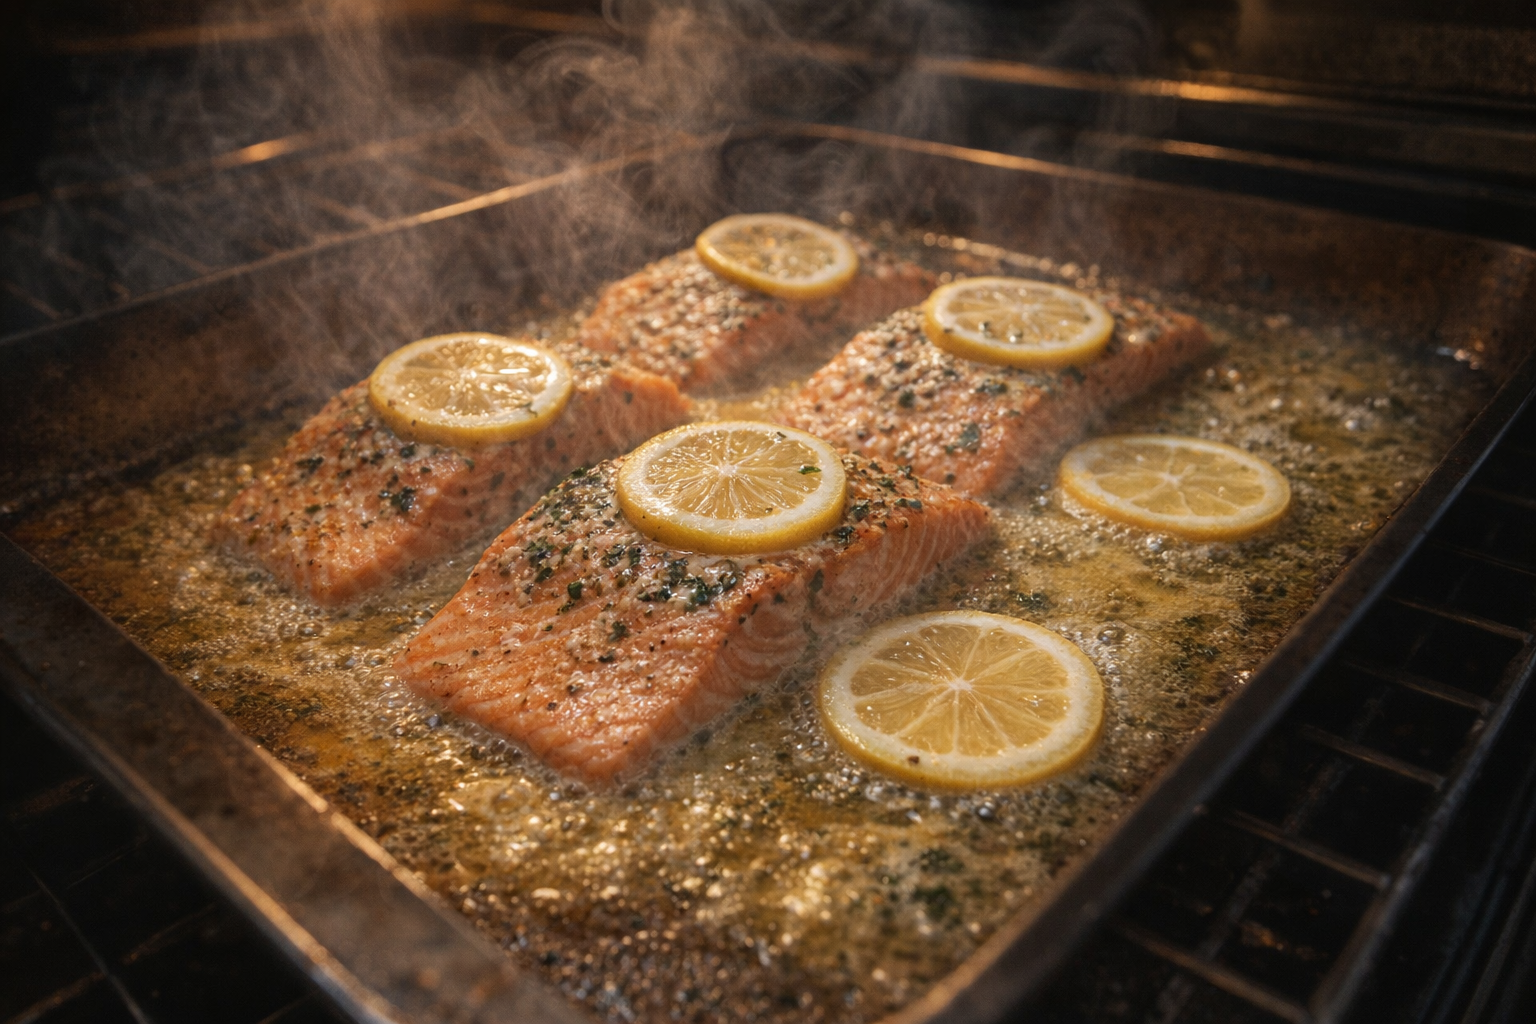
- Bake the Salmon: Bake in the preheated oven for 10-15 minutes, or until the salmon is cooked through. As the salmon bakes, the kitchen fills with the delicate scent of cooked fish and herbs.
- Check for Doneness: To check for doneness, gently flake the salmon with a fork. If it flakes easily and is opaque throughout, it's ready. Alternatively, use a meat thermometer to check the internal temperature.
- Rest and Serve: Remove the salmon from the oven and let it rest for a few minutes before serving. The salmon's surface shimmers slightly, releasing its savory aroma.
Cooking Time & Doneness Guide
- Baking Time: 10-15 minutes at 400°F (200°C) for 1-inch thick fillets.
- Internal Temperature: The FDA recommends an internal temperature of 145°F (63°C) for salmon.
Visual Cues
The salmon is done when it flakes easily with a fork and is opaque throughout. Avoid overcooking, as this will result in dry fish.
Tips for Perfection
- Don't Overcrowd the Pan: Give the salmon fillets enough space on the baking sheet so they cook evenly.
- Use Fresh Ingredients: Fresh lemon juice and herbs will significantly enhance the flavor of the dish.
- Monitor the Temperature: Using a meat thermometer is the best way to ensure the salmon is cooked to the correct internal temperature without overcooking.
- Rest Before Serving: Allowing the salmon to rest for a few minutes after baking helps the juices redistribute, resulting in a more tender and flavorful fish.
Storage & Reheating
Store leftover baked salmon in an airtight container in the refrigerator for up to 3 days. To reheat, gently warm the salmon in the oven at 275°F (135°C) until heated through, or flake it into salads or pasta dishes. Avoid reheating in the microwave, as this can dry out the fish.
Serving Suggestions
- With Roasted Vegetables: Serve baked salmon alongside roasted asparagus, broccoli, or Brussels sprouts for a healthy and balanced meal.
- Over Rice or Quinoa: Flake the salmon over a bed of rice or quinoa and drizzle with the remaining lemon-butter sauce.
- In Salads: Add chilled baked salmon to mixed green salads with a lemon vinaigrette for a protein-packed and flavorful lunch.
- As Salmon Cakes: Flake the salmon and mix it with breadcrumbs, herbs, and an egg to form salmon cakes. Pan-fry until golden brown and serve with a dollop of tartar sauce.
Frequently Asked Questions
Yes, you can use frozen salmon. Ensure it's completely thawed in the refrigerator overnight before cooking. Pat the salmon dry with paper towels to remove excess moisture, which helps with browning.
For a dairy-free option, use olive oil or a plant-based butter alternative. If you don't have lemon, try using lime juice or a splash of white wine vinegar for a similar acidic brightness. You could also use a pre-made vinaigrette dressing.
The salmon is done when it flakes easily with a fork. You can also check the internal temperature with a meat thermometer; it should reach 145°F (63°C). Be careful not to overcook it, or it will become dry.
Leftover baked salmon can be stored in an airtight container in the refrigerator for up to 3-4 days. To reheat, gently warm it in the oven at a low temperature (around 275°F/135°C) or in a covered skillet on the stovetop to prevent it from drying out.
/thumbs/ground-beef-taco-plate-c3k2x.png)