 delishing
How to Bake a Classic Vanilla Cake: A Comprehensive Guide

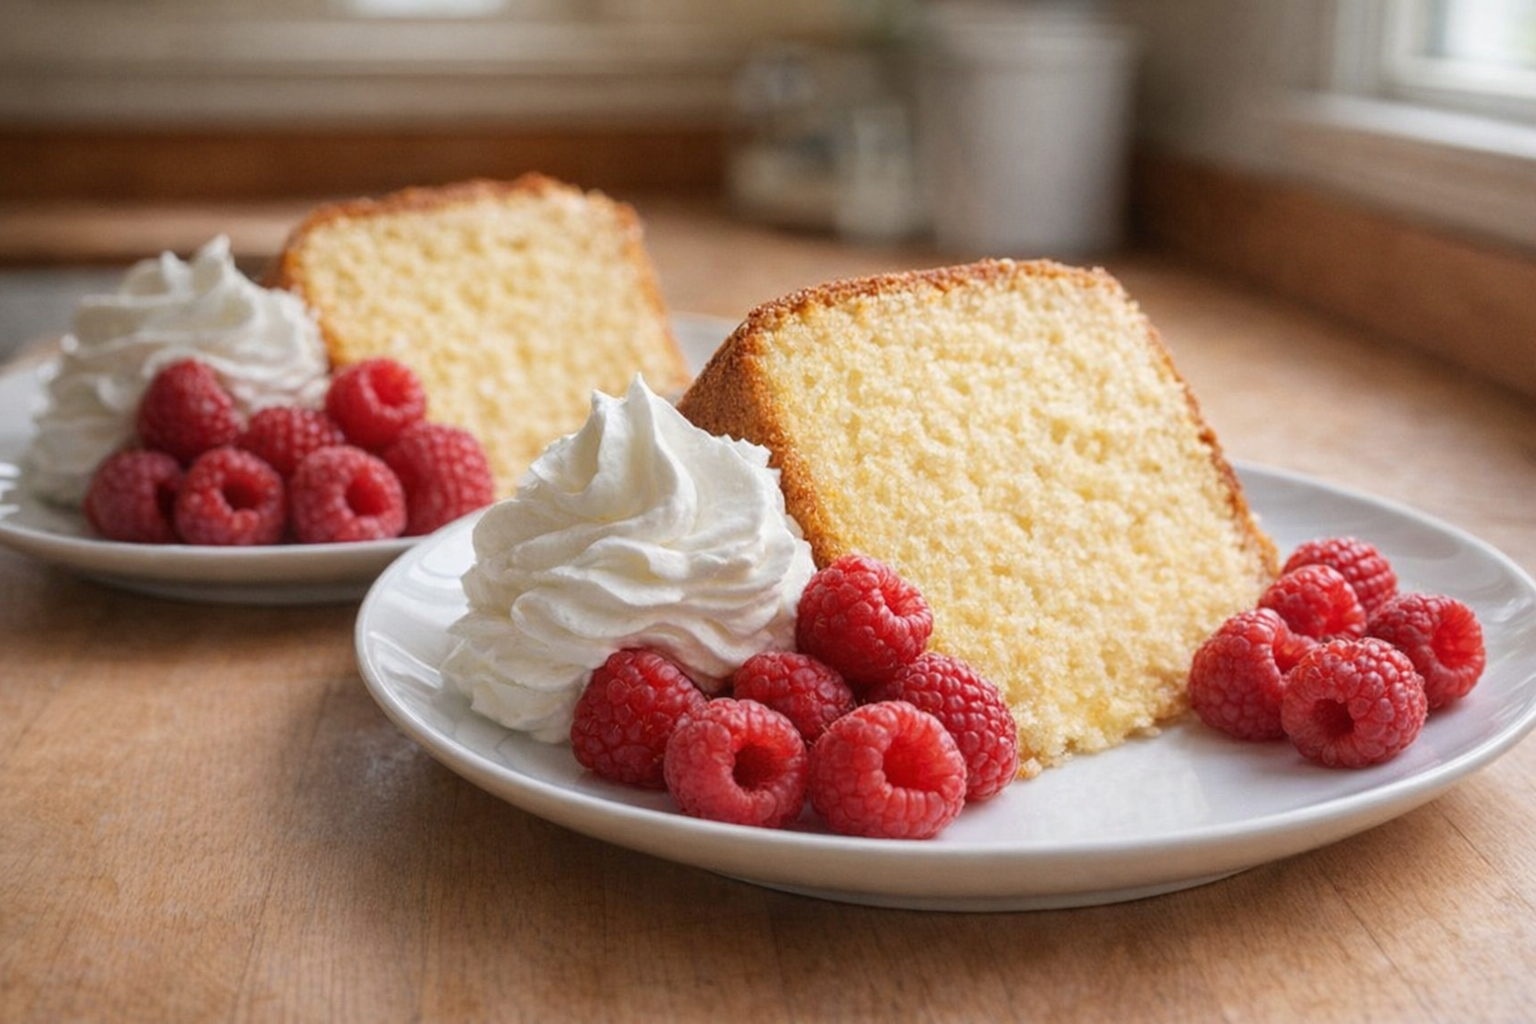
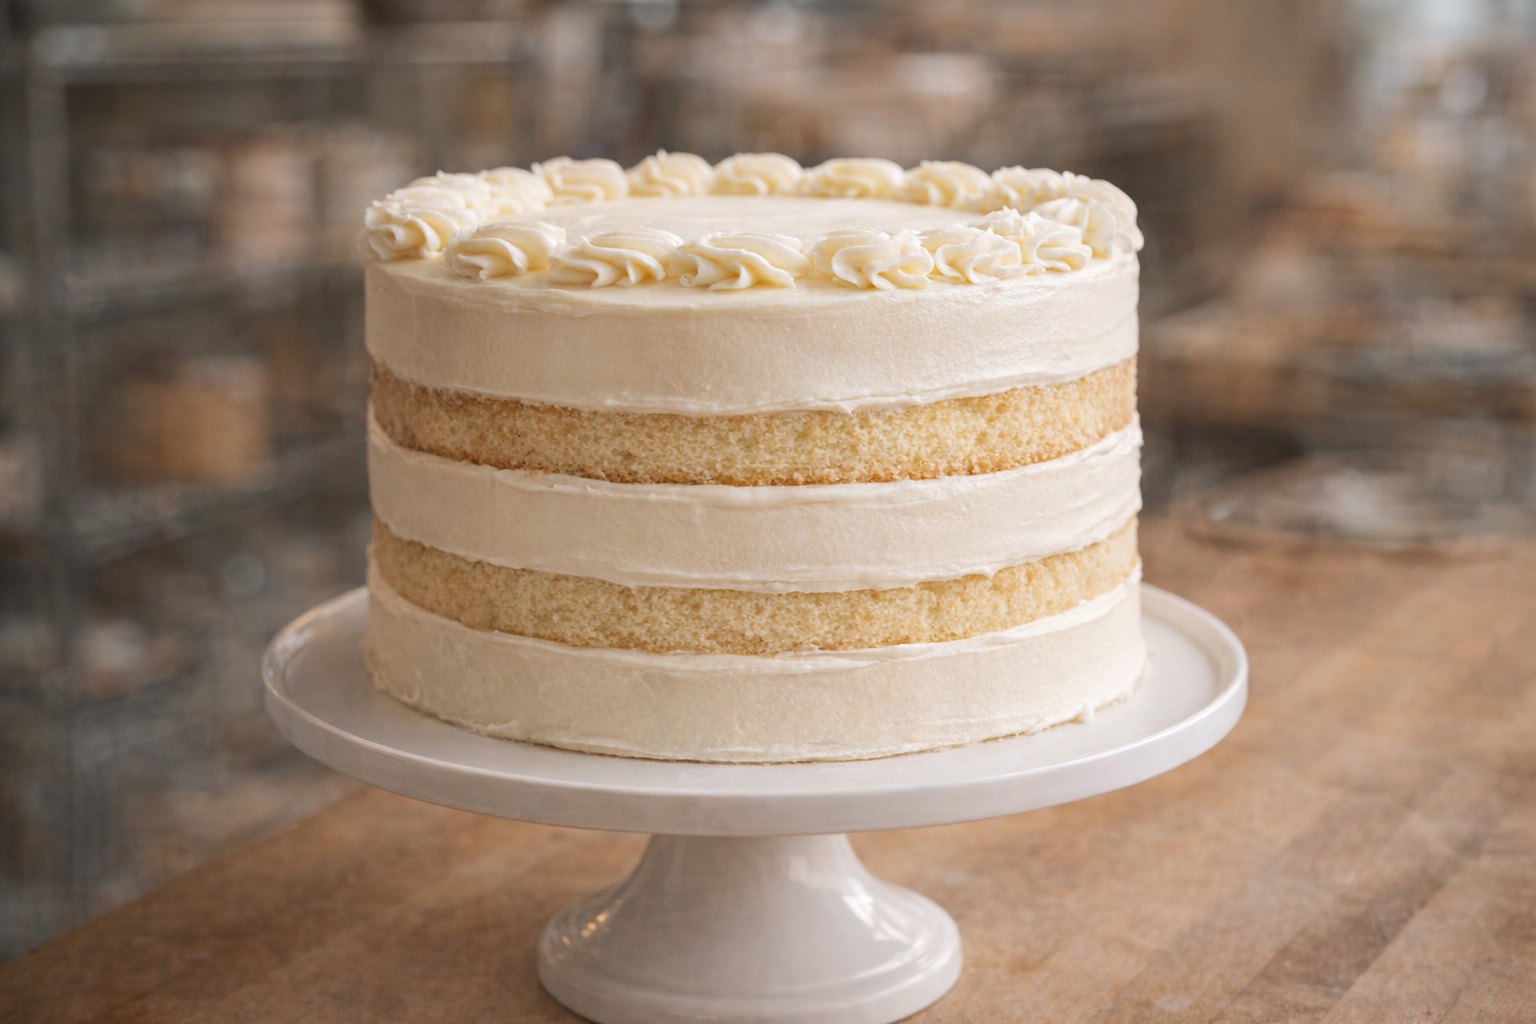
Vanilla cake: a dessert as timeless as it is versatile. The subtle sweetness and delicate crumb make it the perfect blank canvas for any occasion, from birthdays to simple afternoon tea. But mastering the perfect vanilla cake isn’t just about following a recipe; it’s about understanding the ingredients and techniques that elevate it from ordinary to extraordinary. In this guide, we'll delve into the secrets of baking a vanilla cake that’s consistently moist, tender, and bursting with classic flavor.
We'll explore the importance of each ingredient, from the type of flour to the quality of your vanilla extract. We will also guide you through preparation and baking techniques that ensure a uniform crumb and a beautifully golden crust. No more dry, dense vanilla cakes; with our tips and tricks, you'll be baking show-stopping vanilla cakes in no time.
Understanding Vanilla Extract
Vanilla extract is the soul of this cake, but not all vanilla is created equal. Real vanilla extract, derived from vanilla beans, offers a complex and nuanced flavor profile that artificial vanilla simply can’t replicate. Look for extracts that are dark amber in color and have a rich, almost boozy aroma. Avoid extracts that are suspiciously cheap or labeled as "vanillin," as these are often synthetic. For a truly decadent vanilla experience, consider using vanilla bean paste, which contains the tiny black seeds that add visual appeal and intense flavor.
When selecting your vanilla, consider:
- Single vs. Double Fold: Double-fold extract is more concentrated and potent. Adjust your measurements accordingly.
- Origin: Vanilla beans from Madagascar, Tahiti, and Mexico each have unique flavor characteristics. Experiment to find your favorite.
Why Bake Vanilla Cake This Way?
- Versatility: Vanilla cake pairs with virtually any frosting, filling, or topping.
- Flavor: The simple, yet comforting flavor of vanilla is universally appealing.
- Convenience: With basic ingredients and straightforward techniques, it’s a relatively easy cake to bake.
Preparation (Mise en Place)
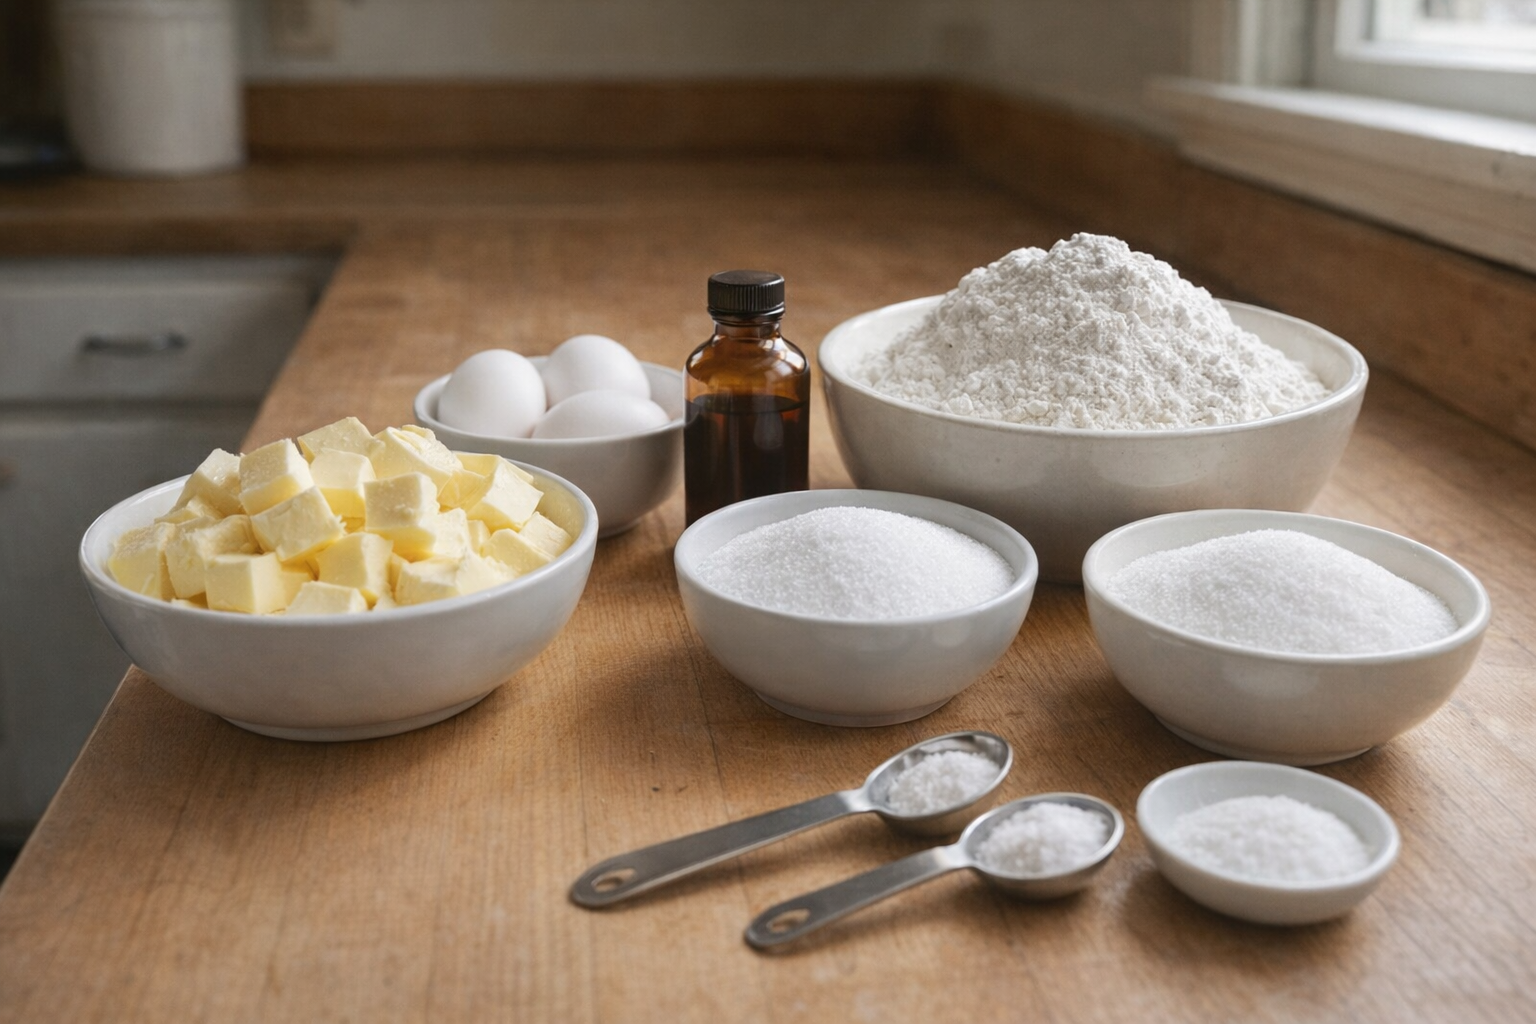
Before you even think about turning on the oven, meticulous preparation is key. This means gathering, measuring, and prepping all your ingredients. Ensure your butter and eggs are at room temperature, which allows them to emulsify properly, creating a smoother batter and a more tender cake.
Essential Tools
- Stand Mixer (or Hand Mixer): A mixer is essential for creaming butter and sugar to create a light and airy batter.
- 9-inch Round Cake Pans (2): Using two pans ensures even baking and prevents the cake from doming excessively.
- Parchment Paper: Lining the pans with parchment paper prevents sticking and makes for easy cake removal.
- Offset Spatula: For smoothing frosting and creating a professional finish.
The Cooking Method
Method 1: Classic Creamed Vanilla Cake
This method relies on the creaming method, which involves beating butter and sugar together until light and fluffy. This incorporates air into the batter, resulting in a light and tender cake.
Ingredients:
- 2 1/4 cups (281g) cake flour, plus more for dusting the pans
- 1 tablespoon baking powder
- 1/2 teaspoon salt
- 1 cup (226g) unsalted butter, softened
- 1 3/4 cups (350g) granulated sugar
- 2 large eggs
- 1 teaspoon vanilla extract
- 1 cup (237ml) whole milk
- Preheat oven to 350°F (175°C). Grease and flour two 9-inch round cake pans, or line with parchment paper rounds. The gentle hum of the preheating oven signals the start of something special.
- In a medium bowl, whisk together cake flour, baking powder, and salt. This ensures the baking powder is evenly distributed.
- In a large bowl, cream together the softened butter and sugar until light and fluffy. This should take about 5-7 minutes. The mixture will lighten in color and become noticeably airy.
- Beat in the eggs one at a time, then stir in the vanilla extract. The smooth incorporation of each egg ensures an even emulsion.
- Gradually add the dry ingredients to the wet ingredients, alternating with the milk, beginning and ending with the dry ingredients. Mix until just combined. Be careful not to overmix, as this can develop the gluten in the flour, resulting in a tough cake.
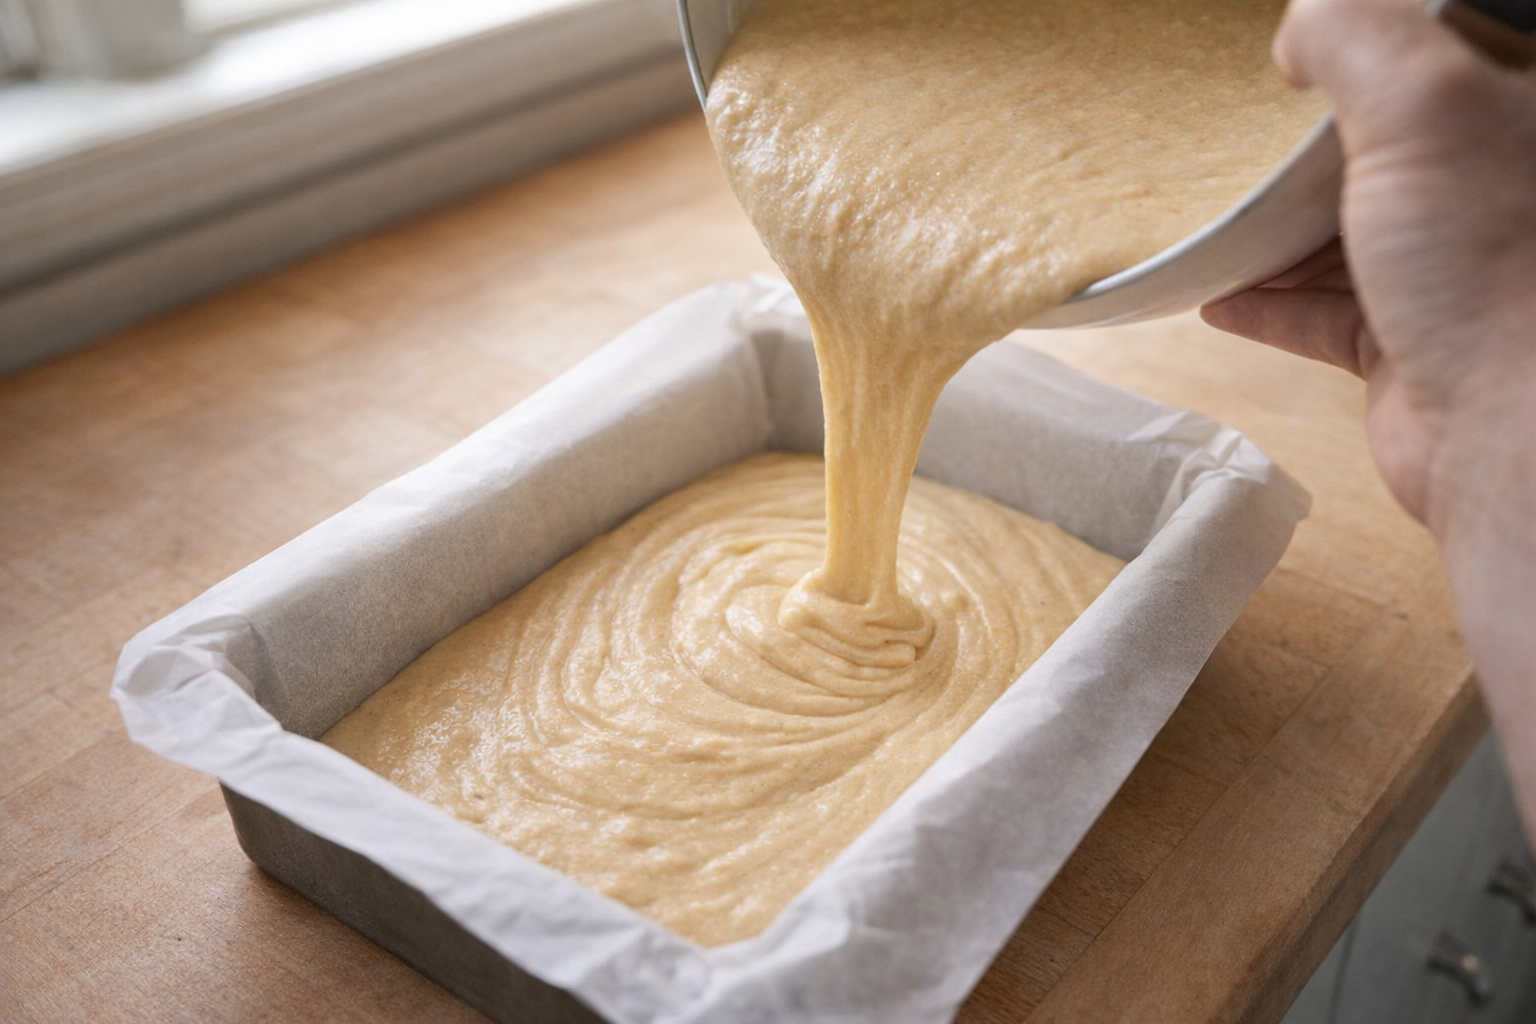
- Divide the batter evenly between the prepared cake pans. The even distribution of batter is key to uniform baking.
- Bake for 30-35 minutes, or until a wooden skewer inserted into the center comes out clean. The enticing aroma of vanilla fills the kitchen as the cake bakes.
- Let the cakes cool in the pans for 10 minutes before inverting them onto a wire rack to cool completely. The gentle release of the cake from the pan indicates a successful bake.
Cooking Time & Doneness Guide
- Baking Time: 30-35 minutes at 350°F (175°C).
- Internal Temperature: 200-210°F (93-99°C).
Visual Cues
The cake should be golden brown on top, and the edges should be slightly pulling away from the pan. A toothpick inserted into the center should come out clean, or with just a few moist crumbs clinging to it.
Tips for Perfection
- Don't Overmix: Overmixing develops gluten, leading to a tough cake. Mix until just combined.
- Room Temperature Ingredients: This is crucial for proper emulsification, which creates a smooth and tender cake.
- Accurate Oven Temperature: An oven thermometer can help ensure your oven is at the correct temperature.
- Cool Completely: Ensure the cakes are completely cooled before frosting to prevent the frosting from melting.
Storage & Reheating
- Storage: Store unfrosted cake layers tightly wrapped at room temperature for up to 3 days, or in the freezer for up to 2 months. Frosted cake should be stored in the refrigerator.
- Reheating: If frozen, thaw the cake completely before serving. Individual slices can be gently warmed in the microwave for a few seconds.
Serving Suggestions
- Classic Vanilla Buttercream: A simple and timeless pairing.
- Fresh Berries and Whipped Cream: The tartness of the berries complements the sweetness of the cake.
- Lemon Curd Filling: A tangy and refreshing twist.
- Chocolate Ganache: For a decadent and indulgent treat.
💡 Pro Tips
- Weigh your flour for the most accurate results. Spoon the flour into your measuring cup and level it off with a knife.
- For an extra moist cake, brush the cooled cake layers with simple syrup before frosting.
- If your butter isn't quite at room temperature, you can microwave it in 5-second intervals, checking frequently, until softened but not melted.
- To prevent the cake layers from sticking together, place parchment paper between them when storing.
Frequently Asked Questions
No, self-rising flour contains baking powder and salt already. Using it in this recipe would result in a cake that rises too much and then collapses, and it might taste overly salty. It's best to stick with cake flour for the best texture and rise.
If you don't have parchment paper, you can grease and flour your cake pans thoroughly. Use a solid shortening or baking spray to grease the pans, then lightly dust with flour, tapping out any excess. This will help prevent the cake from sticking. Be very thorough in greasing to ensure easy removal.
Yes, you can! The cake layers can be baked ahead of time, cooled completely, wrapped tightly in plastic wrap, and stored at room temperature for up to 2 days or frozen for up to 2 months. Make sure they are completely cool before wrapping to prevent condensation.
Cake doming is usually caused by the edges of the cake cooking faster than the center. Try using baking strips (strips of wet cloth wrapped around the cake pan) to insulate the edges. Also, ensure your oven rack is in the center position to promote even heat distribution. Reduce oven temperature by 25 degrees F and bake for a longer time.