 delishing
How to Bake an Apple Pie: A Comprehensive Guide

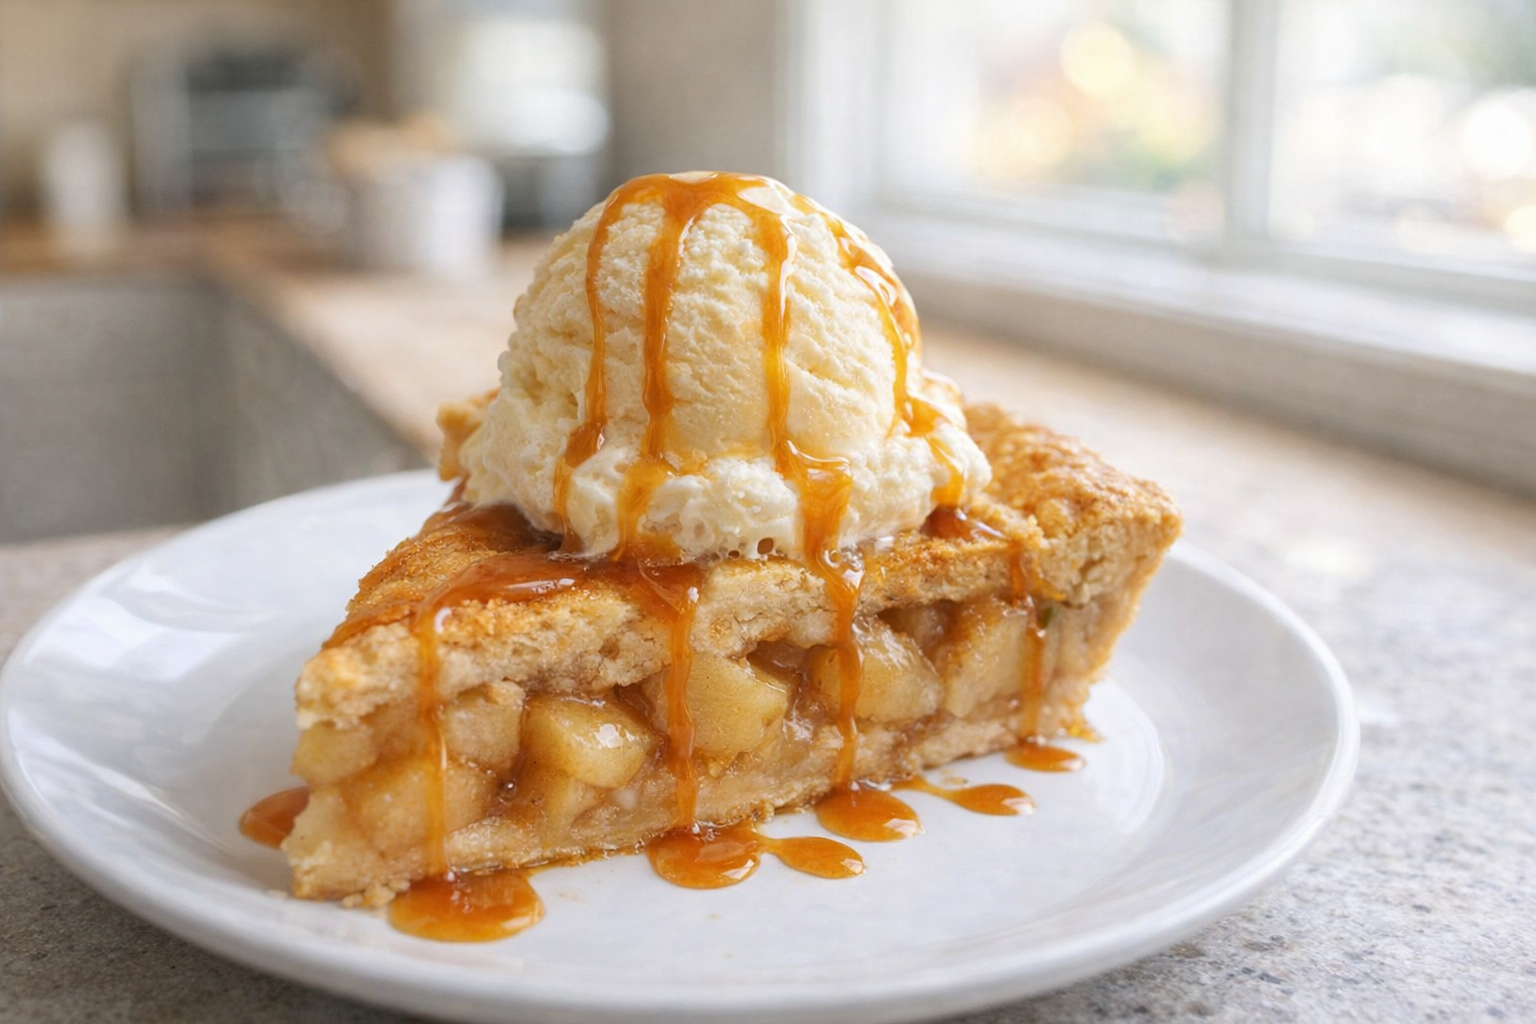
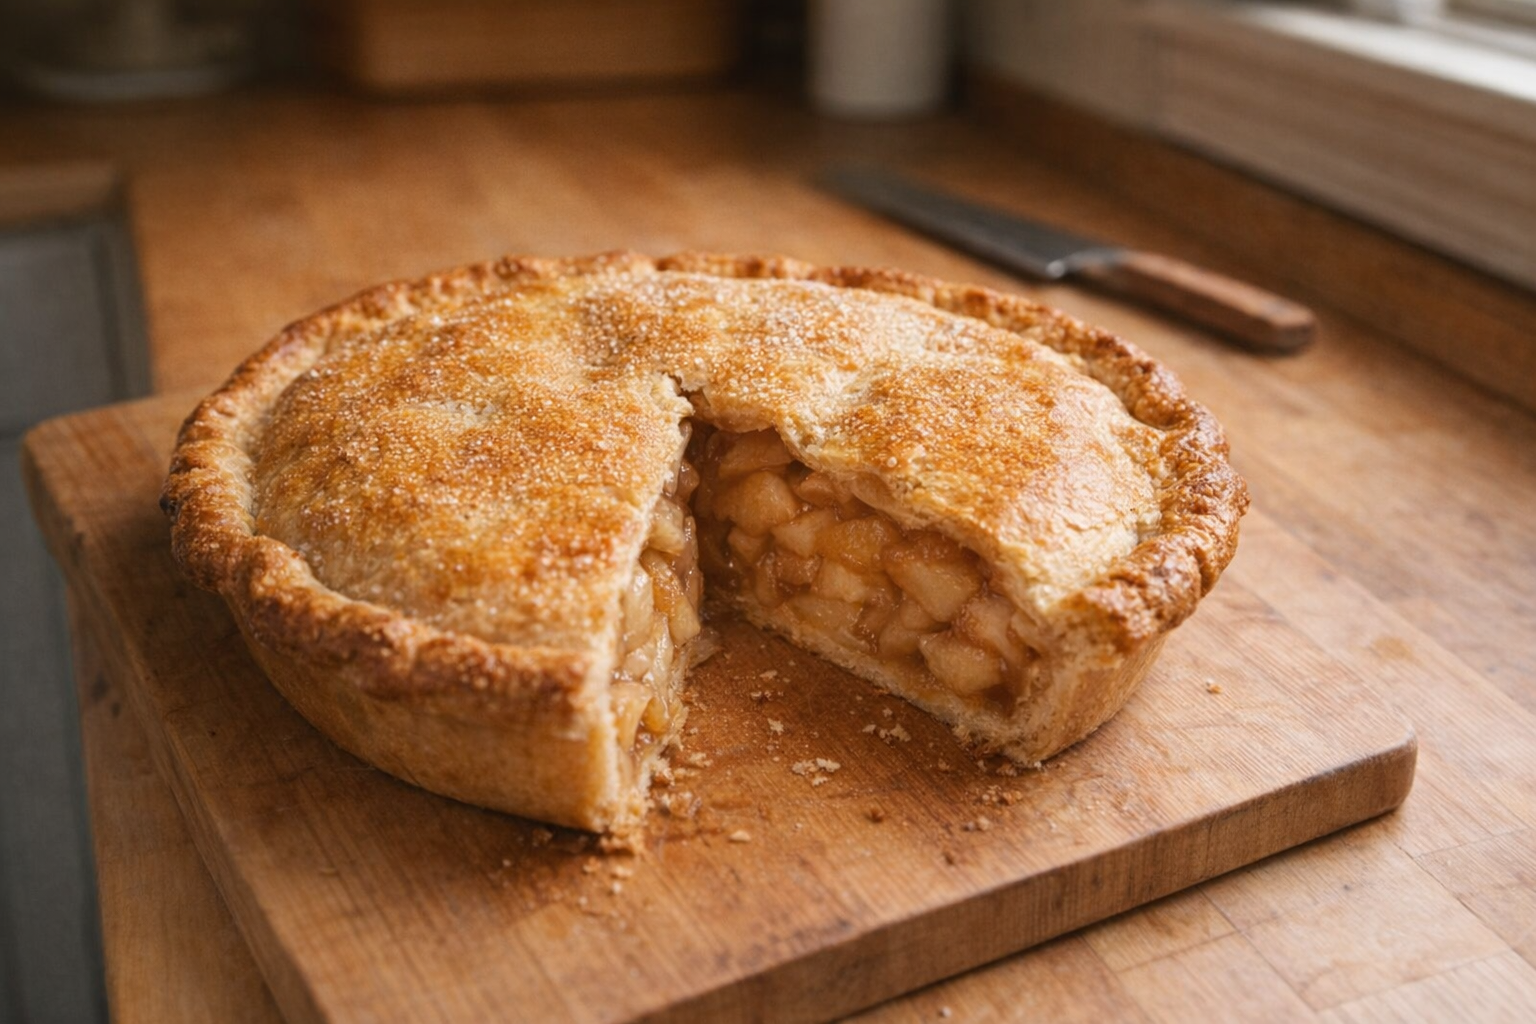
The aroma of a freshly baked apple pie is undeniably comforting, evoking memories of cozy kitchens and shared moments. This guide provides a step-by-step approach to creating a classic apple pie with a perfectly flaky crust and a sweet, spiced filling that will delight your senses. The key to a great apple pie lies in the quality of the apples and the attention to detail in both the crust and filling.
This method emphasizes using a blend of apple varieties for a complex flavor profile and precooking the apples slightly to prevent a soggy crust. It also stresses the importance of proper cooling for the filling to set correctly, ensuring clean slices and a satisfying dessert experience.
Understanding Apples for Apple Pie
Selecting the right apples is paramount for an exceptional apple pie. A mixture of apple varieties is recommended to achieve the perfect balance of sweetness, tartness, and texture. Here's a breakdown of some excellent choices:
- Granny Smith: Known for their tartness and firm texture, they provide a necessary tang to balance the sweetness. Use sparingly, as they can become mushy if overused.
- Honeycrisp: Offers a delightful sweet-tart flavor and a crisp texture that holds up well during baking.
- Fuji: A sweet and juicy apple with a firm texture that maintains its shape in the oven.
- Golden Delicious: Milder in flavor and good at retaining its shape, contributing to the pie's structure.
- Braeburn: Sweet and slightly tart, they become firm and juicy when cooked, adding both flavor and texture.
Why Cook Apple Pie This Way?
- Versatility: Apple pie is a comforting dessert that can be enjoyed year-round, adaptable to seasonal spices and serving options.
- Flavor: Combining various apple types creates a rich, layered flavor profile that surpasses the taste of a single-apple pie.
- Convenience: While requiring some time and effort, most of the ingredients are pantry staples, and the process can be broken down into stages (making the crust ahead of time, for example).
Preparation (Mise en Place)
- Apple Preparation: Wash, peel, core, and slice approximately 4 pounds (1.8 kg) of apples into ¼-inch (6mm) thick slices. Combine a mix of the varieties mentioned above for the best flavor and texture.
- Pie Crust: Prepare your favorite double-crust pie dough (or use a store-bought one) and chill it for at least 30 minutes. This allows the gluten to relax, resulting in a more tender crust.
- Spice Blend: Measure out your spices (cinnamon, nutmeg, allspice, ginger, cardamom, salt) and combine them in a small bowl.
- Sugar Mixture: Combine the brown and granulated sugars in a separate bowl.
- Egg Wash: Whisk one large egg with a splash of water for brushing on the crust.
Essential Tools
- 9-inch Pie Dish: A standard 9-inch pie dish ensures even baking and a classic pie size.
- Rolling Pin: Essential for rolling out the pie dough to the correct thickness. A marble rolling pin is ideal, as it stays cool and prevents the dough from sticking.
- Large Mixing Bowl: For tossing the apples with the sugar and spice mixture.
- Vegetable Peeler: For efficient and even peeling of the apples. A sharp peeler will make this process much easier.
- Pastry Brush: For applying the egg wash, resulting in a golden-brown crust. Use a natural-bristle brush for the best results.
The Cooking Method
Apple Pie Baking
This section details the classic baking method for apple pie, focusing on achieving a golden crust and a perfectly cooked filling.
Ingredients:
- 1 (9-inch) double crust homemade pie crust (or store-bought)
- 4 pounds (1.8 kg) baking apples (about 8 large apples), peeled, cored, and sliced
- 1/2 cup (100g) light or dark brown sugar
- 1/2 cup (100g) granulated sugar
- 1 teaspoon ground cinnamon
- 1/4 teaspoon fine sea salt
- 1/4 teaspoon ground ginger
- 1/4 teaspoon ground allspice
- 1/4 teaspoon ground cardamom
- 1/4 teaspoon grated nutmeg
- 2 tablespoons cornstarch
- 1 tablespoon butter, cut into small pieces
- 1 large egg, whisked with 1 tablespoon water (for egg wash)
Instructions:
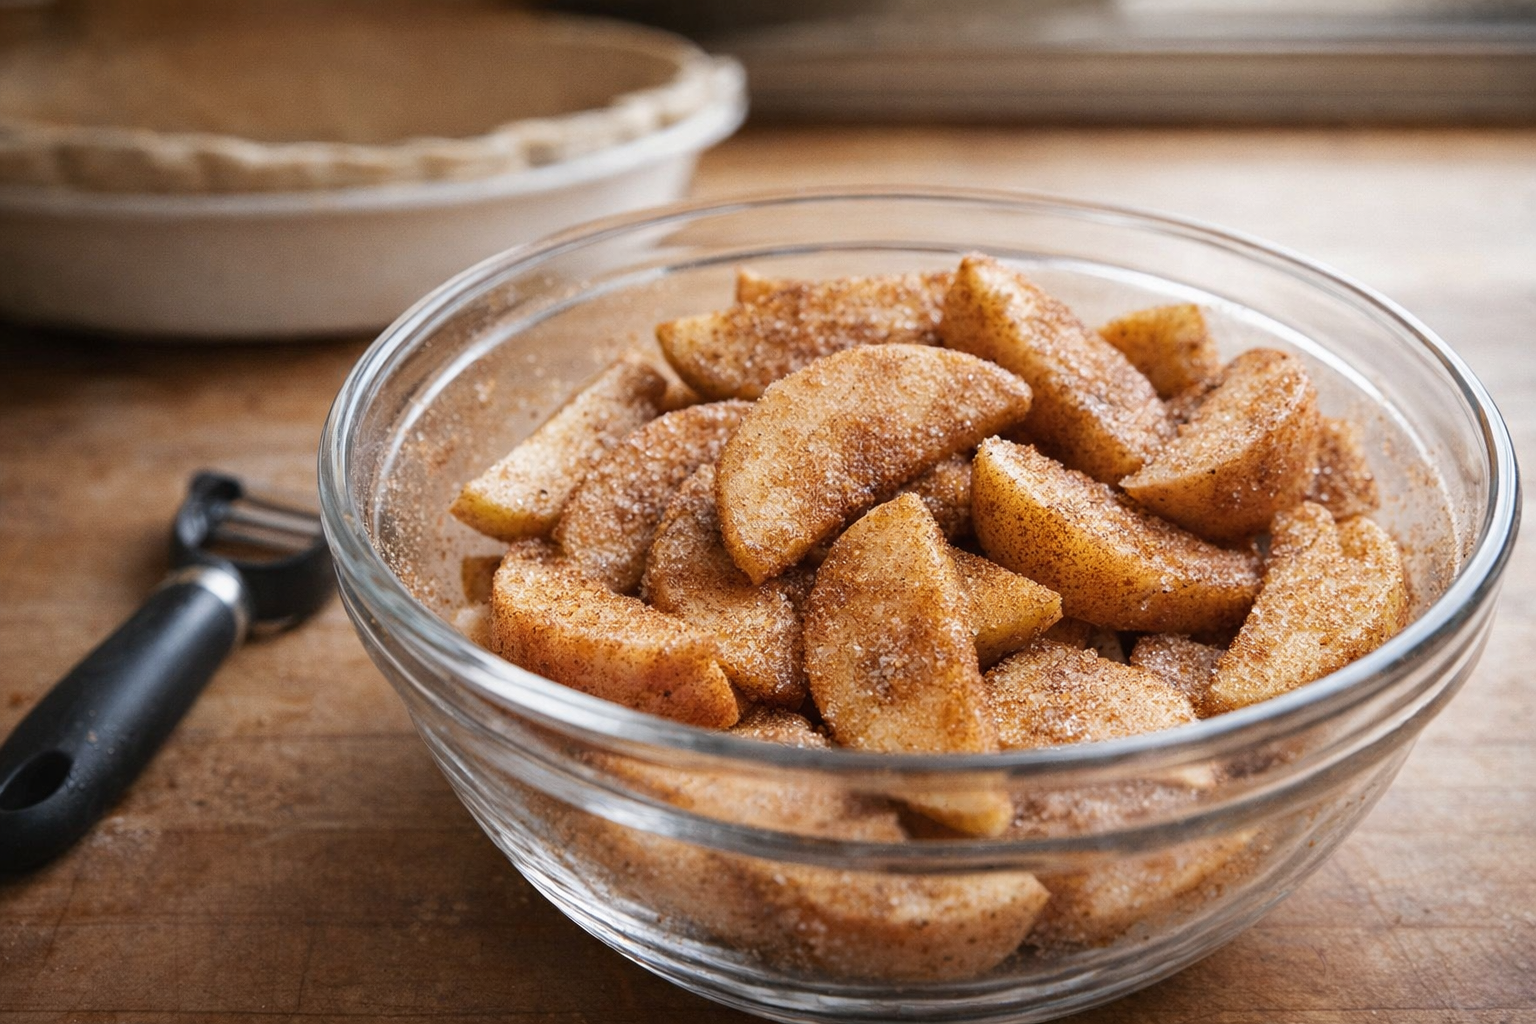
- Prepare the Apples: In a large bowl, combine the sliced apples with the brown sugar, granulated sugar, cinnamon, salt, ginger, allspice, cardamom, and nutmeg. Toss gently but thoroughly to ensure each apple slice is coated. The sweet, spicy aroma will fill the kitchen.
- Rest the Apples: Cover the bowl and let it rest at room temperature for 1 hour. This allows the sugar and salt to draw out the apples' natural juices, creating a flavorful syrup. Notice how the apples begin to soften slightly.
- Prepare the Crust: Roll out the bottom crust and fit it into a 9-inch pie dish. Trim and crimp the edges. Refrigerate both the bottom crust and the dough for the top crust until ready to use. The chilled crust will be easier to handle.
- Add Cornstarch: After the resting period, drain excess juice from the apples, reserving the juice. Sprinkle cornstarch over the apple mixture and toss gently to distribute it evenly. Mix the reserved juice in a saucepan over medium heat until thickened, then pour over the apples. The cornstarch will combine with the apple juices and thicken during baking.
- Fill the Pie: Preheat your oven to 400°F (200°C). Remove the prepared bottom crust from the refrigerator and fill it with the apple mixture, including all of the accumulated juices. Mound the apples slightly higher in the center.
- Dot with Butter: Dot the top of the apple filling with small pieces of butter. The butter will melt and enrich the filling.
- Top the Pie: Roll out the top crust and place it over the filling. Trim the edges, leaving about a 1/2-inch overhang. Fold the overhang under and crimp the edges to seal. Cut several slits in the top crust to allow steam to escape during baking. This will prevent the crust from puffing up and cracking.
- Apply Egg Wash: In a small bowl, whisk together one whole egg with a splash of water. Brush this mixture gently over the entire top crust and edges. This will give your pie a beautiful golden-brown shine when baked.
- Bake the Pie: Place the pie on a baking sheet to catch any potential drips. Bake in the preheated oven for 15 minutes, then reduce the oven temperature to 375°F (190°C) and continue baking for about 45-60 minutes, or until the crust is golden brown and the filling is bubbling. The lower temperature will prevent the crust from burning while ensuring the filling is cooked through.
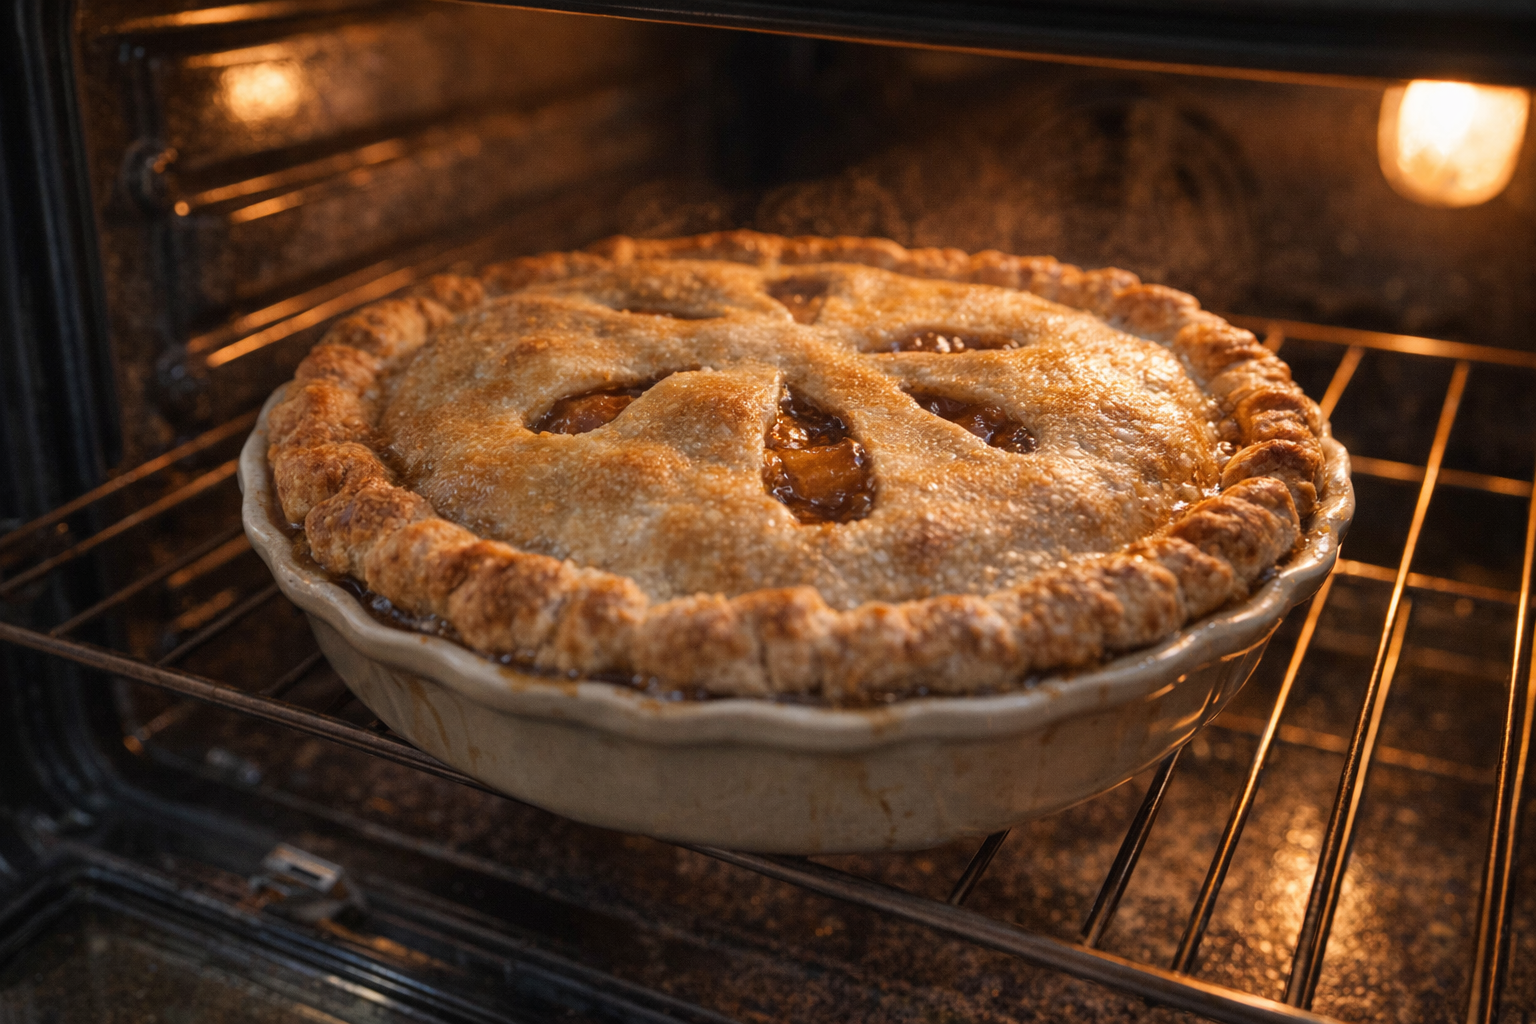
- Check for Doneness: Your pie is ready when you can see thick, bubbling juices coming through the vents in the crust. The crust should be a deep golden brown. If in doubt, it's better to slightly overbake than underbake to ensure the filling is properly thickened. The aroma of baked apples and cinnamon will be intoxicating.
- Cool and Serve: Remove the pie from the oven and place it on a wire rack. Allow it to cool for at least 3-4 hours before slicing. This cooling period is crucial as it allows the filling to set, making it easier to cut clean slices.
Cooking Time & Doneness Guide:
- Total Baking Time: Approximately 60-75 minutes.
- Internal Temperature: 200°F (93°C) when measured in the center of the pie.
Visual Cues
- Crust Color: Deep golden brown, indicating a fully baked and crisp crust.
- Bubbling Filling: Vigorous bubbling of the filling around the edges and through the vents in the crust. This confirms that the filling has reached the necessary temperature to thicken.
Tips for Perfection:
- Don't Overfill the Pie: Overfilling can lead to a soggy crust and a pie that's difficult to handle. Mound the apples slightly in the center, but avoid packing them too tightly.
- Use Cold Butter for the Crust: Cold butter is crucial for creating a flaky pie crust. The small pieces of butter create steam pockets that separate the layers of dough.
- Prevent Soggy Crust: Blind bake the bottom crust partially before filling it to create a barrier against the moist filling. Use pie weights or dried beans to prevent the crust from puffing up during blind baking.
- Cover Edges if Browning Too Quickly: If the edges of the crust start to brown too quickly, cover them with aluminum foil or a pie shield to prevent burning.
Storage & Reheating:
- Storage: Store leftover apple pie at room temperature for up to 2 days, loosely covered with plastic wrap or aluminum foil. For longer storage (up to 4 days), refrigerate the pie.
- Reheating: To reheat, warm individual slices in the microwave or toaster oven. For a whole pie, bake at 350°F (175°C) for 10-15 minutes to crisp up the crust.
Serving Suggestions:
- With Vanilla Ice Cream: A classic pairing that complements the warm spices and sweet apples.
- With Whipped Cream: A light and airy topping that adds a touch of elegance.
- With Caramel Sauce: Drizzled over the top for an extra layer of sweetness and richness.
- Warm, with a cup of coffee or tea: A comforting treat for any time of day.
💡 Pro Tips
- Mix tart apples like Granny Smith with sweet, firm varieties like Honeycrisp to create a balanced and complex flavor profile in your filling.
- Sauté the sliced apples briefly before assembling the pie to release excess moisture and prevent the bottom crust from becoming soggy during baking.
- Keep your butter and water ice-cold while preparing the dough to ensure the crust remains light and flaky.
- Brush the top crust with an egg wash and sprinkle with coarse sugar to achieve a golden-brown finish and a crunchy texture.
- Allow the pie to cool completely for at least two hours before slicing so the juices have enough time to thicken and set.
Frequently Asked Questions
While a blend is recommended for the best flavor, you can certainly use a single type. Opt for a firm-fleshed apple like Honeycrisp or Fuji, as they hold their shape well during baking. Be aware that the flavor profile will be less complex.
If your crust is browning too fast, you can tent the pie with aluminum foil. Simply loosely cover the pie with foil for the remaining baking time to prevent further browning. Be sure to remove the foil during the last few minutes to allow for some final browning.
To prevent a soggy bottom crust, pre-bake it for about 10-15 minutes before adding the filling. Also, make sure to cool the pie completely after baking, as this allows the filling to set and prevents excess moisture from seeping into the crust.
Leftover apple pie can be stored at room temperature for up to two days or in the refrigerator for up to four days. Make sure to cover the pie loosely with plastic wrap or foil to prevent it from drying out. You can also freeze the pie for up to two months for longer storage.