 delishing
How to Boil Chicken on the Stove: A Culinary Guide

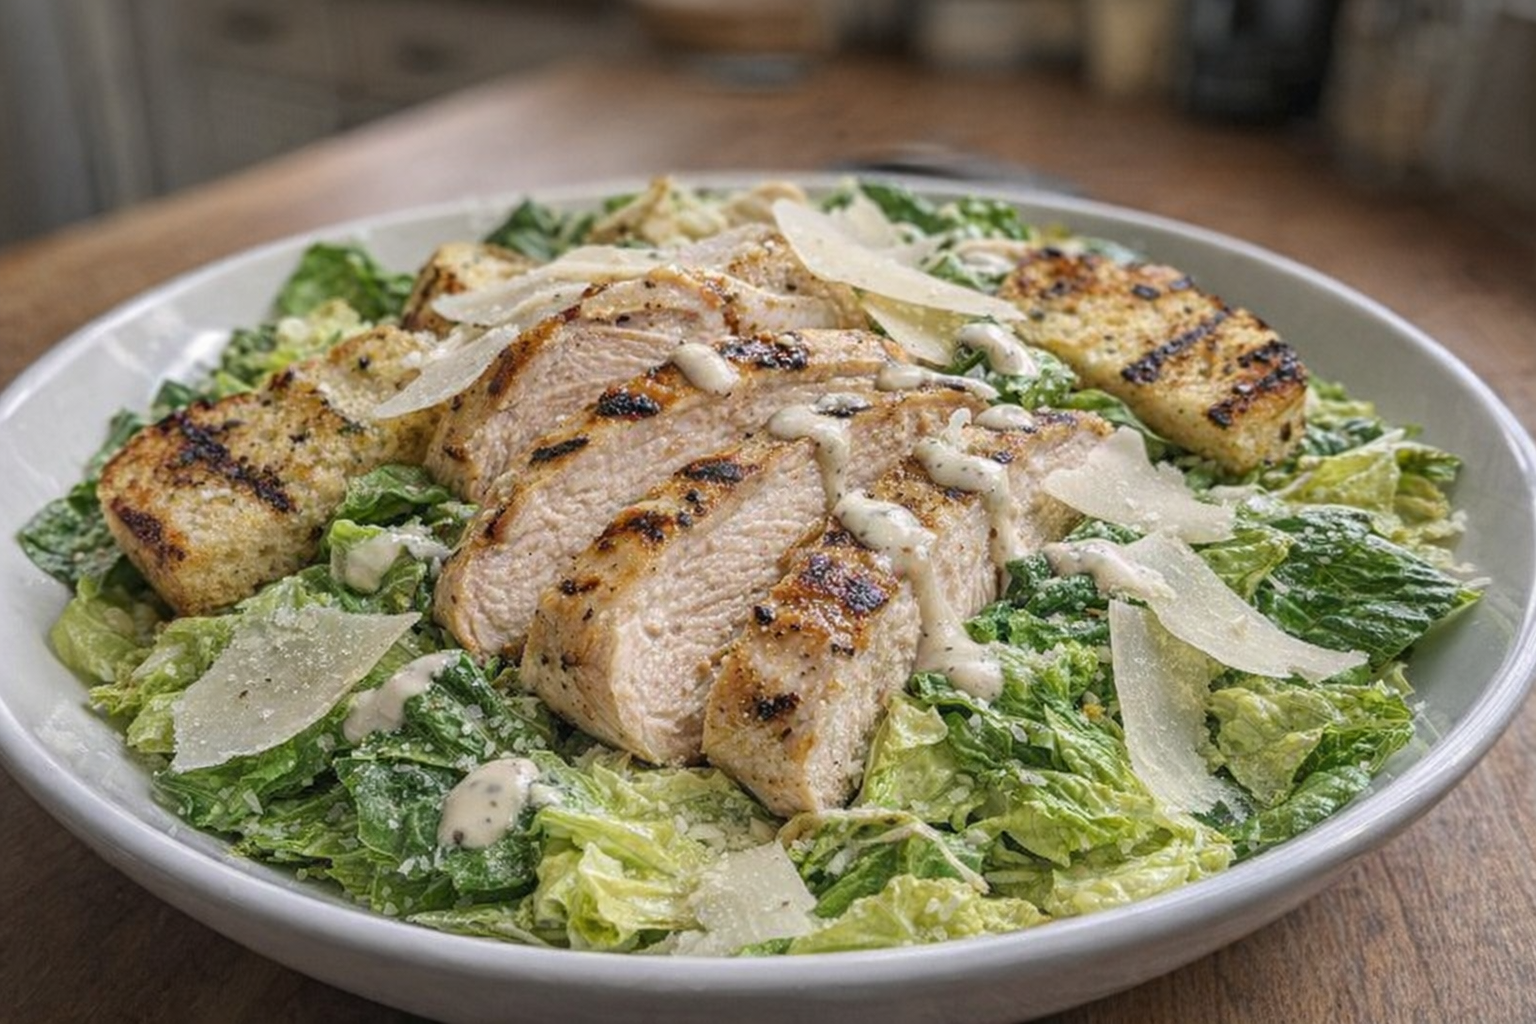
Boiling chicken might seem like a basic technique, but mastering it unlocks a world of culinary possibilities. The key lies in understanding how to extract maximum flavor and achieve that perfectly tender, juicy texture. This method, when done right, results in chicken that’s incredibly versatile, ready to be transformed into salads, soups, tacos, or a simple, protein-packed snack.
The beauty of boiled chicken is its neutrality. It acts as a blank canvas, readily absorbing the flavors of your favorite seasonings, herbs, and sauces. By controlling the cooking process, you can ensure a consistently moist and flavorful result, far superior to dry, overcooked alternatives. We'll guide you through the process, ensuring your boiled chicken is anything but ordinary.
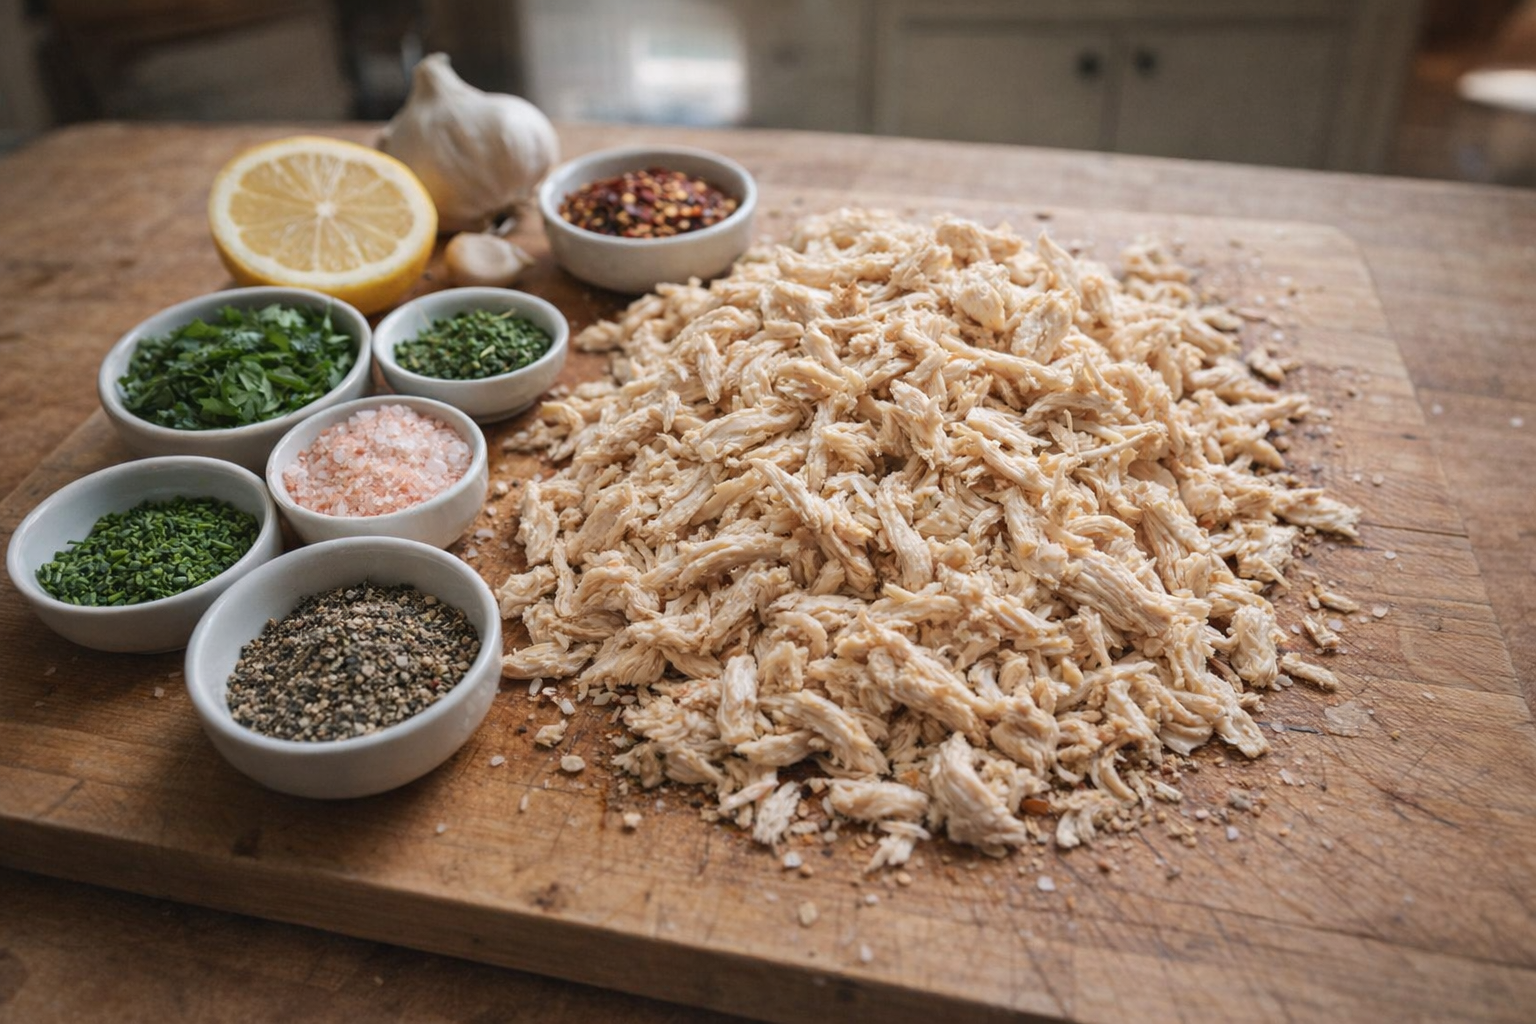
Understanding Chicken Cuts
Navigating the world of chicken cuts can be overwhelming, but for boiling, the most common choices are boneless, skinless breasts and bone-in thighs. Breasts offer convenience and leanness, while thighs provide a richer flavor due to their higher fat content. When buying chicken, look for plump, firm flesh that is pale pink in color. Avoid chicken that appears slimy or has an off-putting odor. Opt for air-chilled chicken when available; this method results in less water retention and a more concentrated flavor.
Why Cook Chicken This Way?
- Versatility: Boiled chicken can be used in countless dishes, from salads and soups to tacos and casseroles.
- Flavor Absorption: The gentle cooking process allows the chicken to absorb the flavors of the broth and seasonings.
- Convenience: Boiling is a hands-off method, freeing you to focus on other tasks while the chicken cooks.
Preparation (Mise en Place)
- Thawing (if frozen): For best results, thaw chicken in the refrigerator overnight. If you need a quicker solution, submerge the sealed chicken in a bowl of cold water, changing the water every 30 minutes. Never thaw chicken at room temperature.
- Rinsing: Rinse the chicken under cold running water to remove any surface debris.
- Trimming: Trim any excess fat from the chicken. While some fat contributes to flavor, too much can make the broth greasy.
- Patting Dry: Pat the chicken dry with paper towels. This helps the seasonings adhere and promotes better browning if you choose to sear the chicken after boiling.
Essential Tools
- Large Stockpot: A heavy-bottomed stockpot with a tight-fitting lid is essential for even heat distribution and moisture retention.
- Kitchen Tongs: Use sturdy tongs to safely handle the chicken during boiling and removal.
- Meat Thermometer: A reliable meat thermometer is crucial for ensuring the chicken reaches a safe internal temperature of 165°F (74°C).
The Cooking Method(s)
While the core principle remains the same, there are subtle variations in how you can boil chicken to enhance its flavor and texture. We'll explore two primary methods: the classic simmer and the aromatic infusion.
Method 1: The Classic Simmer
This method focuses on simplicity and achieving a consistently tender result.
Ingredients:
- 1-4 boneless, skinless chicken breasts (approximately 12 ounces each) or bone-in thighs
- 4-6 cups water or chicken broth (enough to cover the chicken by 1 inch)
- 1 teaspoon kosher salt per quart of water
- ½ teaspoon freshly ground black pepper (adjust to taste)
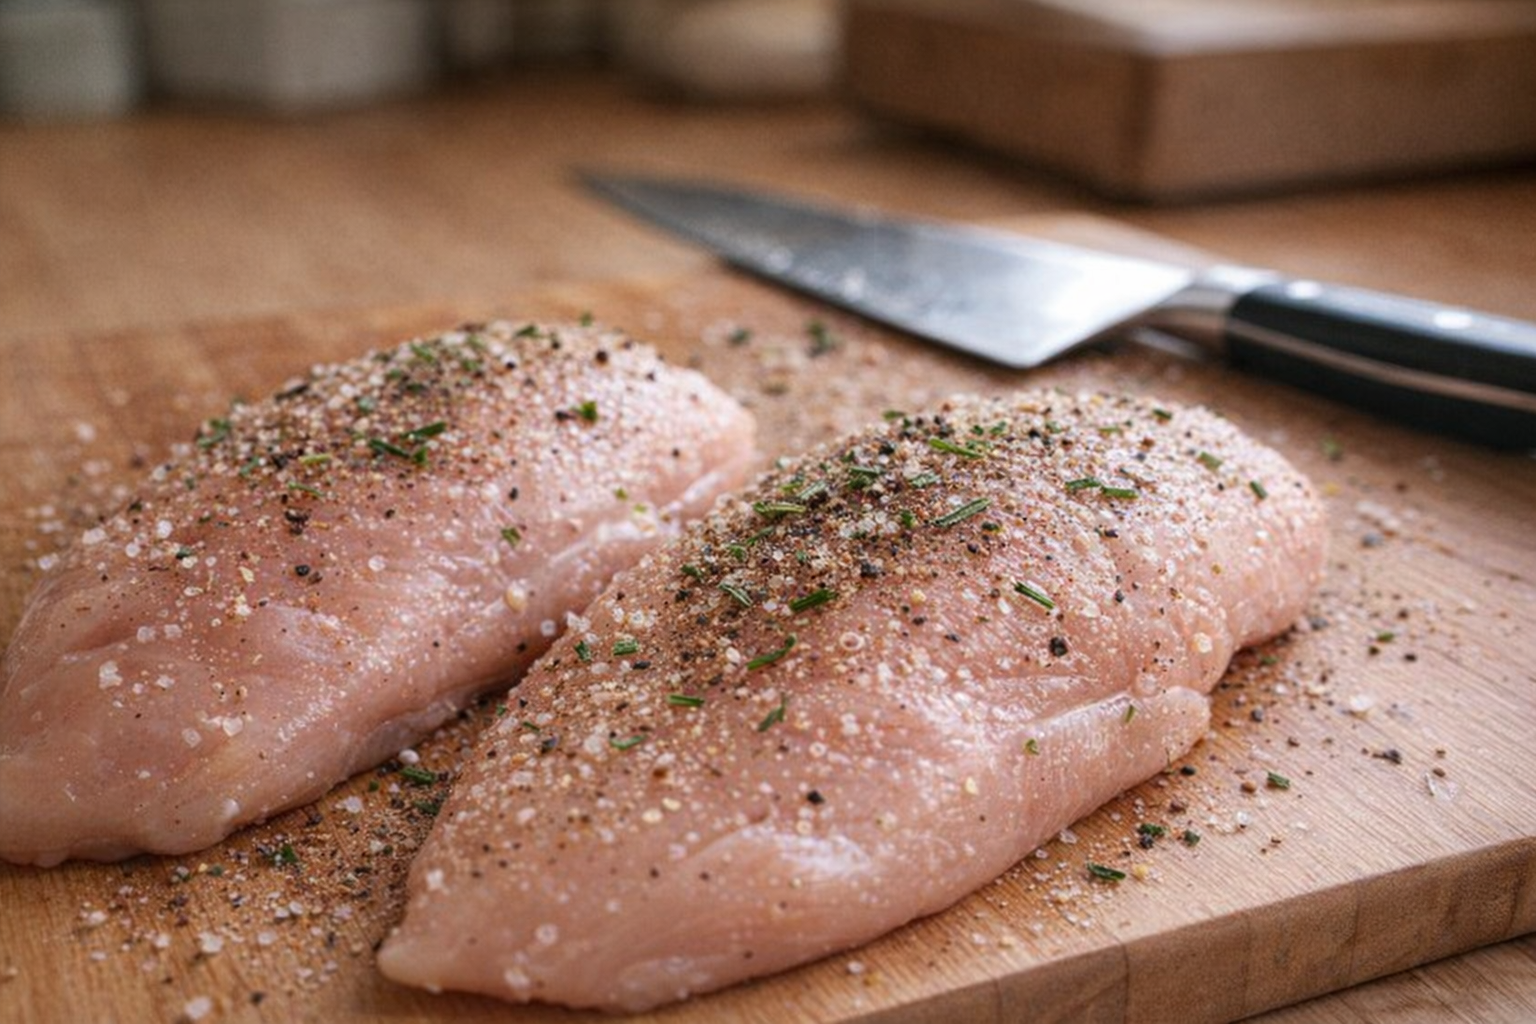
- Season the Chicken: Generously season the chicken with kosher salt and black pepper on both sides. The salt will penetrate the meat during cooking, enhancing its natural flavor.
- Submerge the Chicken: Place the seasoned chicken in a large stockpot. Pour in enough water or chicken broth to completely cover the chicken by about an inch.
- Bring to a Boil, Then Simmer: Bring the liquid to a rolling boil over high heat. Once boiling, immediately reduce the heat to low to maintain a gentle simmer. The liquid should barely be bubbling.
- Cover and Cook: Cover the pot with a tight-fitting lid and simmer for 15-20 minutes for boneless breasts or thighs, or 30-40 minutes for bone-in thighs, or until the chicken reaches an internal temperature of 165°F (74°C).
- Rest and Shred: Once cooked, remove the chicken from the pot using tongs and let it rest for 5-10 minutes before shredding or slicing. This allows the juices to redistribute, resulting in more tender and flavorful chicken.
Method 2: Aromatic Infusion
This method builds on the classic simmer by incorporating aromatics to infuse the chicken with deeper, more complex flavors.
Ingredients:
- 1-4 boneless, skinless chicken breasts (approximately 12 ounces each) or bone-in thighs
- 4-6 cups water or chicken broth (enough to cover the chicken by 1 inch)
- 1 teaspoon kosher salt per quart of water
- ½ teaspoon freshly ground black pepper (adjust to taste)
- 1 onion, quartered
- 2-3 cloves garlic, crushed
- 2 carrots, roughly chopped
- 2 celery stalks, roughly chopped
- A few sprigs of fresh thyme, rosemary, or parsley
- 1 bay leaf
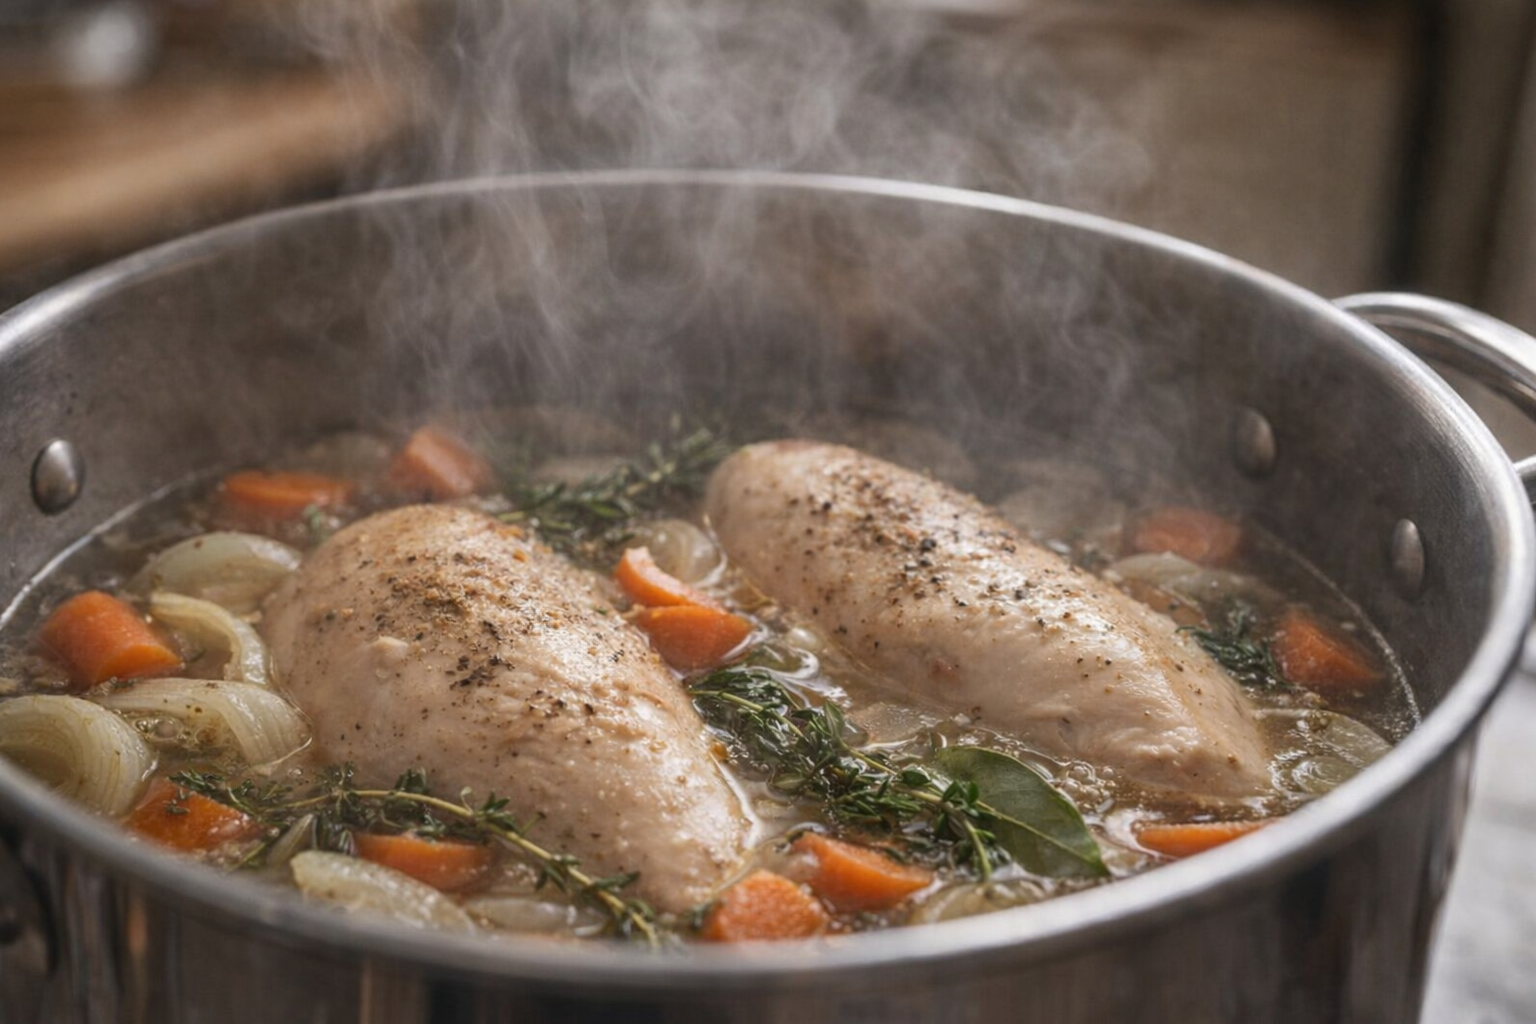
- Season and Combine: Season the chicken with salt and pepper as described in Method 1. Place the chicken in a large stockpot. Add the onion, garlic, carrots, celery, herbs, and bay leaf to the pot.
- Submerge and Simmer: Pour in the water or chicken broth to cover the chicken and vegetables. Bring the liquid to a boil, then reduce the heat to a gentle simmer.
- Cover and Cook: Cover the pot and simmer for the same time as in Method 1, until the chicken reaches 165°F (74°C).
- Rest and Shred: Remove the chicken from the pot and let it rest before shredding. You can strain the broth and reserve it for soups or sauces.
Cooking Time & Doneness Guide
- Boneless, Skinless Chicken Breasts: 15-20 minutes at a simmer.
- Bone-in Chicken Thighs: 30-40 minutes at a simmer.
- Internal Temperature: 165°F (74°C)
Visual Cues
The chicken is done when it is opaque throughout and the juices run clear when pierced with a fork or knife. Bone-in chicken will start to pull away from the bone when cooked through.
Tips for Perfection
- Don't Overcrowd the Pot: Cook the chicken in batches if necessary to avoid overcrowding, which can lower the water temperature and result in uneven cooking.
- Maintain a Gentle Simmer: Avoid a rapid boil, which can toughen the chicken. A gentle simmer ensures even cooking and tender results.
- Use a Meat Thermometer: Relying solely on visual cues can be unreliable. A meat thermometer is the best way to ensure the chicken is cooked to a safe internal temperature.
- Don't Skip the Resting Period: Allowing the chicken to rest after cooking is crucial for retaining moisture and preventing it from drying out.
Storage & Reheating
- Storage: Store leftover boiled chicken in an airtight container in the refrigerator for up to 3-4 days. For longer storage, freeze the chicken in freezer-safe bags or containers for up to 2-3 months.
- Reheating: Reheat boiled chicken gently to prevent it from drying out. You can reheat it in the microwave, oven, or stovetop with a little broth or water to maintain moisture.
Serving Suggestions
- Chicken Salad Sandwich: Mix shredded boiled chicken with mayonnaise, celery, onion, and seasonings for a classic chicken salad sandwich.
- Chicken Tacos: Use shredded boiled chicken as a filling for tacos, topped with your favorite salsa, cheese, and toppings.
- Chicken Noodle Soup: Add diced or shredded boiled chicken to a homemade or store-bought chicken noodle soup for a protein boost.
- Chicken Caesar Salad: Top a Caesar salad with sliced or shredded boiled chicken for a satisfying and healthy meal.
💡 Pro Tips
- Start the chicken in cold water or broth to ensure even cooking and a more tender texture.
- Add aromatics like halved onions, smashed garlic, and whole peppercorns to the poaching liquid to infuse the meat with deep flavor.
- Maintain a gentle simmer rather than a rolling boil to prevent the chicken proteins from tightening and becoming rubbery.
- Use an instant-read meat thermometer to ensure the thickest part of the chicken reaches 165°F for optimal safety and juiciness.
- Allow the chicken to rest in the warm liquid for five minutes after cooking to help the fibers reabsorb moisture.
Frequently Asked Questions
To avoid dry chicken, don't overcook it. Use a meat thermometer and remove the chicken from the pot when it reaches an internal temperature of 165°F (74°C). Letting it rest for a few minutes after removing it from the broth will also help retain moisture.
Yes, you can use bone-in chicken breasts. Bone-in chicken will generally result in a more flavorful broth and slightly more moist chicken. However, be aware that bone-in breasts may take a bit longer to cook completely, so ensure they reach the safe internal temperature.
Don't discard the broth! It's full of flavor and nutrients. You can use it as a base for soups, stews, or sauces, or even freeze it for later use. Strain the broth through a fine-mesh sieve to remove any solids for a clearer broth.
Boiled chicken, once cooked, can be safely stored in the refrigerator for 3-4 days. Make sure to store it in an airtight container to prevent it from drying out and absorbing odors from other foods in the refrigerator. Letting it cool completely before storing is important.