How to Cook Farro: A Culinary Guide to 5 Delicious Methods


Farro, an ancient grain with a delightful nutty flavor and satisfyingly chewy texture, is a fantastic addition to any kitchen. This guide explores five different cooking methods, each unlocking a unique dimension of farro's potential. Whether you're aiming for a comforting side dish, a hearty salad base, or a creative component in your next culinary masterpiece, mastering farro will elevate your cooking.
Farro's versatility lies in its ability to absorb flavors while maintaining its distinct character. From the simplicity of boiling to the nuanced flavors achieved through roasting and stir-frying, you'll discover techniques to perfectly prepare this nutritious grain. This guide not only provides detailed instructions but also delves into the "why" behind each step, ensuring a successful and delicious outcome every time.
Understanding Farro: Your Guide to Varieties and Selection
Farro, derived from the Triticum family, encompasses three main types: Einkorn, Emmer, and Spelt. While distinctions exist, Emmer wheat, commonly known as "farro" in the US and Europe, is the most readily available. The key to choosing the right farro lies in understanding its processing level:
- Whole Farro: The most nutritious option, retaining the entire grain and bran. It boasts the strongest flavor but requires the longest cooking time.
- Semi-Pearled Farro: The most popular choice among experienced cooks. Some of the bran is removed for faster cooking, yet it retains a significant amount of fiber.
- Pearled Farro: Ideal for beginners, as the bran is completely removed, resulting in the quickest cooking time. However, it contains the fewest nutrients.
Why Cook Farro This Way?
- Versatility: Farro adapts beautifully to various cuisines and dishes, from Mediterranean salads to hearty soups and risottos.
- Flavor: Its nutty, subtly sweet flavor profile complements both savory and sweet ingredients.
- Convenience: With multiple cooking methods available, you can choose the approach that best suits your time and equipment.
Preparation (Mise en Place)
Regardless of the cooking method, proper preparation is crucial for achieving optimal results.
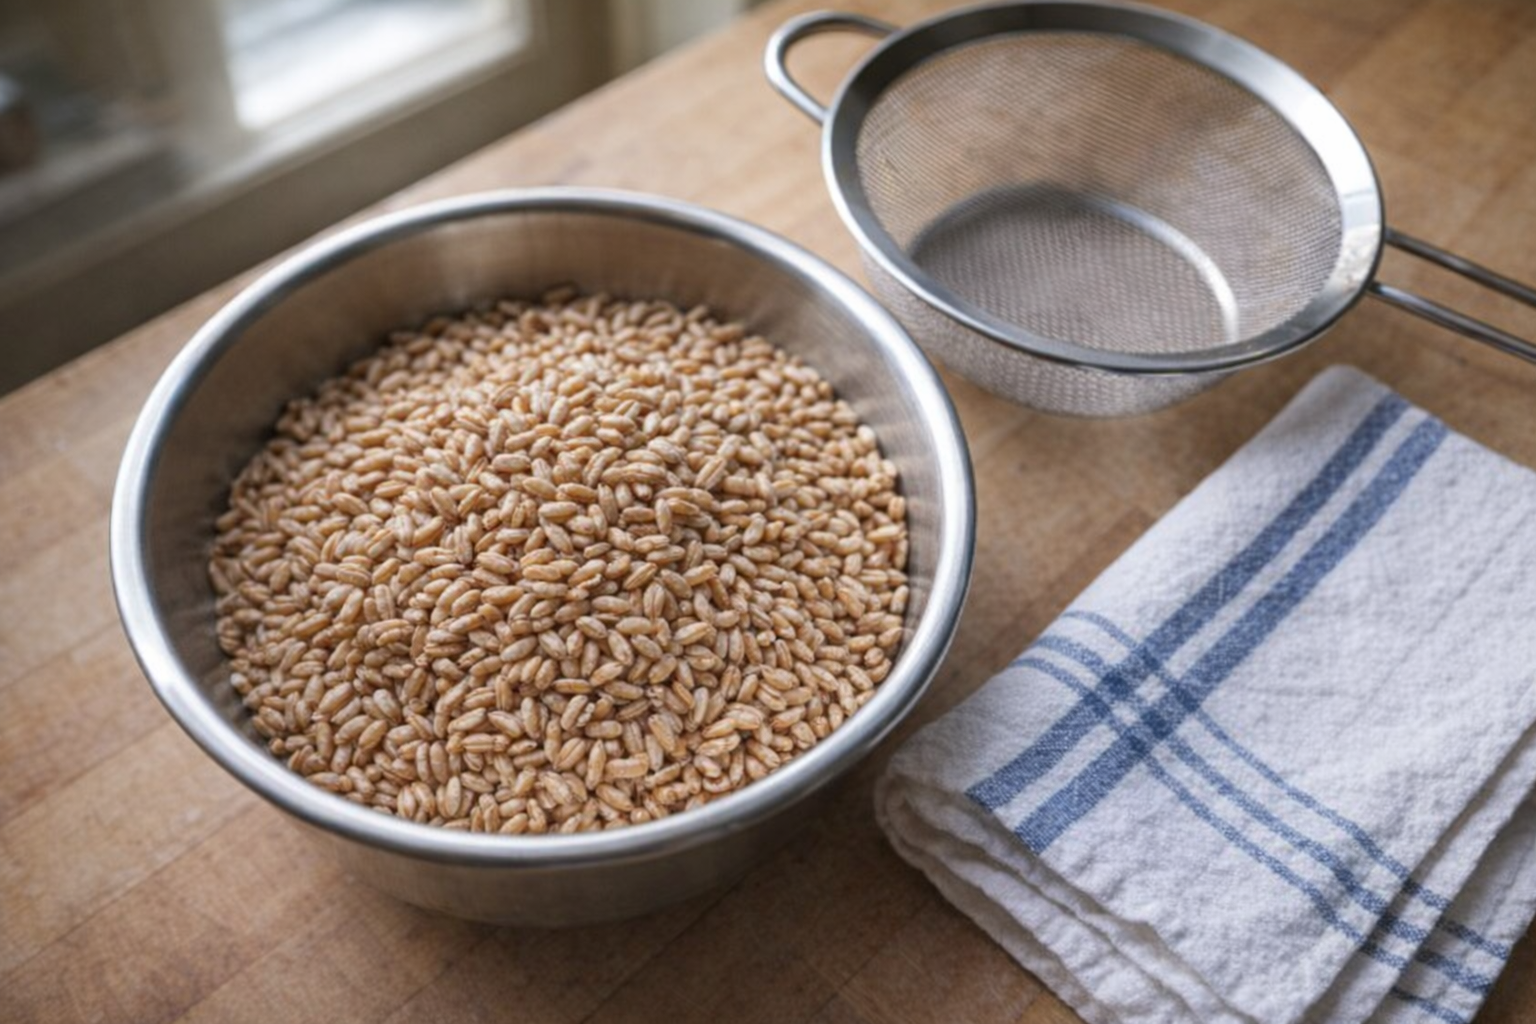
- Washing: Place the farro in a fine-mesh strainer and rinse under cold running water for 2-3 minutes, until the water runs clear. This removes any dust or debris.
- Soaking (Optional): Soaking whole or semi-pearled farro overnight in cold water shortens the cooking time. Pearled farro does not require soaking.
- Toasting (Optional): Toasting farro enhances its nutty flavor. Drain the rinsed farro thoroughly and pat it dry with a clean kitchen towel.
Essential Tools
- Fine-Mesh Strainer: For rinsing the farro.
- Large Bowl: For soaking (if applicable).
- Kitchen Towel: For drying the farro before toasting or roasting.
The Cooking Methods
Below are detailed instructions for each of the five cooking methods, including ingredient lists, step-by-step instructions, and sensory cues to guide you through the process.
Method 1: Boiling
Boiling is a simple and effective method for cooking farro, preserving its nutritional value and creating a versatile base for various dishes.
Ingredients:
- 1 cup (200g) farro
- 3 cups (710ml) water or broth
- 1 tablespoon (14g) butter or olive oil
- 1 teaspoon (5g) salt
- 1/2 teaspoon (2.5g) black pepper
- Optional aromatics: cloves, cinnamon stick, star anise
- In a deep pot, combine water or broth, salt, pepper, butter or olive oil, and any desired aromatics. Bring to a rolling boil over high heat. The fragrant aroma of the aromatics will begin to fill your kitchen.
- Add the farro to the boiling liquid. Stir well to ensure the grains are evenly distributed.
- Return to a boil, then reduce heat to low, cover, and simmer for the specified time based on the type of farro (see "Cooking Time & Doneness Guide" below). The gentle simmer will create tender, chewy grains.
- Once cooked, drain any excess liquid using a fine-mesh strainer. The cooked farro will have expanded in size and be noticeably softer.
- Fluff the farro with a fork and serve hot.
Method 2: Steaming
Steaming farro results in a delicately flavored and slightly firmer texture. This method is ideal for cold salads or dishes where you want the farro to retain its shape.
Ingredients:
- 1 cup (200g) farro
- 3 cups (710ml) water
- 1 tablespoon (14g) butter or olive oil
- 1 teaspoon (5g) salt
- 1/2 teaspoon (2.5g) black pepper
- Optional aromatics: bay leaf, lemon peel
- In a deep pot, bring water and desired aromatics to a simmer.
- Place the farro in a steamer basket that fits snugly inside the pot, ensuring the bottom of the basket doesn't touch the water.
- Cover the pot tightly and steam for the specified time based on the type of farro (see "Cooking Time & Doneness Guide" below). The steam will envelop the grains, gently cooking them without making them mushy.
- Remove the steamer basket from the pot. Let the farro cool slightly before fluffing with a fork. The steamed farro will have a slightly glossy appearance.
- Serve warm or chilled.
Method 3: Roasting
Roasting farro enhances its nutty flavor, creating a satisfyingly crunchy texture. This method is perfect for adding depth and complexity to salads, soups, or grain bowls.
Ingredients:
- 1 cup (200g) farro, thoroughly dried
- 1 tablespoon (15ml) olive oil
- 1/2 teaspoon (2.5g) salt
- 1/4 teaspoon (1.25g) black pepper
- Optional aromatics: garlic powder, onion powder
- Preheat oven to 350°F (175°C).
- In a bowl, toss the dried farro with olive oil, salt, pepper, and any desired aromatics. Ensure the grains are evenly coated.
- Spread the farro in a single layer on a baking sheet.
- Roast for the specified time based on the type of farro (see "Cooking Time & Doneness Guide" below), stirring occasionally to ensure even browning. The aroma of toasted grains will fill your kitchen.
- The farro is done when it is golden brown and slightly crunchy.
- Let cool slightly before serving.
Method 4: Baking
Baking farro offers a hands-off approach, resulting in a tender and evenly cooked grain.
Ingredients:
- 1 cup (200g) farro
- 3 cups (710ml) water or broth
- 1 tablespoon (14g) butter or olive oil
- 1 teaspoon (5g) salt
- 1/2 teaspoon (2.5g) black pepper
- Optional aromatics: thyme sprigs, rosemary
- Preheat oven to 350°F (175°C).
- In a baking dish, combine the farro, water or broth, butter or olive oil, salt, pepper, and any desired aromatics.
- Cover the dish tightly with a lid or aluminum foil.
- Bake for the specified time based on the type of farro (see "Cooking Time & Doneness Guide" below).
- Remove from oven and let stand for 10 minutes before fluffing with a fork. The farro will be tender and have absorbed most of the liquid.
Method 5: Stir-Frying
Stir-frying farro is a quick and flavorful way to create a complete meal. This method allows you to incorporate vegetables, proteins, and sauces for a customized dish.
Ingredients:
- 1 cup (200g) cooked farro (prepared using any of the methods above)
- 1 tablespoon (15ml) cooking oil
- 1 cup chopped vegetables (onion, carrots, bell peppers, peas, cabbage)
- 2 cloves garlic, minced
- 1 tablespoon soy sauce or tamari (or other desired sauce)
- Salt and pepper to taste
- Heat cooking oil in a large skillet or wok over medium-high heat. The oil should shimmer but not smoke.
- Add onion and garlic and stir-fry until softened and fragrant, about 2-3 minutes. The aroma of sautéing garlic and onions will fill your kitchen.
- Add remaining vegetables and stir-fry for another 3-5 minutes, until tender-crisp. The vegetables will become vibrant in color.
- Add the cooked farro and soy sauce or tamari. Stir-fry for 2-3 minutes, until heated through and the flavors are combined.
- Season with salt and pepper to taste.
- Serve immediately.

Cooking Time & Doneness Guide
The cooking time for farro varies depending on the type and the cooking method:
| Type of Farro | Boiling Time | Steaming Time | Roasting Time | Baking Time |
|---|---|---|---|---|
| Pearled Farro | 15-20 mins | 20-25 mins | 8-10 mins | 30 mins |
| Semi-Pearled | 25-30 mins | 30-35 mins | 10-15 mins | 35-40 mins |
| Whole Farro | 35-40 mins | 45-60 mins | 15-17 mins | 40-45 mins |
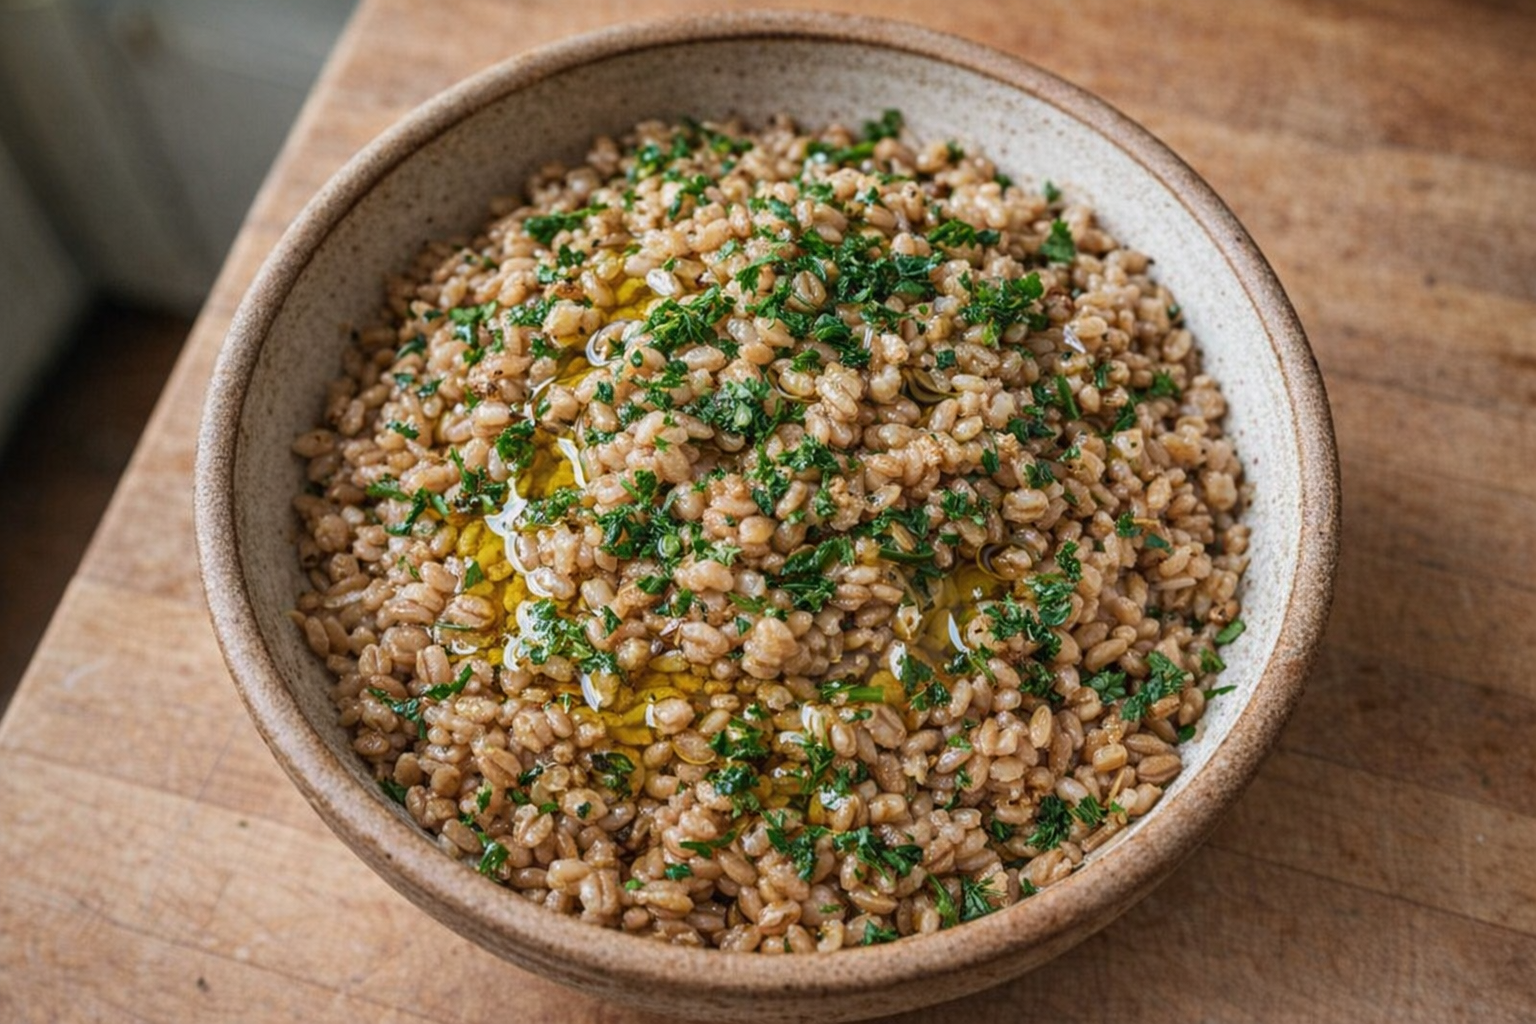
Visual Cues
- The grains should be tender and slightly chewy, but not mushy.
- When boiled or steamed, the grains should have expanded in size and be plump.
- When roasted, the grains should be golden brown and slightly crunchy.
Tips for Perfection
- Don't Overcook: Overcooked farro can become mushy and lose its appealing texture.
- Use Broth for Added Flavor: Substituting water with chicken or vegetable broth enhances the overall flavor of the dish.
- Toast for a Nutty Flavor Boost: Toasting the farro before cooking intensifies its nutty flavor.
- Season Generously: Don't be afraid to experiment with different herbs, spices, and seasonings to create your unique flavor profile.
Storage & Reheating
- Storage: Cooked farro can be stored in an airtight container in the refrigerator for up to 5 days.
- Reheating: Reheat farro in the microwave or on the stovetop with a splash of water or broth to prevent it from drying out.
Serving Suggestions
- Salads: Combine cooked farro with roasted vegetables, feta cheese, and a lemon vinaigrette for a Mediterranean-inspired salad.
- Soups: Add cooked farro to hearty vegetable or lentil soups for added texture and nutrition.
- Grain Bowls: Build a grain bowl with cooked farro, grilled chicken or tofu, roasted vegetables, and a flavorful sauce.
- Risotto: Use farro as a substitute for Arborio rice in a risotto, creating a nutty and satisfying twist on a classic dish.
💡 Pro Tips
- Rinse the farro thoroughly under cold running water before cooking to remove surface starch and ensure the grains stay separate.
- Toast the dry grains in a skillet for a few minutes until they become fragrant to intensify their inherent nutty flavor profile.
- Substitute plain water with a savory stock or add aromatics like garlic and bay leaves to the cooking liquid for a more complex taste.
- Start checking the farro for a tender yet chewy texture around the 25-minute mark to prevent the grains from becoming mushy.
- Drain any excess liquid immediately after cooking and let the grains rest covered for five minutes to allow the moisture to redistribute evenly.
Frequently Asked Questions
Yes, using broth (vegetable or chicken) is a great way to infuse farro with extra flavor. Just be mindful of the salt content in the broth and adjust accordingly; you may need to reduce or eliminate added salt.
Allow the cooked farro to cool completely before transferring it to an airtight container. Store it in the refrigerator for up to 5 days. You can also freeze cooked farro for longer storage, up to 2-3 months; thaw it in the refrigerator before using.
If your farro is still too chewy, it likely needs more cooking time. Add a little more liquid (water or broth) to the pot and continue simmering for another 5-10 minutes, checking for doneness periodically. Remember that whole farro will always have a slightly chewier texture than pearled farro.
Absolutely! Farro makes a wonderful substitute for rice, quinoa, or even barley in many recipes. Keep in mind that farro has a chewier texture and nuttier flavor, which will add a unique dimension to your dish. You might need to adjust the cooking time slightly based on the specific recipe.