 delishing
How to Make Authentic Vietnamese Chicken Pho (Pho Ga) at Home

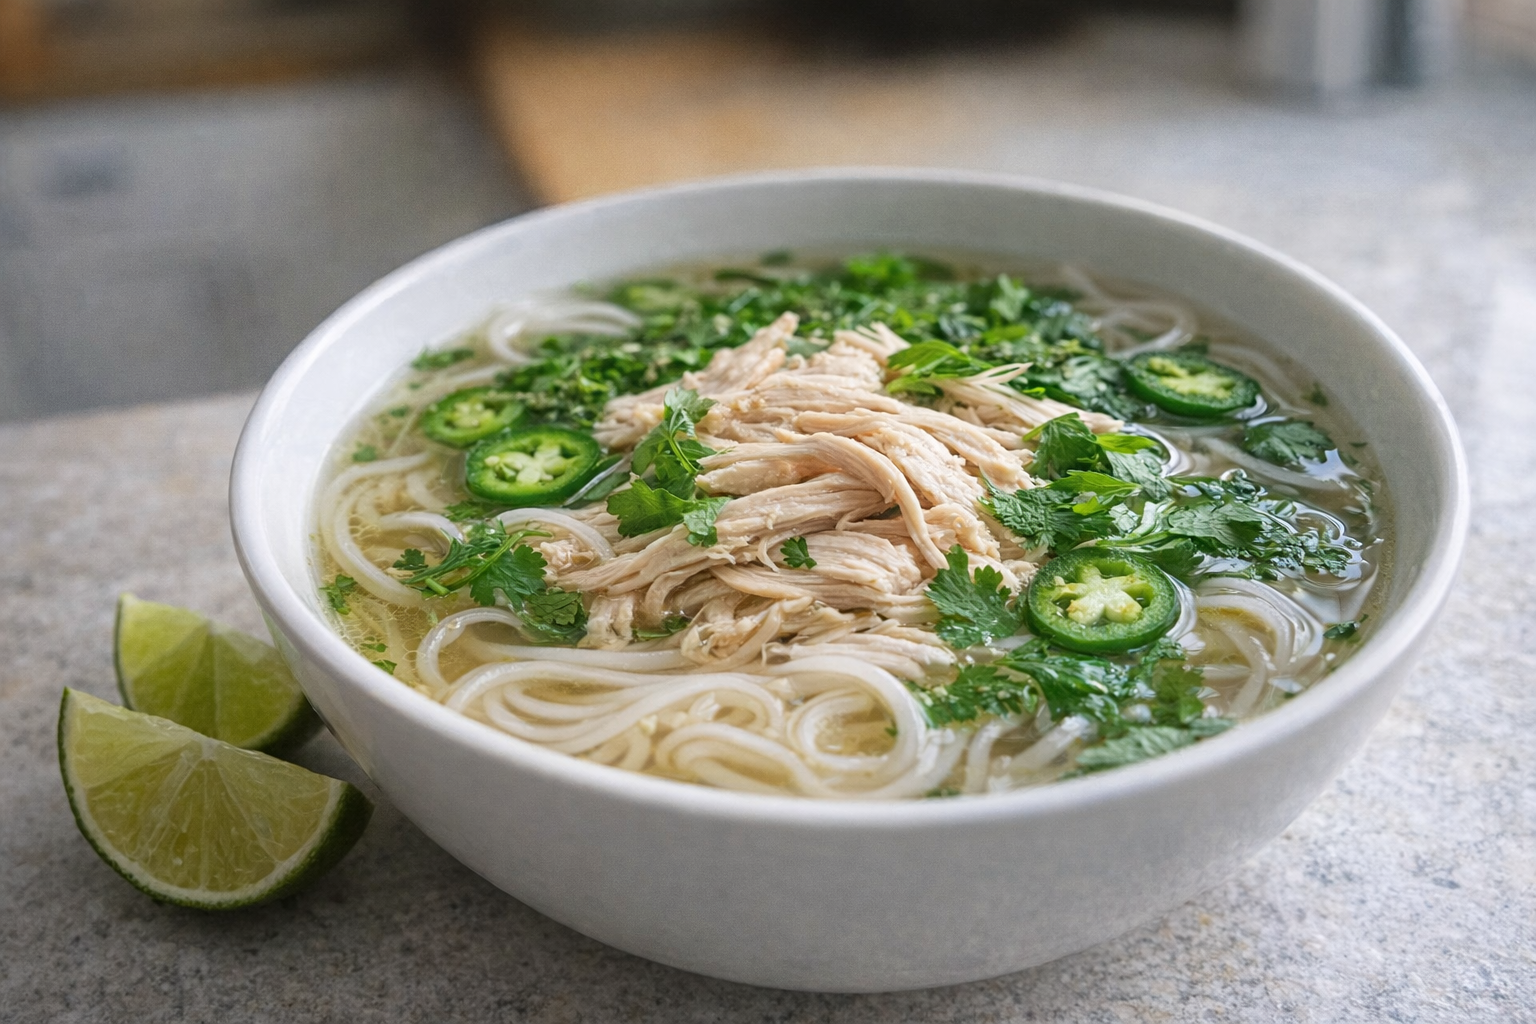
Pho Ga, or Vietnamese Chicken Noodle Soup, is a delicate and aromatic dish that soothes the soul. Unlike its beef counterpart (Pho Bo), Pho Ga offers a lighter, cleaner flavor profile, focusing on the savory notes of chicken and fragrant spices. The key is in building a clear, deeply flavored broth that perfectly complements the tender chicken and fresh herbs.
This method emphasizes traditional techniques, ensuring a complex and nuanced flavor that rivals restaurant-quality Pho Ga. By roasting the aromatics, blanching the chicken, and simmering low and slow, we extract maximum flavor while maintaining a pristine broth. The result is a comforting and revitalizing soup, perfect for any time of day.
Understanding Chicken for Pho Ga
The quality of your chicken directly impacts the flavor of your Pho Ga broth. While any chicken can be used, certain types will yield a more flavorful and satisfying result.
- Whole Chicken: This is the traditional choice. A whole chicken, about 3-4 pounds, provides the most depth of flavor due to the bones and connective tissues. Roasting the whole chicken prior to making the broth will add even more depth.
- Chicken Pieces (Bone-in, Skin-on): If you prefer, you can use a combination of chicken pieces like thighs, drumsticks, and backs. These pieces offer a good balance of flavor and affordability. Make sure the pieces still have the bones and skin.
- Free-Range or Organic Chicken: Opting for free-range or organic chicken ensures a richer, more natural flavor and a higher quality broth.
Why Cook Pho Ga This Way?
- Flavor: Roasting aromatics and blanching the chicken creates a deeper, more complex broth, a hallmark of authentic Pho Ga.
- Versatility: Adjust the herbs, spices, and toppings to your liking. Add more chili for heat or different herbs for unique flavor combinations.
- Convenience: While the broth simmers, you can prepare the noodles, chicken, and toppings, making efficient use of your time.
Preparation (Mise en Place)
Before you begin cooking, proper preparation is key. This ensures a smooth and efficient cooking process, allowing you to focus on developing the rich flavors of the Pho Ga.
- Thawing: If using a frozen chicken, thaw it completely in the refrigerator for at least 24 hours. This ensures even cooking and prevents bacterial growth.
- Aromatics: Halve the onions and ginger lengthwise. Peel the garlic cloves.
- Herbs and Toppings: Wash and dry all fresh herbs (cilantro, Thai basil, mint, green onions). Thinly slice the green onions and red chili (if using). Prepare lime wedges.
Essential Tools
- Large Stockpot: A 6-8 quart stockpot is essential for simmering the broth. The large size allows ample space for the chicken, aromatics, and water.
- Tongs: Use tongs for handling the chicken during the blanching and simmering process.
- Fine-Mesh Strainer: A fine-mesh strainer is crucial for removing solids from the broth, ensuring a clear and pristine final product.
- Chef's Knife: A sharp chef's knife is necessary for prepping the aromatics and slicing the chili (if using).
The Cooking Method
The traditional method of making Pho Ga focuses on building flavor through a multi-step process. This ensures a complex and nuanced broth that is both comforting and deeply satisfying.
Method: Traditional Vietnamese Chicken Pho
Ingredients:
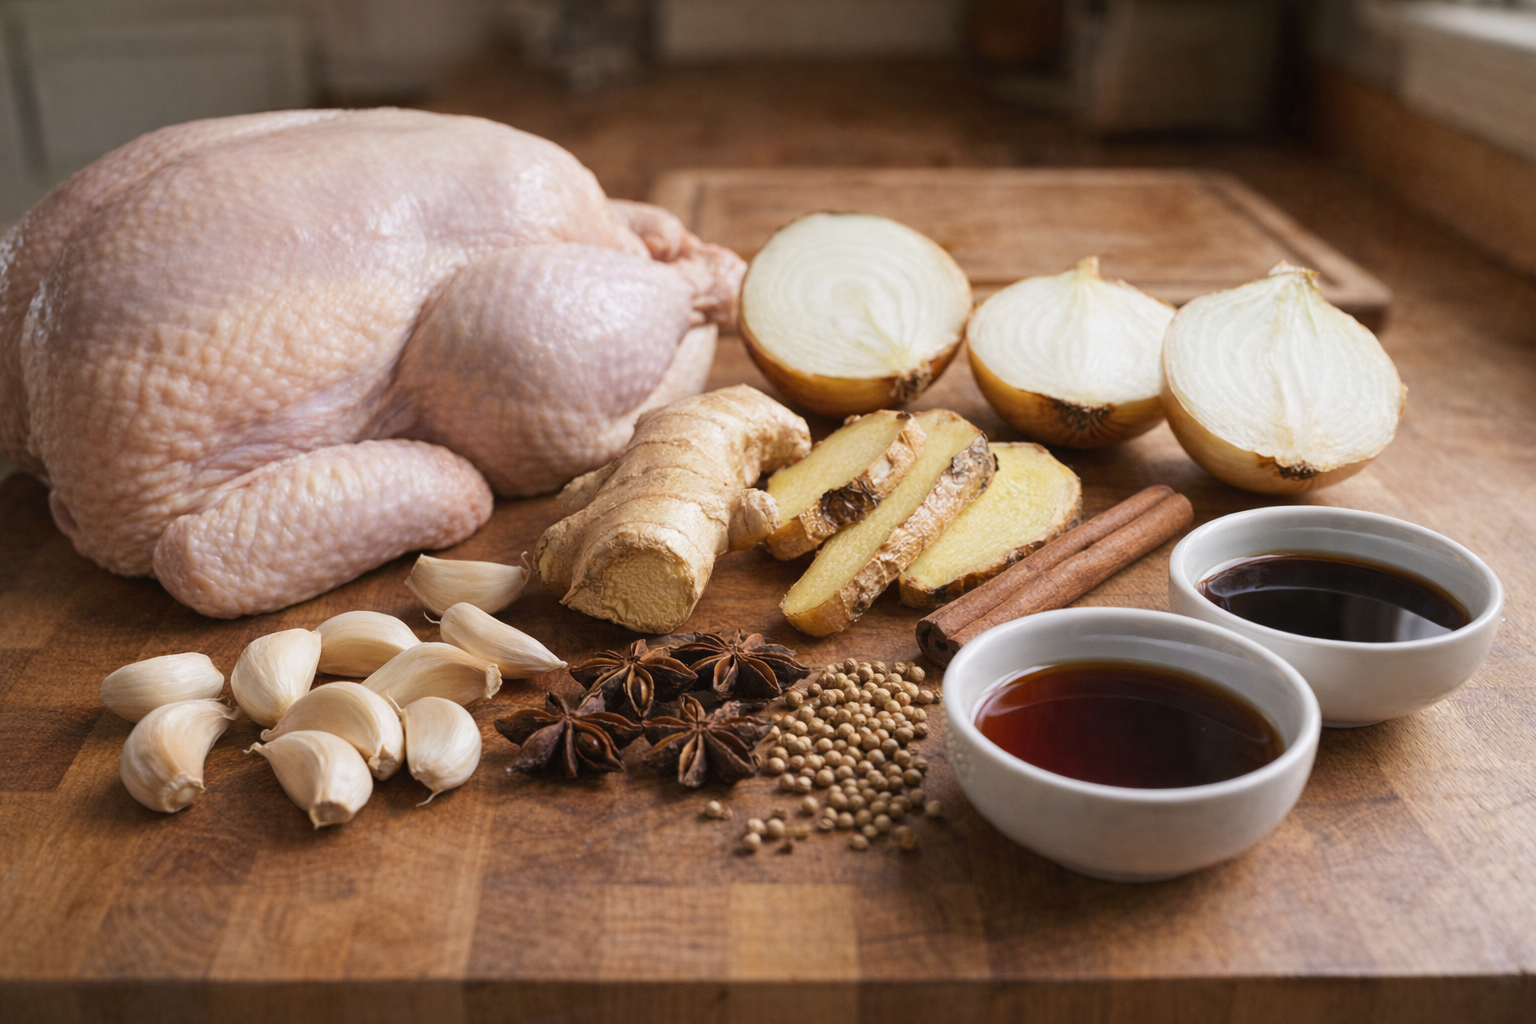
- 1 whole chicken (about 3-4 pounds) / 1.3-1.8 kg
- 2 onions, halved
- 4-inch piece of ginger, sliced in half lengthwise / 10 cm
- 4 cloves of garlic
- 2-3 star anise pods
- 1 cinnamon stick
- 4 cloves
- 1 teaspoon coriander seeds / 5 ml
- 1 tablespoon salt / 15 ml
- 1 tablespoon sugar / 15 ml
- 2 tablespoons fish sauce / 30 ml
- 1 tablespoon soy sauce (optional) / 15 ml
- 10 cups of water / 2.4 liters
- 14 ounces (400 grams) rice noodles (banh pho)
- 2-3 green onions, thinly sliced
- Fresh cilantro, chopped
- Fresh Thai basil leaves
- Fresh mint leaves
- Bean sprouts
- Lime wedges
- Fresh red chili or jalapeños, thinly sliced
- Hoisin sauce (optional)
- Sriracha sauce (optional)
- Roast the Aromatics: Place the halved onions, ginger, and garlic under a broiler or over an open flame until charred on the outside, about 5-7 minutes. The kitchen will fill with a pungent, slightly sweet aroma.
- Blanch the Chicken: In a large pot, bring 10 cups (2.4 liters) of water to a boil. Carefully add the whole chicken. Allow it to boil for 5-10 minutes. This step removes impurities from the chicken, resulting in a clearer broth. As it boils, you'll notice a foamy residue rising to the surface.
- Rinse the Chicken and Pot: After blanching, discard the water and rinse the chicken under cold water. Thoroughly clean the pot to remove any remaining impurities.
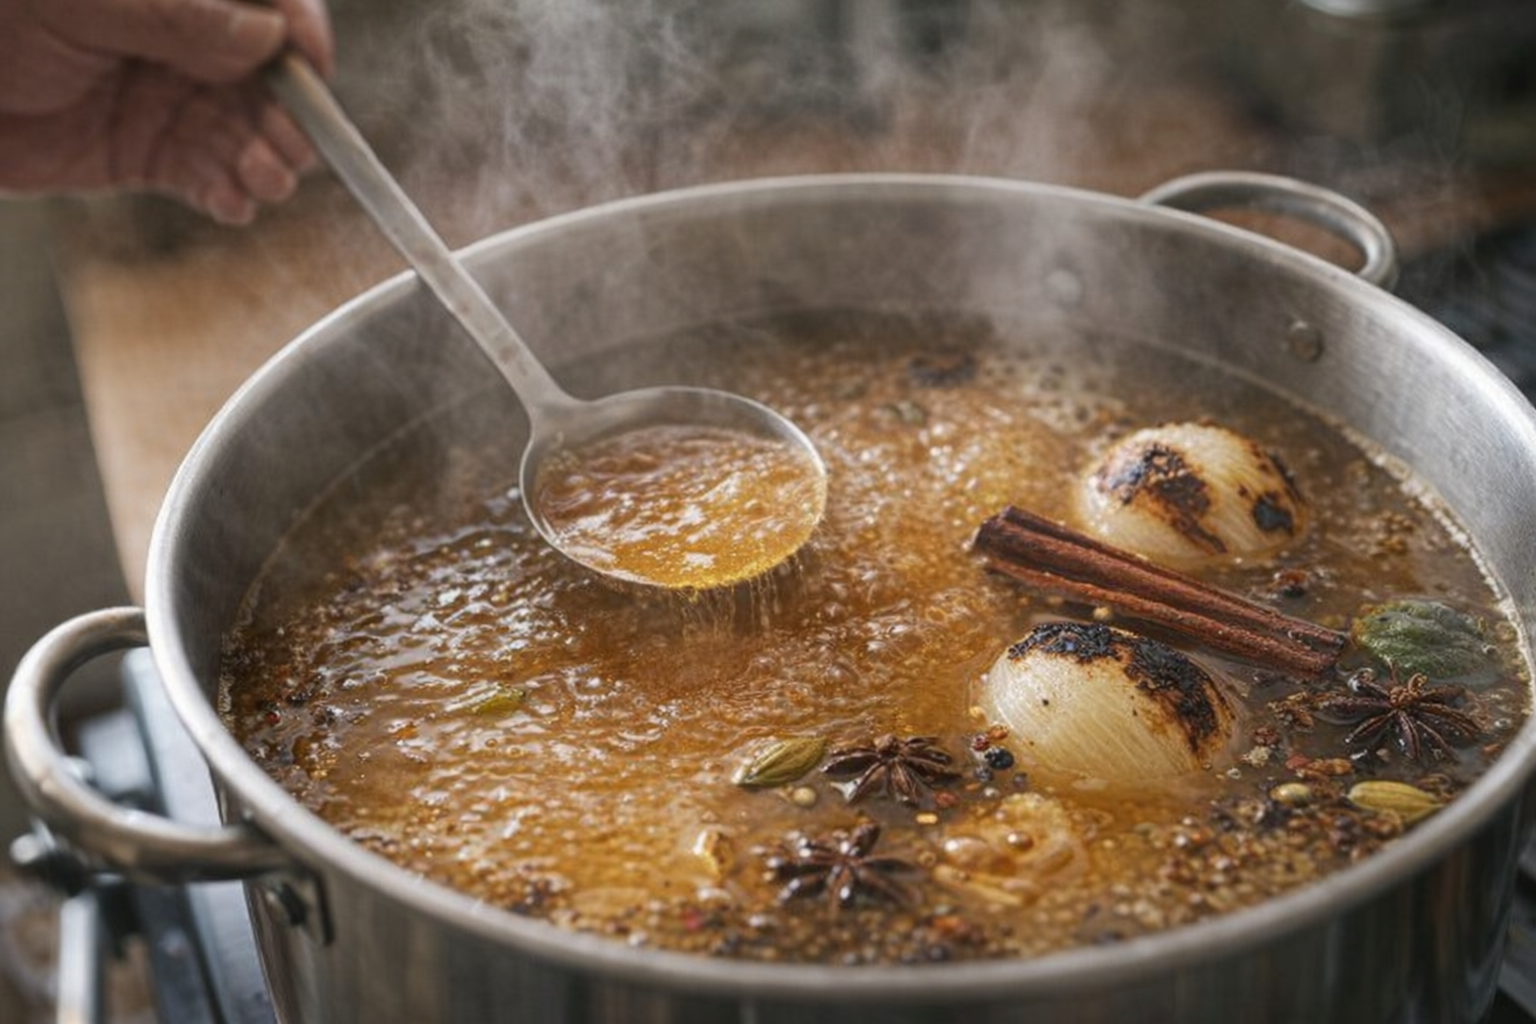
- Simmer the Broth: In the cleaned pot, add the blanched chicken, charred onions, ginger, garlic, star anise, cinnamon stick, cloves, and coriander seeds. Pour in 10 cups (2.4 liters) of fresh water and bring it to a boil.
- Reduce and Simmer: Reduce the heat to a gentle simmer and cook for about 1.5 to 2 hours. Throughout the simmering process, skim off any foam that rises to the surface. This ensures a clear and flavorful broth. The aroma will evolve, becoming richer and more complex over time.
- Remove and Strain: After simmering, remove the chicken from the pot and set it aside to cool. Strain the broth through a fine-mesh strainer to remove the solids. Discard the solids or save them for another use.
- Season the Broth: Return the strained broth to the pot and season with salt, sugar, fish sauce, and soy sauce (if using). Taste and adjust the seasoning as needed. The broth should be savory, slightly sweet, and aromatic.
- Cook the Noodles: While the broth is simmering, cook the rice noodles according to the package instructions. Typically, this involves soaking the noodles in hot water until they are soft but still chewy. Drain and rinse with cold water to stop the cooking process.
- Shred the Chicken: Once the chicken is cool enough to handle, remove the skin and bones. Shred the meat into bite-sized pieces and set aside.
- Assemble the Bowls: In individual serving bowls, place a portion of cooked rice noodles. Top with shredded chicken.
- Ladle the Broth: Pour the hot, seasoned broth over the noodles and chicken, ensuring that the broth covers all the ingredients.
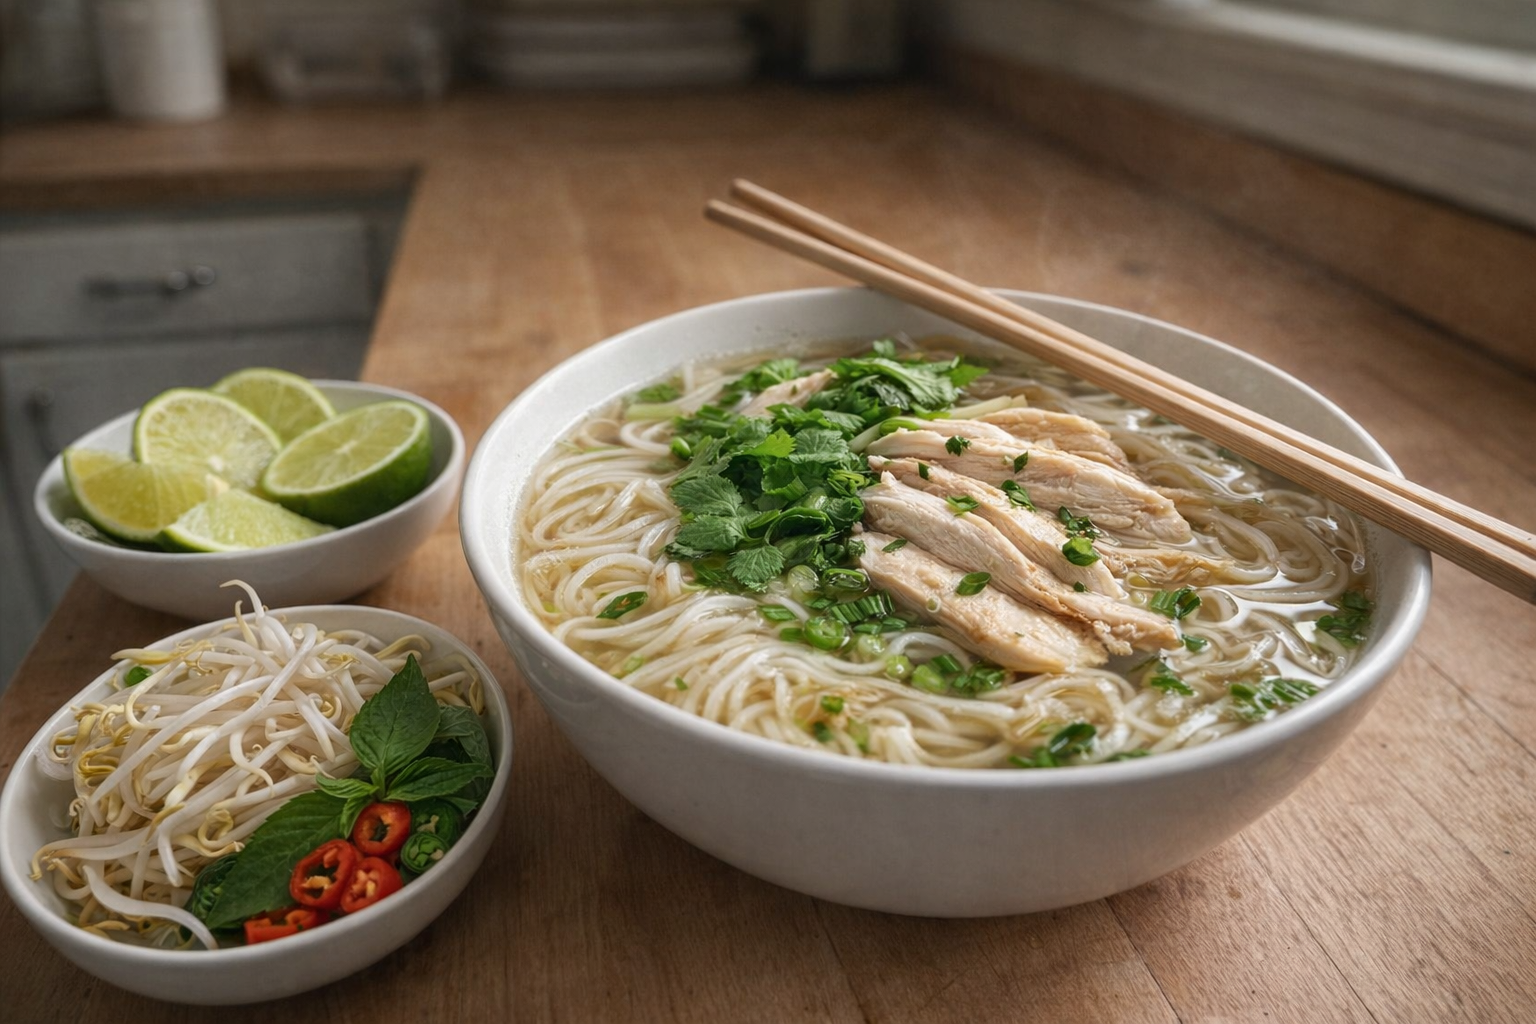
- Add Toppings: Garnish with green onions, cilantro, Thai basil, mint, and bean sprouts. Serve with lime wedges, hoisin sauce, and sriracha sauce on the side for additional seasoning.
Cooking Time & Doneness Guide
- Simmering Time: 1.5 to 2 hours.
- Internal Temperature (Chicken): While the chicken is cooked in the broth, ensure it reaches an internal temperature of 165°F (74°C) before shredding.
Visual Cues
- Broth Clarity: The broth should be clear and free of impurities after simmering and straining.
- Chicken Tenderness: The chicken should be tender and easily shreddable after simmering.
Tips for Perfection
- Don't Skip the Char: Charring the aromatics is crucial for developing the characteristic smoky flavor of Pho Ga broth.
- Skim the Broth Regularly: Skimming the foam during simmering ensures a clear and flavorful broth.
- Adjust Seasoning to Taste: The balance of salt, sugar, and fish sauce is essential. Taste and adjust the seasoning to your liking.
- Use Fresh Herbs: Fresh herbs add a vibrant aroma and flavor that is essential to Pho Ga.
Storage & Reheating
- Storage: Store leftover broth and shredded chicken separately in airtight containers in the refrigerator for up to 3 days. Cooked noodles are best enjoyed immediately but can be stored separately for up to 1 day.
- Reheating: Reheat the broth in a saucepan over medium heat until simmering. Reheat the chicken separately or directly in the broth. Cook fresh noodles. Assemble the Pho Ga with fresh herbs and toppings. Avoid microwaving the noodles, as they can become mushy.
Serving Suggestions
- Classic Pho Ga: Serve as a comforting and flavorful soup with all the traditional toppings.
- Pho Ga Salad: Use the shredded chicken and rice noodles to create a refreshing Vietnamese-style salad with fresh herbs, vegetables, and a light vinaigrette.
- Pho Ga Spring Rolls: Wrap the shredded chicken, rice noodles, and fresh herbs in rice paper wrappers for a light and flavorful appetizer.
- Pho Ga Stir-Fry: Stir-fry the shredded chicken and rice noodles with vegetables and a savory sauce for a quick and easy meal.
💡 Pro Tips
- Blanch the chicken in boiling water for several minutes and rinse it thoroughly before starting the final broth to ensure a crystal-clear result.
- Char the ginger and shallots over an open flame or under a broiler until the skins are blackened to release a deep, smoky sweetness into the soup.
- Maintain a very gentle simmer rather than a rolling boil to prevent chicken fat from emulsifying and clouding the delicate liquid.
- Toast the whole spices like star anise and cinnamon sticks in a dry pan until fragrant before adding them to the pot to maximize their aromatic impact.
- Soak dried rice noodles in warm water until they are pliable before a final quick blanch to ensure they achieve the perfect silky texture without becoming mushy.
Frequently Asked Questions
While you can use chicken breast for convenience, it won't provide the same depth of flavor as a whole chicken or bone-in pieces. The bones and skin contribute significantly to the richness of the broth. If using chicken breast, consider adding chicken bouillon or extra spices to compensate for the lack of flavor.
To achieve a clearer broth, skim off any impurities that rise to the surface during simmering with a fine-mesh skimmer or spoon. Avoid boiling the broth vigorously, as this can emulsify fats and proteins, leading to cloudiness. Simmering gently over low heat will help maintain a clear broth.
Yes, you can substitute dried rice noodles for fresh ones. Just be sure to cook them according to the package directions before adding them to the soup. Dried noodles often require soaking or boiling before they are ready to eat, so follow the instructions carefully to avoid mushy or undercooked noodles.
Leftover Pho Ga broth can be stored in an airtight container in the refrigerator for up to 3-4 days. For longer storage, freeze the broth in individual portions for up to 2-3 months. Be sure to cool the broth completely before refrigerating or freezing to prevent bacterial growth.