How to Make Classic Italian Panna Cotta

Panna Cotta, meaning "cooked cream" in Italian, is a testament to simple elegance. This Northern Italian dessert features a silky-smooth, delicate texture and a subtle vanilla flavor that serves as the perfect canvas for a variety of toppings. Its appeal lies in its simplicity; a few high-quality ingredients combined with precise technique yield a sophisticated and satisfying treat.
This guide provides a detailed breakdown of how to achieve the perfect panna cotta at home, focusing on achieving the ideal wobble and balancing sweetness with a creamy richness. By understanding the science behind the ingredients and mastering the cooking process, you'll be able to consistently create this classic Italian dessert with confidence.
Understanding Cream:
The key to a good panna cotta is the quality of the cream. Heavy cream, with a fat content of at least 36%, is essential for achieving that signature richness and smooth texture. Avoid using lower-fat creams, as they may result in a less stable and less flavorful dessert. Some recipes call for the addition of milk or half-and-half, but we prefer to stick with heavy cream for the purest expression of panna cotta.
When selecting cream, opt for pasteurized, but not ultra-pasteurized, cream. Ultra-pasteurization can affect the cream's ability to thicken properly. Look for cream that is fresh and has a clean, slightly sweet aroma.
Why Cook Panna Cotta This Way?- Versatility: Panna cotta is a blank canvas, allowing you to experiment with different flavor infusions, toppings, and sauces.
- Flavor: The simple combination of cream, sugar, and vanilla highlights the natural sweetness and richness of the cream.
- Convenience: Panna cotta can be made ahead of time, making it an ideal dessert for entertaining.
Preparation (Mise en Place)
Before you begin, gather all of your ingredients and equipment. Bloom the gelatin in cold water to ensure it dissolves evenly and doesn't clump. Prepare your molds or ramekins by lightly greasing them with a neutral oil or cooking spray. This will help the panna cotta release easily when unmolded.
Essential Tools
- Small Saucepan: A heavy-bottomed saucepan is ideal for gently heating the cream mixture without scorching.
- Whisk: A whisk is essential for incorporating the sugar and vanilla into the cream and ensuring the gelatin dissolves completely.
- Ramekins or Molds: Use individual ramekins or decorative molds to shape the panna cotta.
- Liquid Measuring Cup: For accurate measurement of liquids.
The Cooking Method
We'll focus on the traditional method of making panna cotta on the stovetop, which allows for precise control over the cooking process and ensures even heating.
Stovetop Panna Cotta
Ingredients:
- 2 cups (480ml) Heavy Cream
- 1/2 cup (100g) Granulated Sugar
- 1 Vanilla Bean, split and scraped (or 1 teaspoon vanilla extract)
- 1 1/2 teaspoons (4g) Powdered Gelatin
- 2 tablespoons (30ml) Cold Water
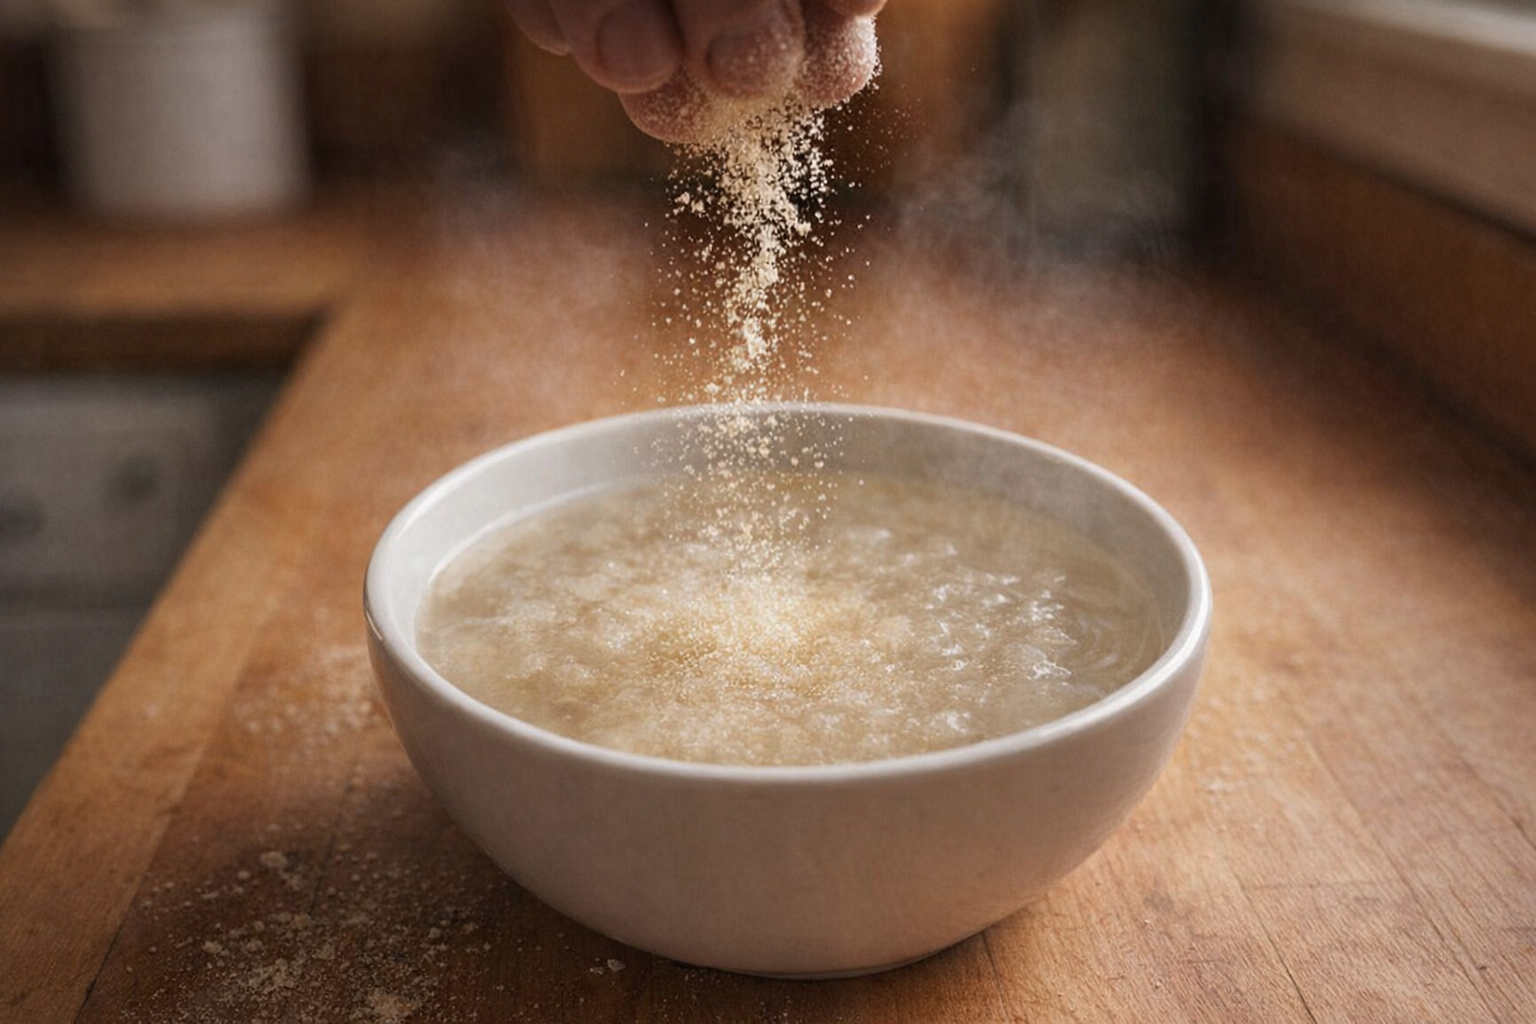
- Bloom the Gelatin: In a small bowl, sprinkle the gelatin over the cold water. Let it sit for 5-10 minutes until softened. The mixture will become thick and gelatinous.
- Infuse the Cream: In a medium saucepan, combine the heavy cream, sugar, and vanilla bean (or vanilla extract). If using a vanilla bean, scrape the seeds into the cream and add the pod as well.
- Heat Gently: Place the saucepan over medium-low heat. Stir constantly until the sugar is completely dissolved and the cream is warm, but not boiling. You should see small wisps of steam rising from the surface, but no bubbles. The mixture should feel smooth and slightly thickened when you drag a spoon across the bottom of the pan.
- Dissolve the Gelatin: Remove the saucepan from the heat. If using a vanilla bean, remove the pod. Add the bloomed gelatin to the warm cream mixture and whisk until completely dissolved. Ensure there are no lumps of gelatin remaining.
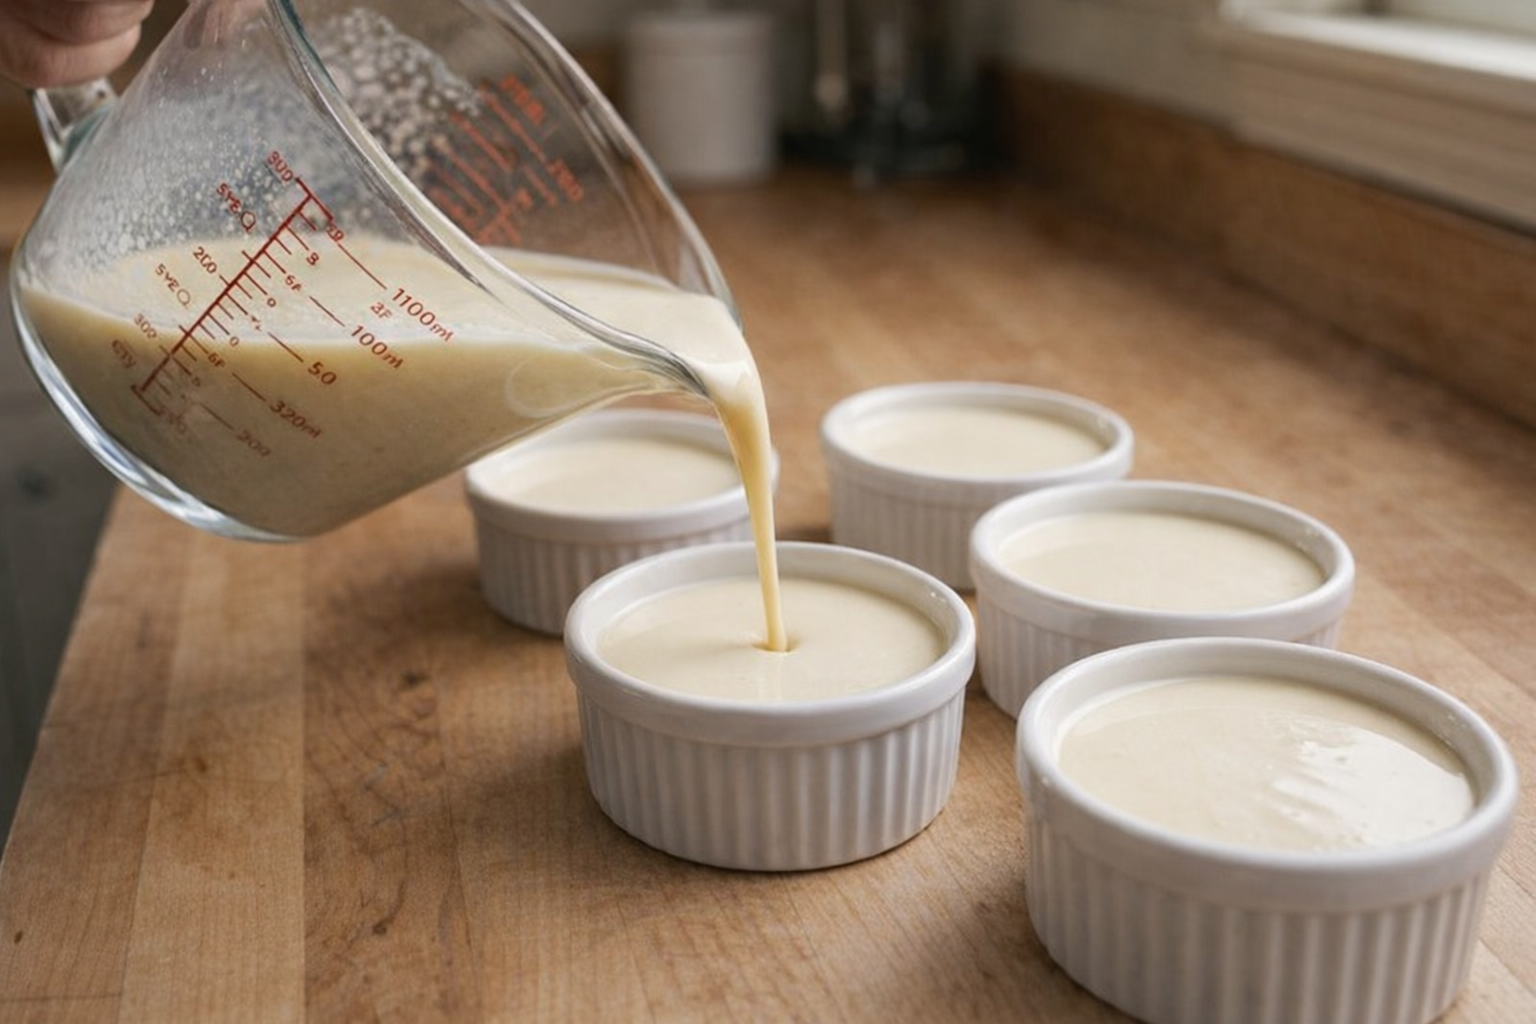
- Strain the Mixture: Strain the panna cotta mixture through a fine-mesh sieve into a liquid measuring cup or pitcher. This will remove any undissolved gelatin or vanilla bean particles and ensure a smooth, silky texture.
- Pour into Molds: Pour the strained panna cotta mixture evenly into the prepared ramekins or molds.
- Chill: Cover the ramekins with plastic wrap, pressing it gently against the surface of the panna cotta to prevent a skin from forming. Refrigerate for at least 4 hours, or preferably overnight, to allow the panna cotta to set completely.
Cooking Time & Doneness Guide
The panna cotta requires minimal cooking time, but significant chilling time. The heating process should take no more than 5-7 minutes.
- Internal Temperature: Temperature is not critical for this recipe; focus on dissolving the sugar and gelatin without boiling the cream.
Visual Cues
The panna cotta is set when it is firm to the touch, but still has a slight wobble when gently shaken. If it is too firm, it has been over-set.
Tips for Perfection
- Don't Boil: Avoid boiling the cream mixture, as this can cause it to curdle or develop a skin.
- Bloom Gelatin Properly: Ensure the gelatin is fully bloomed and dissolved to prevent a grainy texture.
- Chill Thoroughly: Allow ample chilling time for the panna cotta to set completely.
Storage & Reheating
Panna cotta can be stored in the refrigerator for up to 3 days. Keep it covered with plastic wrap to prevent it from absorbing odors. Reheating is not recommended, as it will melt the panna cotta.
Serving Suggestions
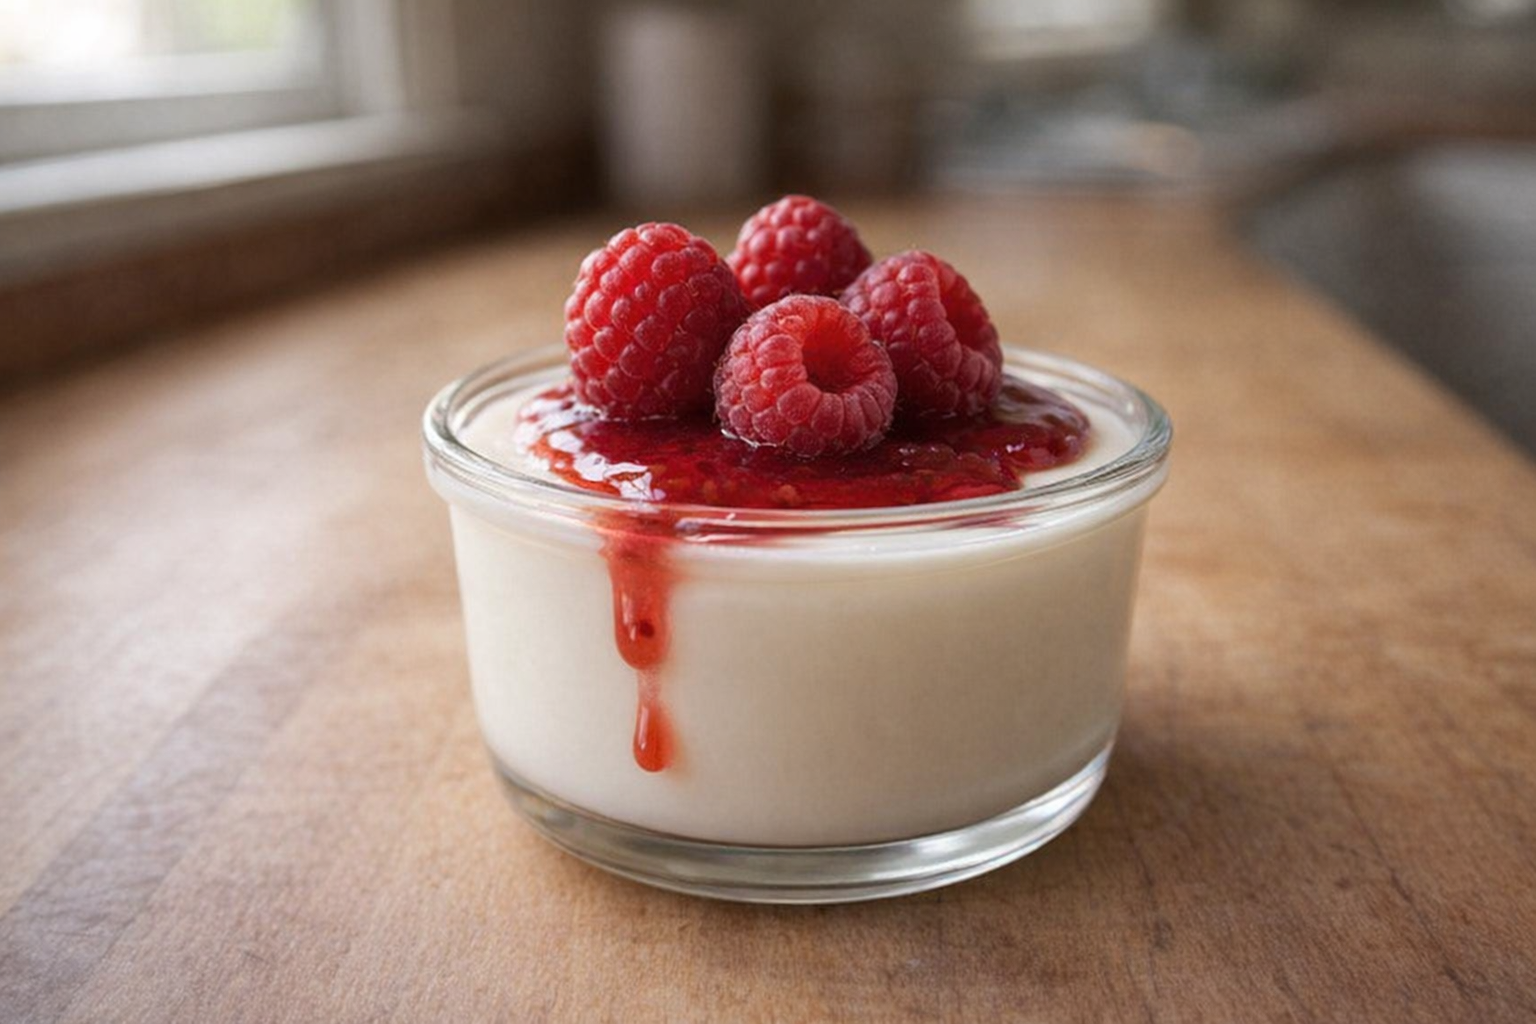
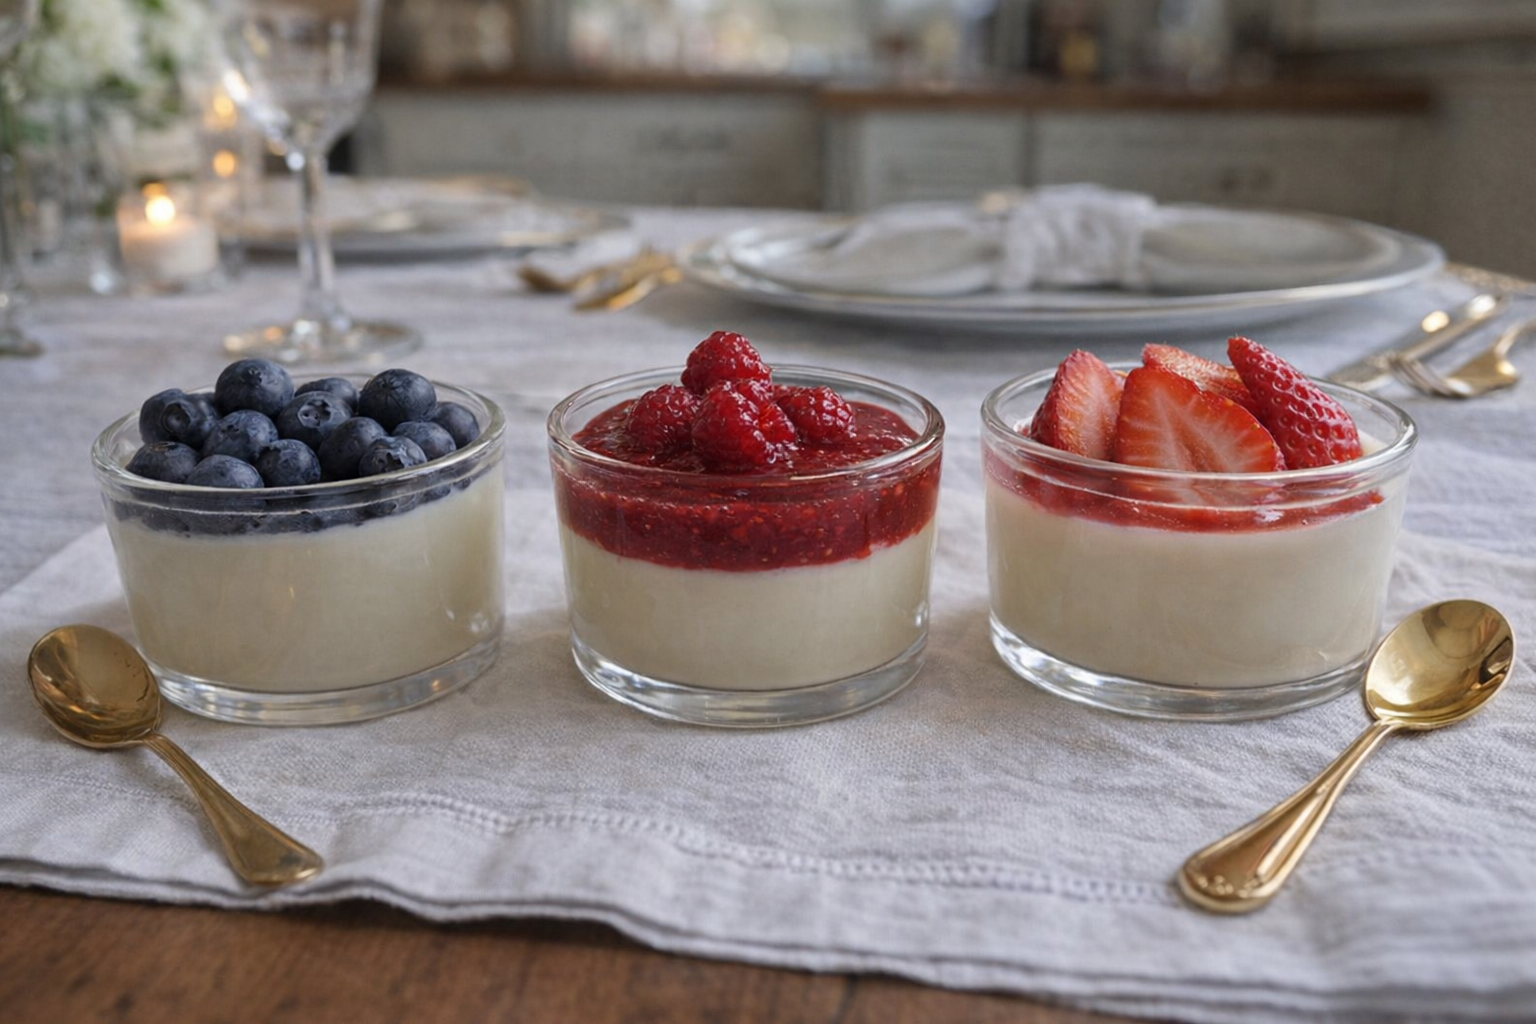
- Fresh Berries: Top with fresh berries, such as raspberries, strawberries, or blueberries, for a burst of color and flavor.
- Fruit Sauce: Drizzle with a homemade fruit sauce, such as raspberry, strawberry, or blackberry.
- Caramel Sauce: Add a drizzle of caramel sauce for a decadent treat.
- Chocolate Shavings: Garnish with shaved chocolate for a touch of elegance.
💡 Pro Tips
- Bloom the gelatin in cold milk or water for at least five minutes before adding it to the warm cream to prevent clumps.
- Heat the cream and sugar slowly over low heat, ensuring the mixture never reaches a boil so the gelatin retains its setting power.
- Pass the finished mixture through a fine-mesh strainer into your molds to guarantee a silky texture free of air bubbles or undissolved particles.
- Chill the ramekins for at least four hours, or preferably overnight, to allow the structure to fully set and develop the perfect wobble.
- To unmold easily, dip the base of each ramekin in hot water for five seconds and run a thin knife around the edge before inverting.
Frequently Asked Questions
The most common reason for panna cotta not setting is using too little gelatin or not allowing it to bloom properly. Make sure to measure the gelatin accurately and let it sit in cold water until softened before adding it to the warm cream mixture. You may also need to slightly increase the amount of gelatin in the recipe if your kitchen is particularly warm.
Yes, panna cotta is very versatile and can be flavored with various extracts, citrus zest, or even spices. If using zest or spices, infuse them in the cream while it's heating, then strain the mixture before adding the gelatin. Be sure to adjust the amount of flavoring to your preference.
Panna cotta can be stored in the refrigerator for up to 3 days, covered tightly with plastic wrap or in an airtight container. It's best to add any toppings or sauces just before serving to prevent them from making the panna cotta soggy.
To easily unmold panna cotta, dip the bottom of the ramekin briefly in warm water for a few seconds. Then, run a thin knife or spatula around the edge of the panna cotta to loosen it before inverting it onto a plate.