How to Make Restaurant-Quality Hummus at Home

Hummus, a cornerstone of Middle Eastern cuisine, has transcended its origins to become a global favorite. Its appeal lies in its creamy texture, savory flavor, and incredible versatility. This guide will walk you through crafting a hummus that rivals the best you've tasted, focusing on key techniques and ingredient choices.
Forget store-bought hummus. Making it at home allows you to control the ingredients, ensuring freshness and tailoring the flavor to your exact preferences. Plus, you'll be surprised by how simple the process is, yielding a superior result in just minutes.
Understanding Chickpeas
Chickpeas, also known as garbanzo beans, are the heart of hummus. You have two primary options: dried or canned. While dried chickpeas offer a deeper, more nuanced flavor, they require advance planning (soaking and cooking). For convenience and consistent results, canned chickpeas are perfectly acceptable, but opt for high-quality brands with minimal additives. Look for chickpeas that are uniform in size and color. Avoid cans with dents or bulging lids. Regardless of your choice, the goal is to achieve exceptionally tender chickpeas, as this directly impacts the smoothness of your final hummus.
Why Cook Hummus This Way?
- Versatility: Hummus can be used as a dip, spread, or even a component in more complex dishes, making it a staple in any kitchen.
- Flavor: Homemade hummus boasts a vibrant, fresh flavor that far surpasses the often-bland taste of store-bought varieties.
- Convenience: With a few pantry staples and a food processor, you can whip up a batch of restaurant-quality hummus in under 15 minutes.
Preparation (Mise en Place)
Before you begin, proper preparation is key.
- Chickpeas: If using canned chickpeas, drain them thoroughly and rinse under cold water. This removes excess starch and improves the flavor. Some chefs advocate for peeling the skins off the chickpeas for an ultra-smooth texture, but this is optional and time-consuming.
- Garlic: Mince the garlic clove finely. If you prefer a milder garlic flavor, consider roasting the garlic beforehand.
- Lemon: Freshly squeezed lemon juice is essential. Have your lemon juiced and ready to go.
- Tahini: Stir the tahini well before measuring, as the oil tends to separate.
Essential Tools
- Food Processor: A high-powered food processor is crucial for achieving a creamy, smooth texture. A blender can be used as well, but a food processor is more effective.
- Measuring Cups and Spoons: Accuracy is important for balancing the flavors.
- Rubber Spatula: For scraping down the sides of the food processor bowl.
The Cooking Method(s)
This recipe utilizes a single, streamlined method for creating hummus.
Basic Hummus
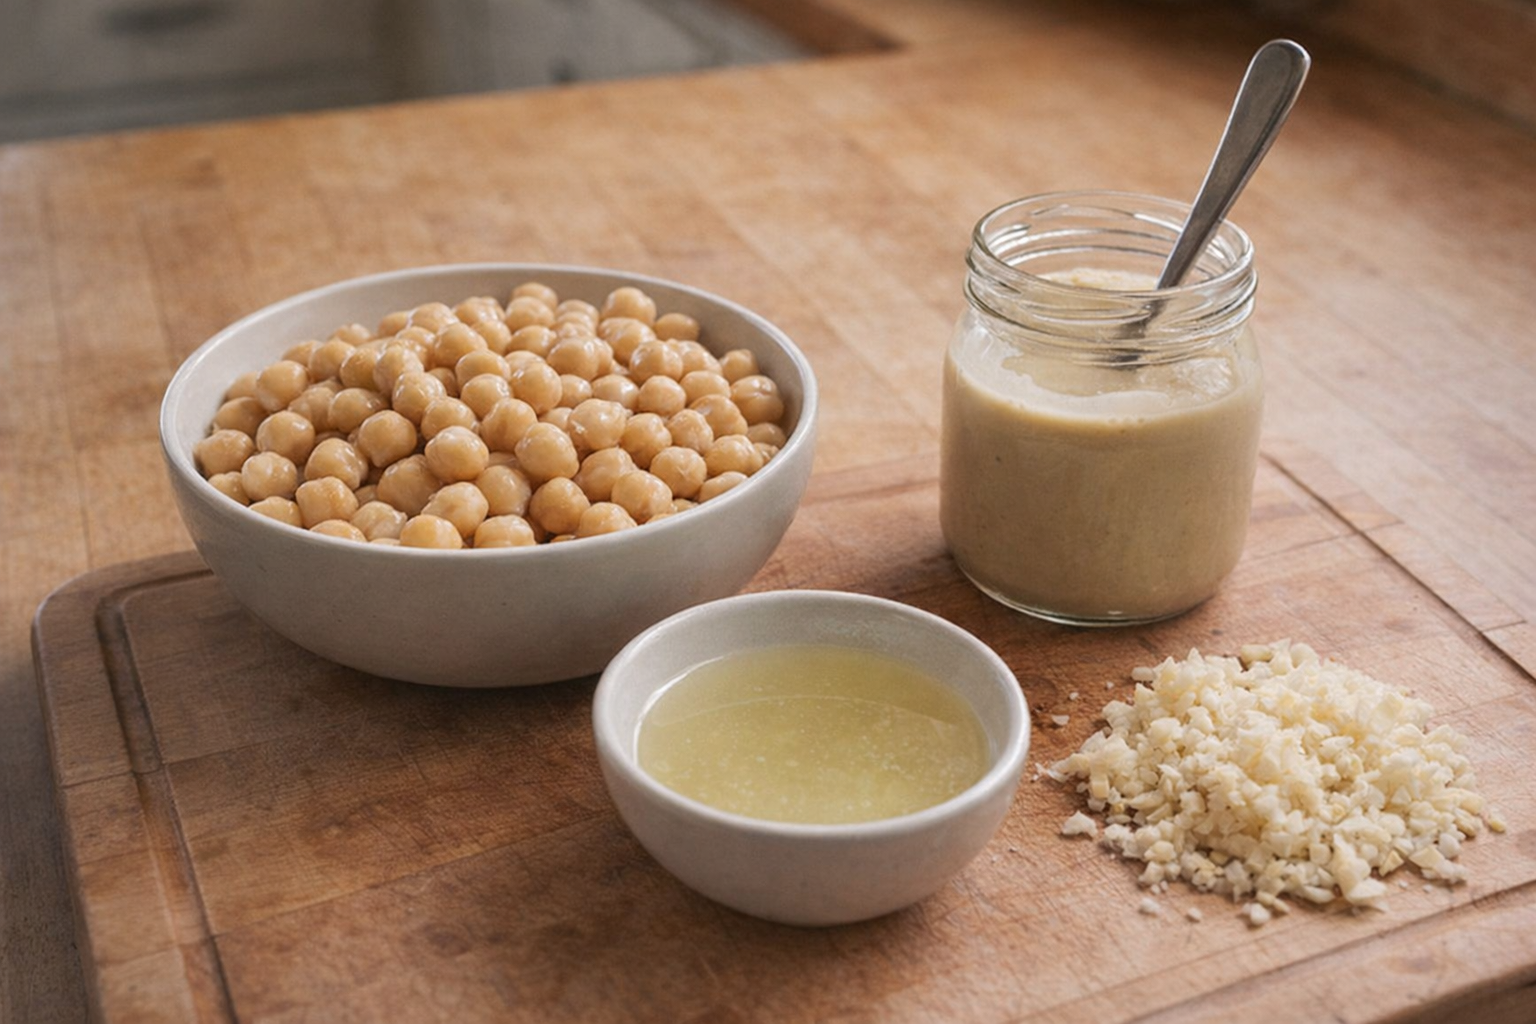
Ingredients:
- 1 (15-ounce / 425g) can chickpeas, drained and rinsed (or 1 1/2 cups cooked chickpeas)
- 1/4 cup (60ml) fresh lemon juice
- 1/4 cup (60ml) tahini
- 1 clove garlic, minced
- 2 tablespoons (30ml) extra-virgin olive oil, plus extra for serving
- 1/2 teaspoon ground cumin
- Salt to taste
- 2-3 tablespoons (30-45ml) cold water
- Dash of ground paprika (or red pepper flakes, sumac, fresh parsley) for garnish
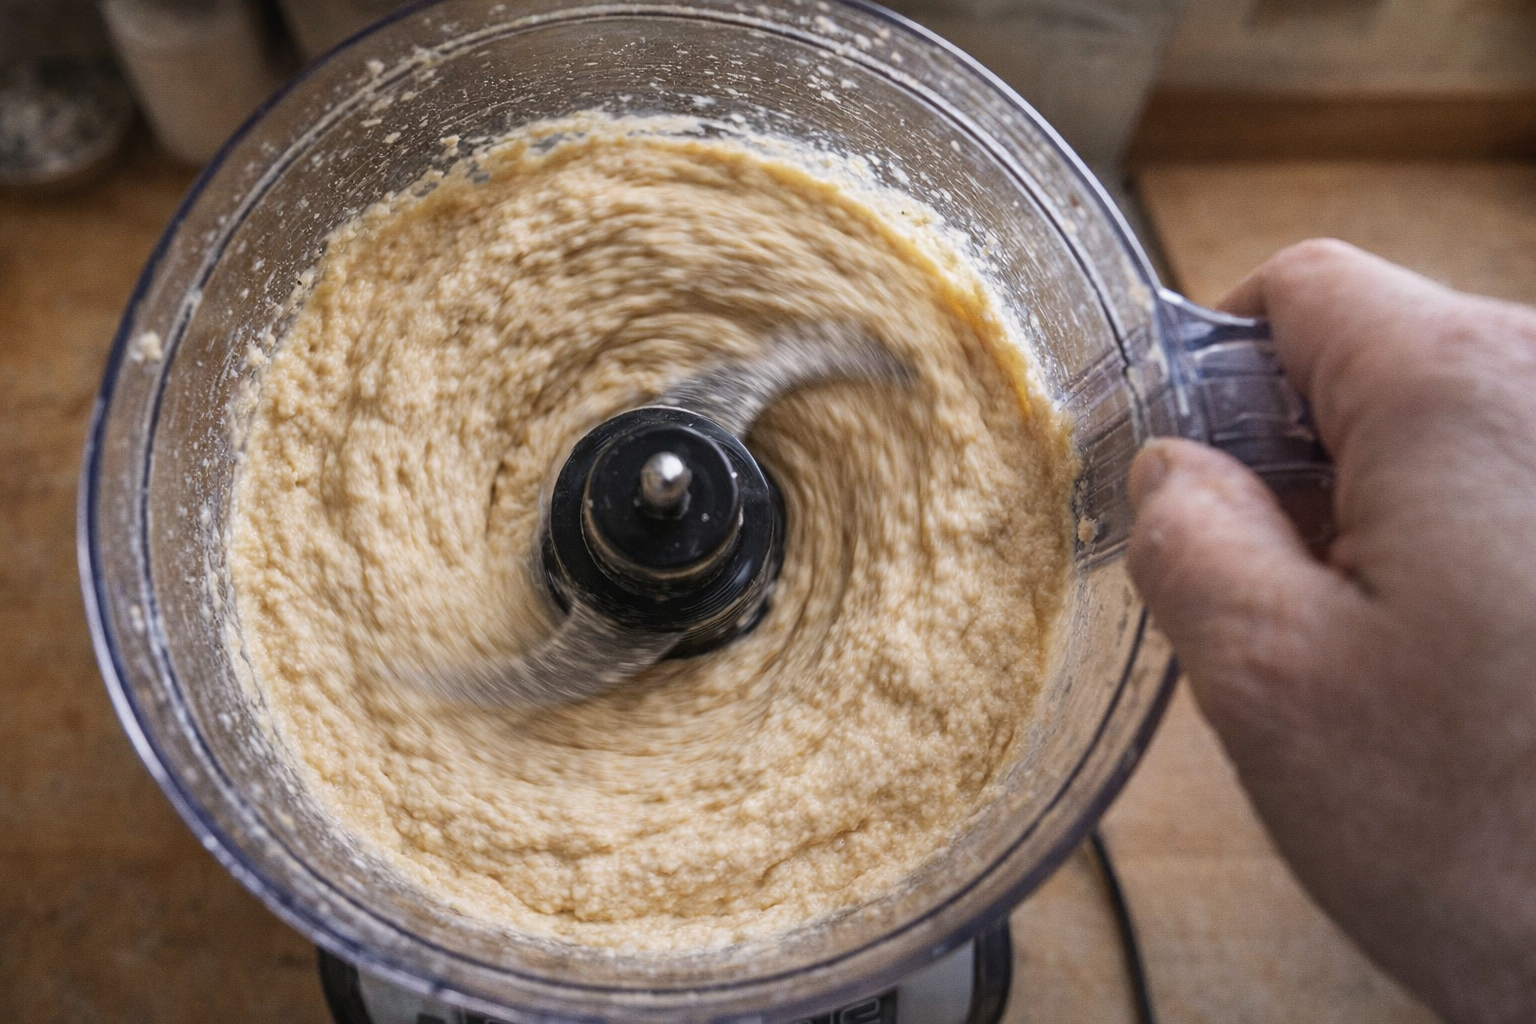
- Prepare the Tahini Base: In the food processor, combine the tahini and lemon juice. Process for 1 minute, stopping to scrape down the sides of the bowl as needed. The mixture will thicken and lighten in color. This step is crucial for creating a creamy base. The sound of the food processor will change as the tahini emulsifies.
- Add Flavor: Add the minced garlic, ground cumin, olive oil, and salt to the food processor. Process for another 30 seconds, scraping down the sides to ensure even distribution of the ingredients. The aroma of garlic and cumin will fill the air.
- Incorporate the Chickpeas: Add half of the chickpeas to the food processor and blend for 1 minute, until a coarse paste forms. Scrape down the sides of the bowl and add the remaining chickpeas. Process for 1-2 minutes, until the mixture is thick but still somewhat chunky.
- Achieve Creamy Perfection: With the food processor running, slowly drizzle in the cold water, 1 tablespoon at a time, until the hummus reaches your desired consistency. The hummus should be smooth, light, and airy. Listen to the change in the motor's sound as the water emulsifies into the mixture.
- Taste and Adjust: Taste the hummus and adjust the seasoning as needed. Add more salt, lemon juice, or garlic to suit your preferences. Remember, you can always add more, but you can't take it away.
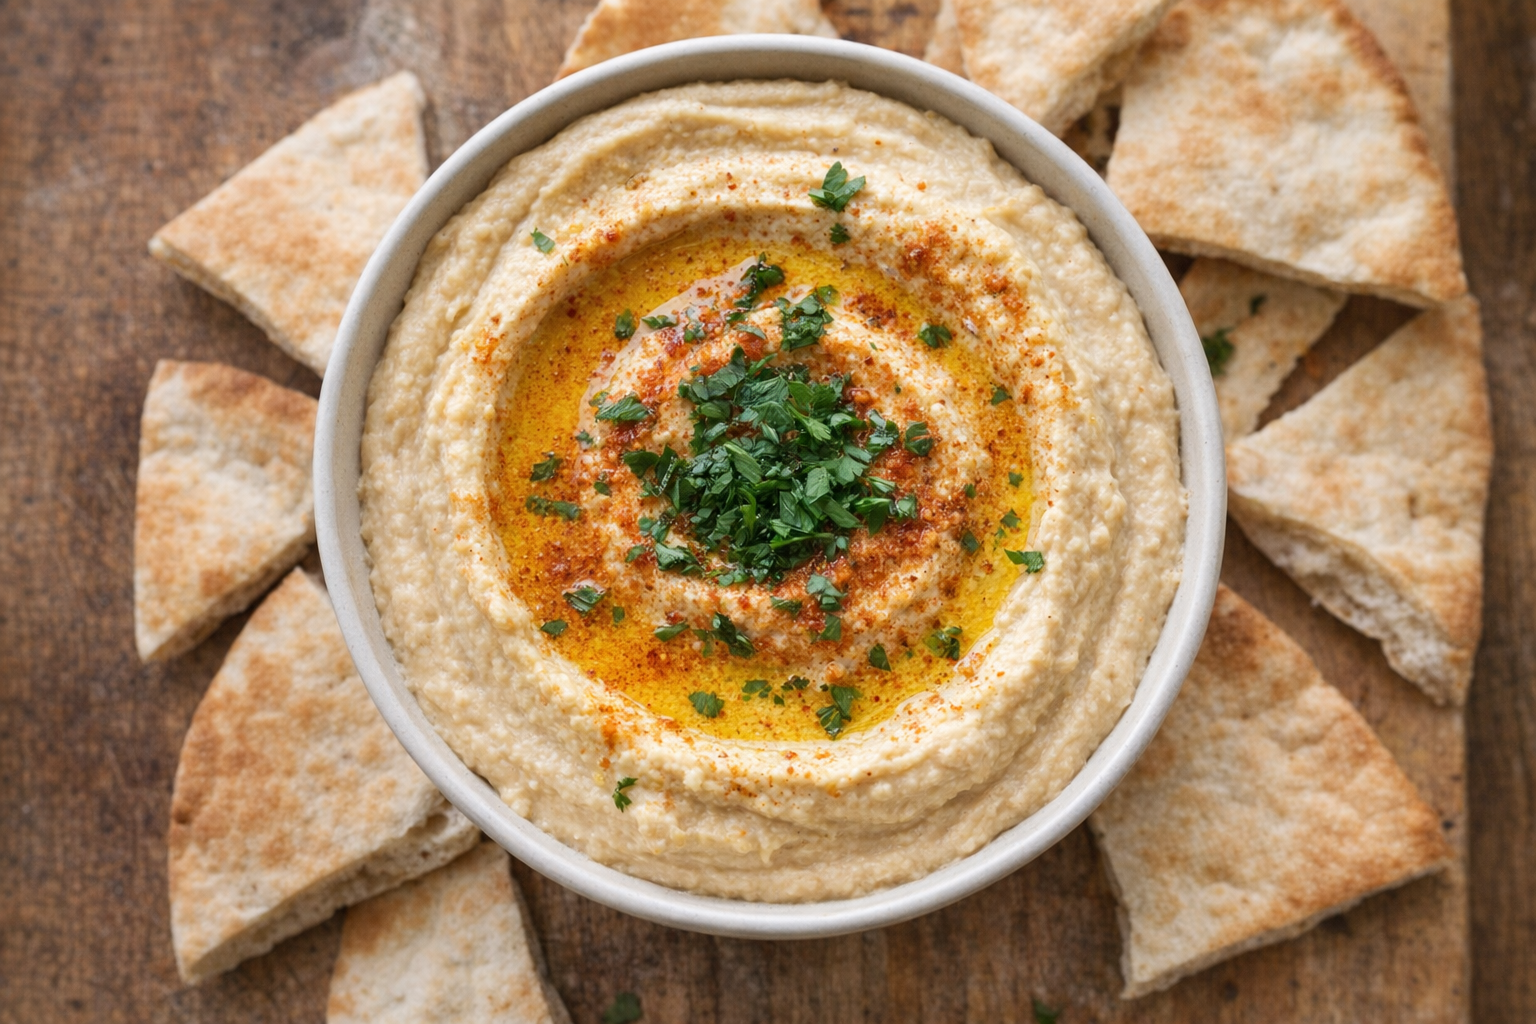
- Serve and Garnish: Transfer the hummus to a serving bowl. Drizzle with extra olive oil and sprinkle with paprika, red pepper flakes, sumac, or fresh parsley for garnish.
Cooking Time & Doneness Guide
The entire process, from start to finish, takes approximately 10-15 minutes. There is no "cooking" involved in the traditional sense, as the ingredients are simply blended together.
Visual Cues
- The hummus should be smooth and creamy, with no visible chunks of chickpeas.
- The color should be a consistent light beige.
- The hummus should hold its shape when scooped with a spoon.
Tips for Perfection
- Don't skimp on the tahini: Tahini is the key to that authentic hummus flavor and creamy texture. Use a good quality tahini.
- Cold water is key: Adding cold water helps create a lighter, fluffier texture.
- Taste and adjust: Hummus is a very personal dish. Don't be afraid to adjust the seasonings to your liking.
- High-powered food processor: Using a high-powered food processor is key in creating that restaurant-quality creaminess.
Storage & Reheating
Store leftover hummus in an airtight container in the refrigerator for up to 4-5 days. To prevent the surface from drying out, drizzle a thin layer of olive oil over the top before sealing.
Reheat refrigerated hummus by simply stirring it well. If the hummus has thickened during storage, add a tablespoon of water or olive oil to restore its creamy texture. Avoid microwaving, as this can alter the texture and flavor.
Serving Suggestions
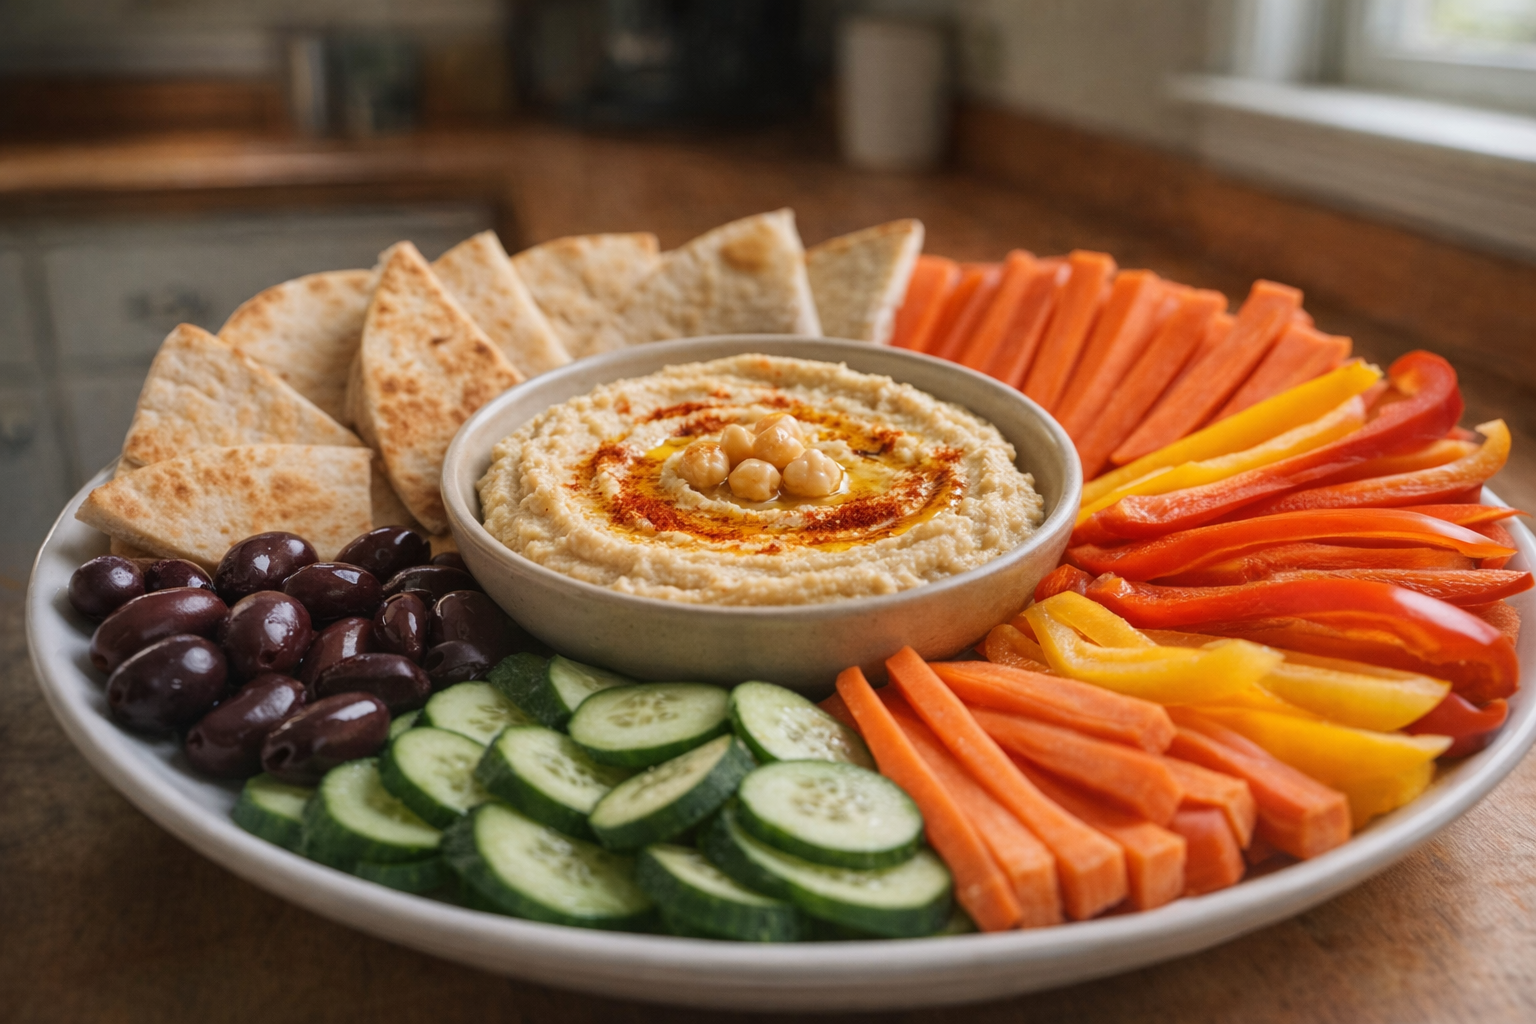
- With Pita Bread and Vegetables: The classic pairing! Serve with warm pita bread, carrots, cucumbers, bell peppers, and celery sticks for a healthy and satisfying snack.
- As a Sandwich Spread: Use hummus as a healthy and flavorful alternative to mayonnaise or mustard in sandwiches and wraps.
- In Grain Bowls: Add a dollop of hummus to grain bowls for a boost of protein and flavor.
- As a Topping for Grilled Meats: Serve hummus alongside grilled chicken, lamb, or beef for a Mediterranean-inspired meal.
💡 Pro Tips
- For an ultra-smooth texture, remove the skins from the chickpeas by rubbing them between two towels or rinsing them under water.
- Use high-quality, runny tahini and whisk it with lemon juice and garlic first to create a creamy emulsion before adding the chickpeas.
- Incorporate a few tablespoons of ice-cold water while blending to aerate the mixture and achieve a light, fluffy consistency.
- If using canned chickpeas, simmer them with a pinch of baking soda for ten minutes to soften them further for a creamier finish.
- Mellow the sharp bite of raw garlic by letting it sit in the lemon juice for several minutes before processing the rest of the ingredients.
Frequently Asked Questions
Make sure your chickpeas are very tender by cooking them thoroughly if using dried, or rinsing canned chickpeas well. You can also try peeling the skins off the chickpeas for a smoother texture, though this is time-consuming. Adding a tablespoon or two of ice water while processing can also help achieve a creamier consistency.
While a food processor is recommended for the best results, you can use a blender. You may need to scrape down the sides more frequently and add a bit more liquid to help it blend smoothly. Be patient and blend in short bursts to avoid overheating your blender.
Homemade hummus typically lasts for 3-5 days in the refrigerator when stored in an airtight container. Be sure to check for any signs of spoilage, such as a sour smell or mold, before consuming. It's always best to err on the side of caution.
While chickpeas are traditional for hummus, you can experiment with other beans like cannellini beans or butter beans for a similar creamy texture. Keep in mind that the flavor will be different, so you may need to adjust the seasonings accordingly. For example, you might need a bit more lemon juice or garlic.