 delishing
How to Master Classic Crepes on the Stove

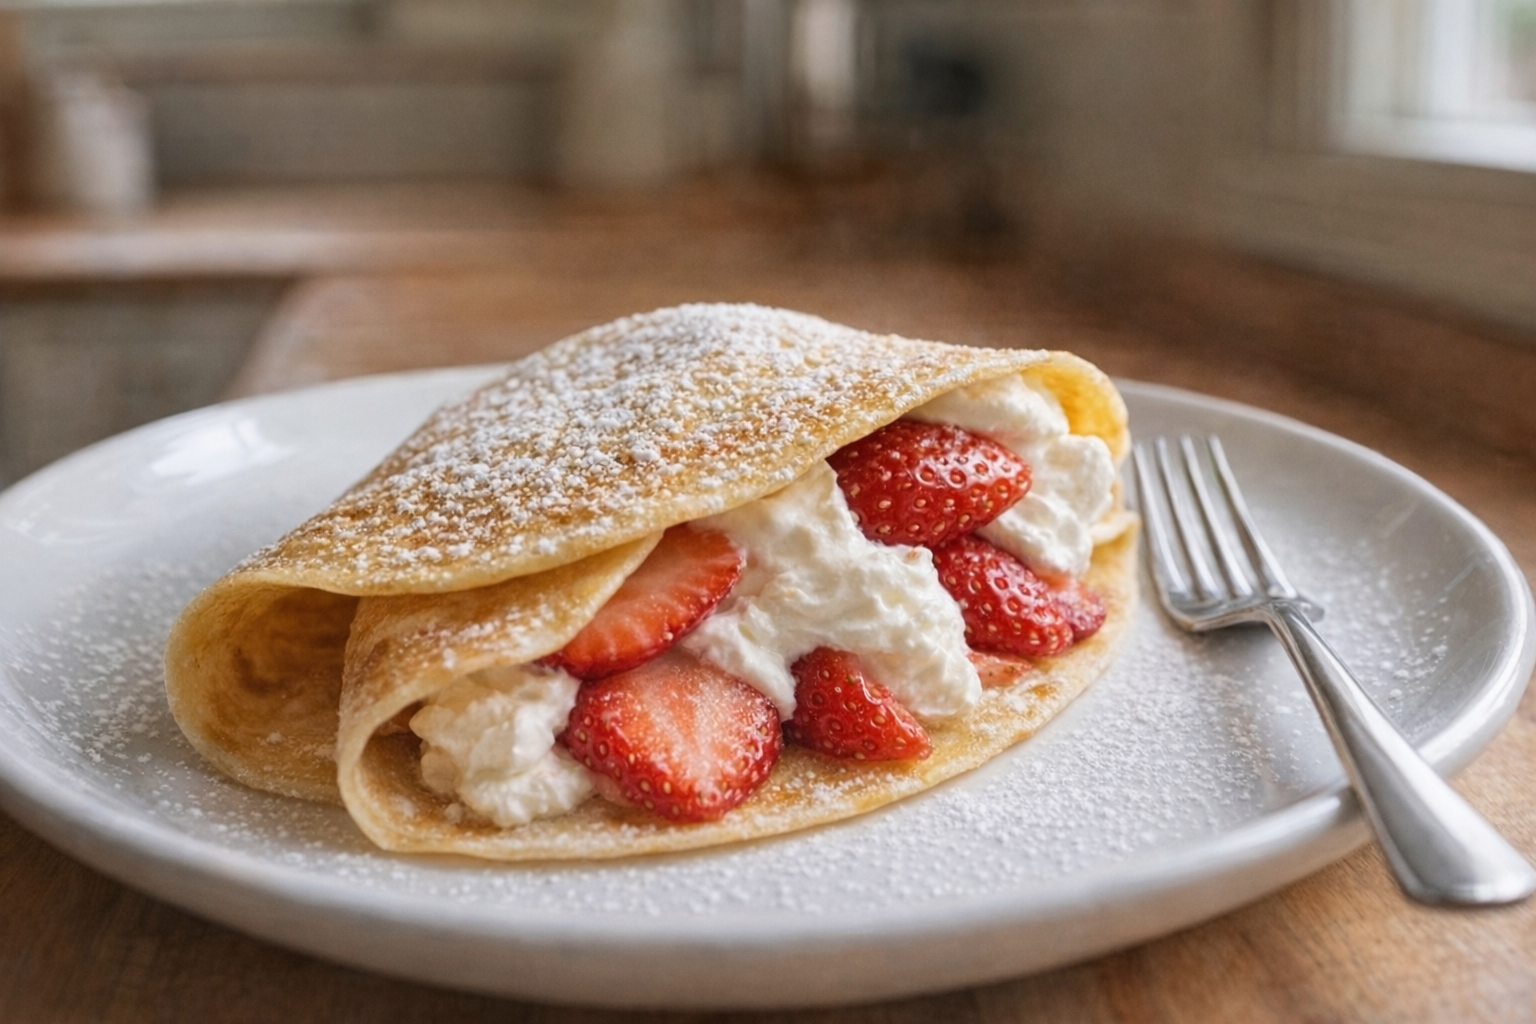
Crepes are one of the most versatile dishes a home cook can master. These thin pancakes offer a blank canvas for both sweet and savory creations, easily adapting to breakfast, brunch, dinner, or dessert. This guide focuses on perfecting the classic crepe batter and cooking technique, setting you up to explore the endless fillings and toppings that make crepes so beloved.
The beauty of a well-made crepe lies in its delicate texture and subtly rich flavor. Achieving this requires understanding the ratio of ingredients, proper mixing, and a consistent cooking temperature. Once you've nailed the basics, you'll find yourself reaching for crepes again and again.
Understanding All-Purpose Flour
The type of flour you use impacts the texture of your crepes. All-purpose flour is the standard choice and offers a good balance of gluten development, which creates a slightly chewy yet tender crepe. Look for unbleached all-purpose flour for the best flavor and avoid cake flour, which is too low in protein and will result in a crepe that tears easily. For a slightly richer flavor and more delicate texture, try using a combination of all-purpose flour and pastry flour. Experiment to find your perfect blend.
Why Cook Crepes This Way?
- Versatility: Crepes can be filled with virtually anything, from sweet fruits and creams to savory meats, cheeses, and vegetables.
- Flavor: The subtly rich flavor of a well-made crepe complements both sweet and savory fillings without overpowering them.
- Convenience: Crepe batter can be made ahead of time and stored in the refrigerator, making them a quick and easy meal option.
Preparation (Mise en Place)
- Measure all ingredients accurately. This is crucial for a smooth, lump-free batter.
- Melt butter and allow it to cool slightly. Adding hot butter can cook the eggs in the batter.
- Whisk eggs lightly before adding them to the other ingredients. This helps to incorporate them evenly.
Essential Tools
- Non-stick Crepe Pan or Skillet: A non-stick surface is essential for preventing crepes from sticking and tearing. A dedicated crepe pan with a shallow rim is ideal, but a well-seasoned non-stick skillet will also work. The pan should be approximately 8-10 inches in diameter.
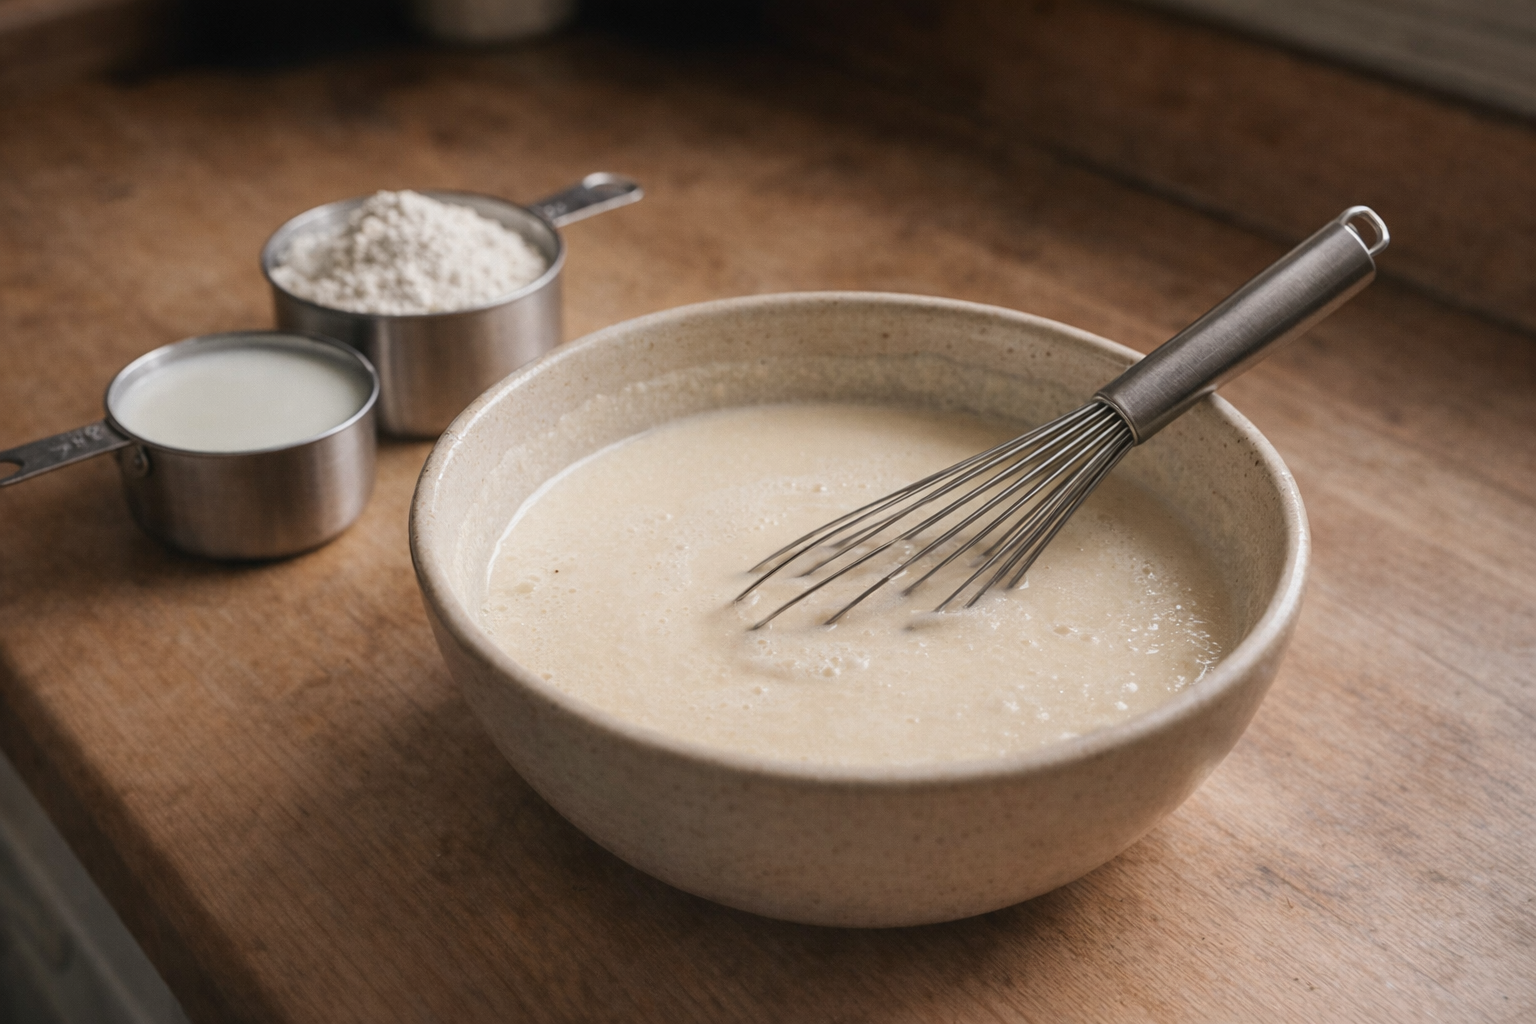
- Whisk: For combining the ingredients smoothly.
- Measuring Cups and Spoons: Accurate measurements are key to a successful crepe batter.
- Ladle or Measuring Cup with a Spout: For pouring the batter evenly into the pan.
- Offset Spatula or Thin Spatula: For carefully flipping the crepes.
The Cooking Method(s)
The following method will help you achieve perfectly cooked crepes every time.
Classic Crepe Method
Ingredients:
- 1 cup (120g) all-purpose flour
- 2 large eggs
- 1/2 cup (120ml) milk
- 1/2 cup (120ml) water
- 2 tablespoons (28g) unsalted butter, melted and cooled
- 1/4 teaspoon salt
- In a large bowl, whisk together the flour and salt.
- In a separate bowl, whisk together the eggs, milk, and water.
- Gradually add the wet ingredients to the dry ingredients, whisking constantly until just combined. Be careful not to overmix, as this can develop the gluten and make the crepes tough.
- Stir in the melted and cooled butter.
- Cover the batter and refrigerate for at least 30 minutes, or up to 24 hours. This allows the gluten to relax and the batter to hydrate, resulting in more tender crepes.
- Heat a non-stick crepe pan or skillet over medium heat. Lightly grease the pan with butter or cooking spray.
- Pour about 1/4 cup of batter onto the hot pan, immediately swirling the pan to evenly coat the bottom with a thin layer of batter.
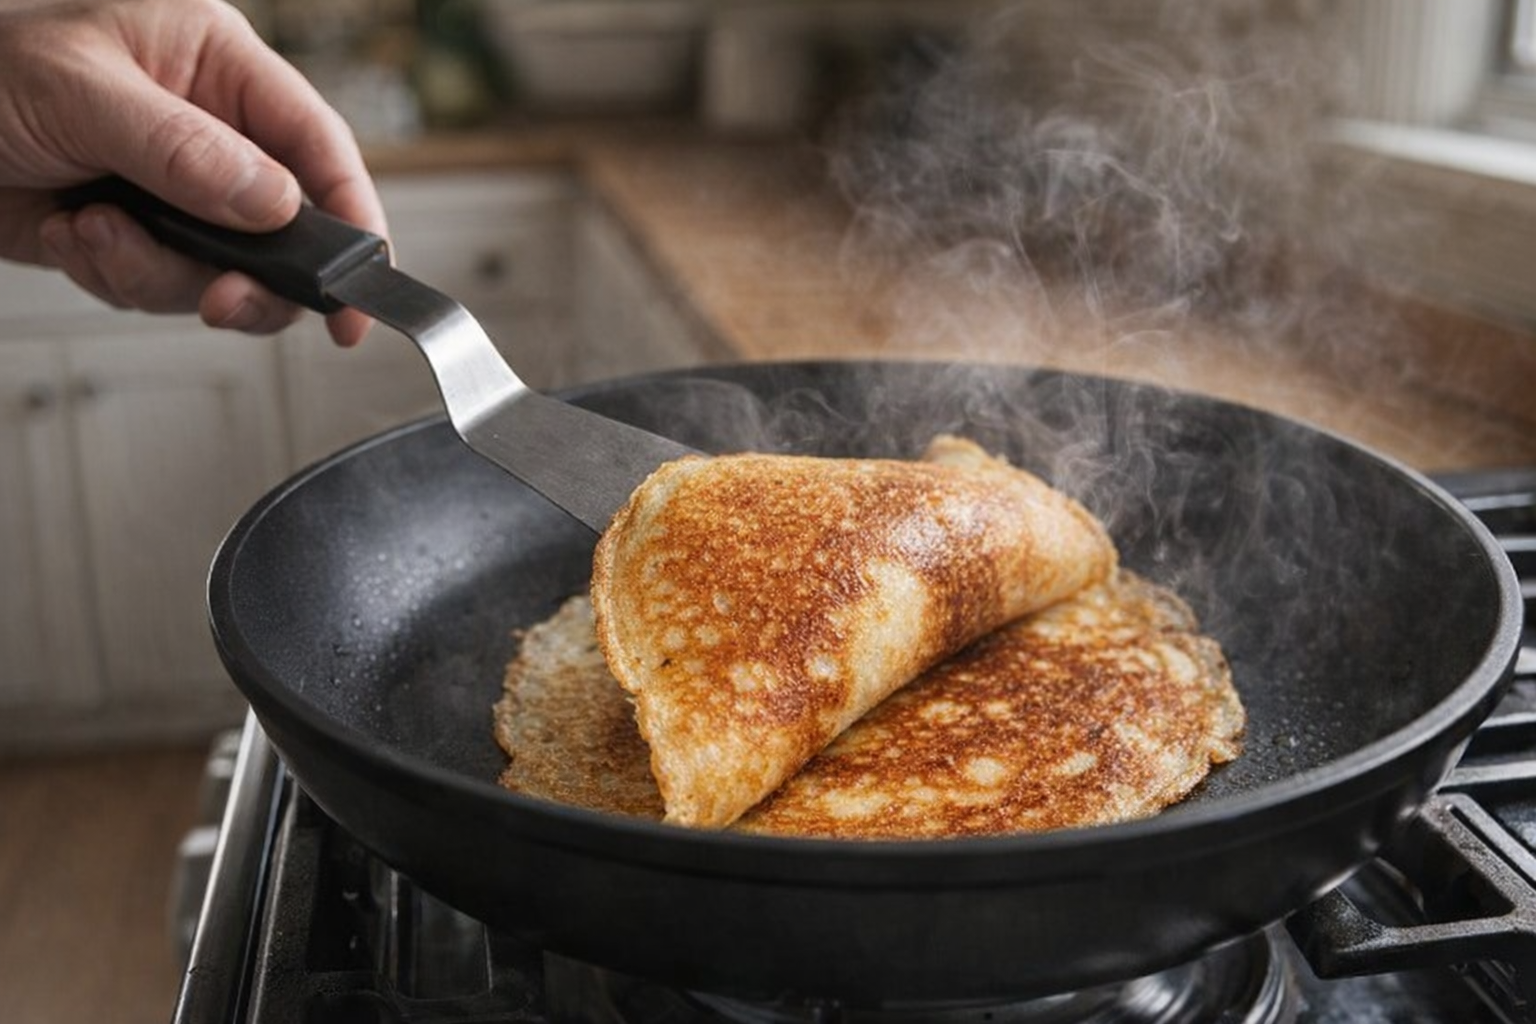
- Cook for 1-2 minutes, or until the edges of the crepe begin to lift and the bottom is lightly golden brown. You should see small bubbles forming on the surface.
- Carefully flip the crepe with an offset spatula and cook for another 30-60 seconds, or until the second side is lightly golden brown.
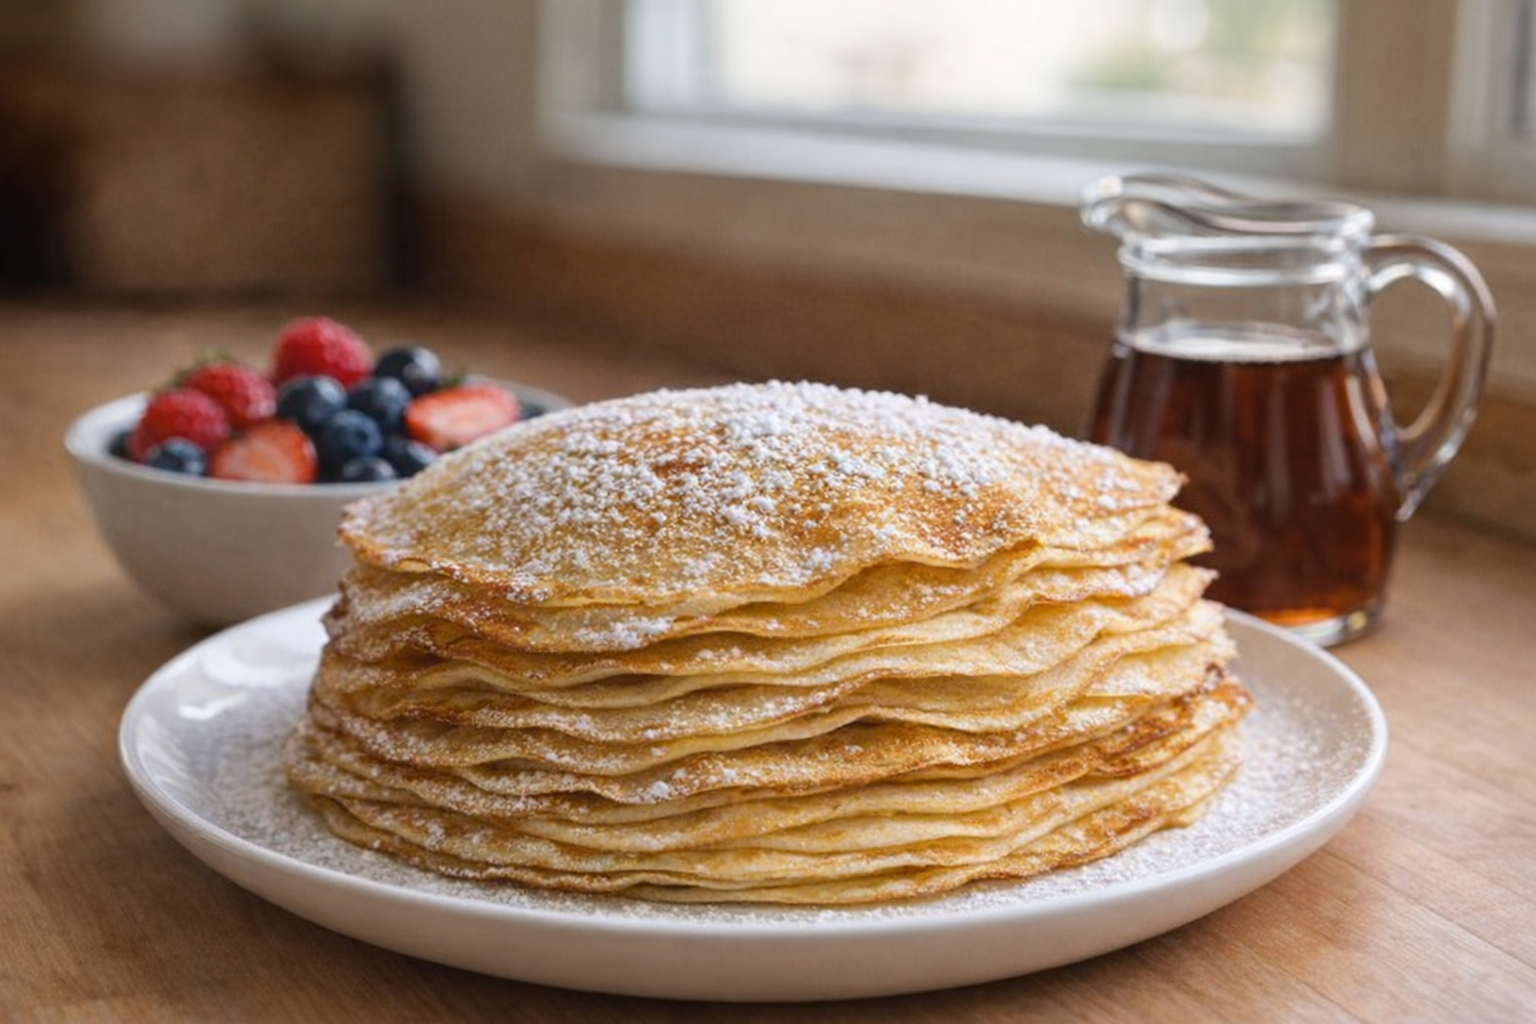
- Transfer the cooked crepe to a plate and repeat with the remaining batter, stacking the crepes as you go.
Cooking Time & Doneness Guide:
- Cooking Time: Each crepe should take approximately 1-3 minutes to cook, depending on the heat of your pan.
- Internal Temperature: Crepes do not need to reach a specific internal temperature.
Visual Cues
The edges of the crepe should start to lift from the pan and the bottom should be lightly golden brown. Small bubbles will form on the surface as the crepe cooks.
Tips for Perfection:
- Don't Overmix: Overmixing the batter develops the gluten, resulting in tougher crepes. Mix until just combined.
- Rest the Batter: Allowing the batter to rest in the refrigerator for at least 30 minutes allows the gluten to relax and the batter to hydrate, resulting in more tender crepes.
- Heat Control: Maintain a consistent medium heat. Too high, and the crepes will burn before they cook through. Too low, and they will be pale and rubbery.
- Thin Batter is Key: The thinner the batter, the more delicate the crepe. If your batter seems too thick, add a tablespoon or two of water until it reaches a thin, pourable consistency.
Storage & Reheating:
- Storage: Cooked crepes can be stored in the refrigerator for up to 3 days. Stack them between layers of parchment paper to prevent them from sticking together.
- Reheating: Reheat crepes in a non-stick pan over low heat, or in the microwave for a few seconds. You can also reheat them in a 350°F (175°C) oven for a few minutes.
Serving Suggestions:
- Sweet: Serve with fresh fruit, whipped cream, chocolate sauce, Nutella, or jam.
- Savory: Fill with ham and cheese, spinach and feta, or sauteed vegetables.
- Elegant: Crepe Suzette - flambéed with orange liqueur.
- Breakfast: Serve with scrambled eggs, sausage, and peppers.
💡 Pro Tips
- Use a light hand when swirling the batter in the pan. You want a thin, even layer for a delicate crepe.
- Don't overcrowd the plate when stacking cooked crepes. A few at a time, separated by parchment paper, prevents sticking and tearing.
- If you don't have a crepe pan, a well-seasoned non-stick skillet works perfectly. Just make sure it's evenly heated.
- For extra flavorful crepes, try adding a teaspoon of vanilla extract or a tablespoon of sugar to the batter.
- Consider using clarified butter for cooking the crepes. It has a higher smoke point than regular butter and adds a richer flavor.
Frequently Asked Questions
Yes, crepe batter can be made ahead of time and stored in the refrigerator for up to 24 hours. In fact, resting the batter is recommended, as it allows the gluten to relax and the batter to hydrate, resulting in more tender crepes. Be sure to whisk the batter again before using it, as it may separate slightly during storage.
Sticking is usually due to insufficient greasing or a pan that isn't hot enough. Ensure your non-stick pan is properly preheated over medium heat before adding the batter. Lightly grease the pan with butter or cooking spray before each crepe. If sticking persists, try increasing the heat slightly and adding a touch more fat.
Yes, you can substitute dairy-free milk alternatives like almond milk, soy milk, or oat milk for regular milk. The flavor and texture may vary slightly, but the crepes will still turn out well. Coconut milk can also be used, but it will impart a coconut flavor to the crepes.
Tearing can be caused by several factors. First, ensure the crepe is cooked sufficiently on the first side before attempting to flip it. The edges should be starting to lift from the pan and the bottom should be lightly golden brown. Use a thin, flexible spatula to gently loosen the edges before flipping. Also, make sure your pan is adequately greased.