 delishing
How to Master Hard Boiled Eggs: Creative Breakfast Recipes

Hard boiled eggs are a breakfast staple, offering a protein-packed and versatile base for countless dishes. But beyond the simple hard-boiled egg, lies a world of flavor combinations and creative presentations. This guide will walk you through mastering the art of the perfect hard-boiled egg and then transform them into a range of exciting breakfast options. We will explore everything from deviled eggs with a twist to incorporating them into vibrant salads and even savory tartines.
This approach focuses on elevating the humble hard-boiled egg by showcasing its adaptability. By carefully controlling the cooking process, we ensure consistent results, yielding eggs that are easy to peel and have perfectly set yolks. From there, we leverage the egg's neutral flavor profile to create both familiar and unexpected breakfast delights.
Understanding Eggs: From Farm to Table
Navigating the egg aisle can be overwhelming. Here's what to look for:
- Grade: U.S. Grade AA eggs have the firmest whites and yolks, ideal for hard boiling. Grade A are also acceptable.
- Size: Large eggs are the standard for most recipes.
- Color: Shell color (brown or white) doesn't affect taste or nutrition. It depends on the breed of hen.
- Freshness: The fresher the egg, the harder it is to peel. Eggs a week or two old are ideal for hard boiling.
- Pasture-Raised vs. Cage-Free vs. Conventional: Pasture-raised eggs often have richer yolks due to the hens' diet, but any type will work.
Why Cook with Hard Boiled Eggs This Way?
- Versatility: Hard-boiled eggs can be eaten plain, sliced on toast, diced into salads, or transformed into entirely new dishes.
- Flavor: Their mild, creamy flavor complements a wide range of ingredients, from smoky bacon to vibrant herbs.
- Convenience: Hard-boiled eggs can be made in advance and stored in the refrigerator for a quick and healthy breakfast option throughout the week.
Preparation (Mise en Place)
The key to perfect hard-boiled eggs lies in the preparation.
- Aging (Optional): If your eggs are very fresh, consider letting them sit in the refrigerator for a week or so. This will make them easier to peel.
- Gentle Handling: Place eggs gently in a saucepan to avoid cracking.
- Submerge: Cover the eggs with at least an inch of cold water.
Essential Tools
- Saucepan: A medium-sized saucepan is perfect for boiling eggs. Choose one that distributes heat evenly.
- Slotted Spoon: For gently removing the eggs from the hot water.
- Ice Bath: A bowl filled with ice and water to quickly cool the eggs and stop the cooking process.
The Cooking Method
We will use the boil-and-soak method, which consistently produces perfectly cooked yolks and easy-to-peel eggs.
Hard Boiled Eggs: The Boil-and-Soak Method
Ingredients:
- 6 large eggs
- Water
- Ice
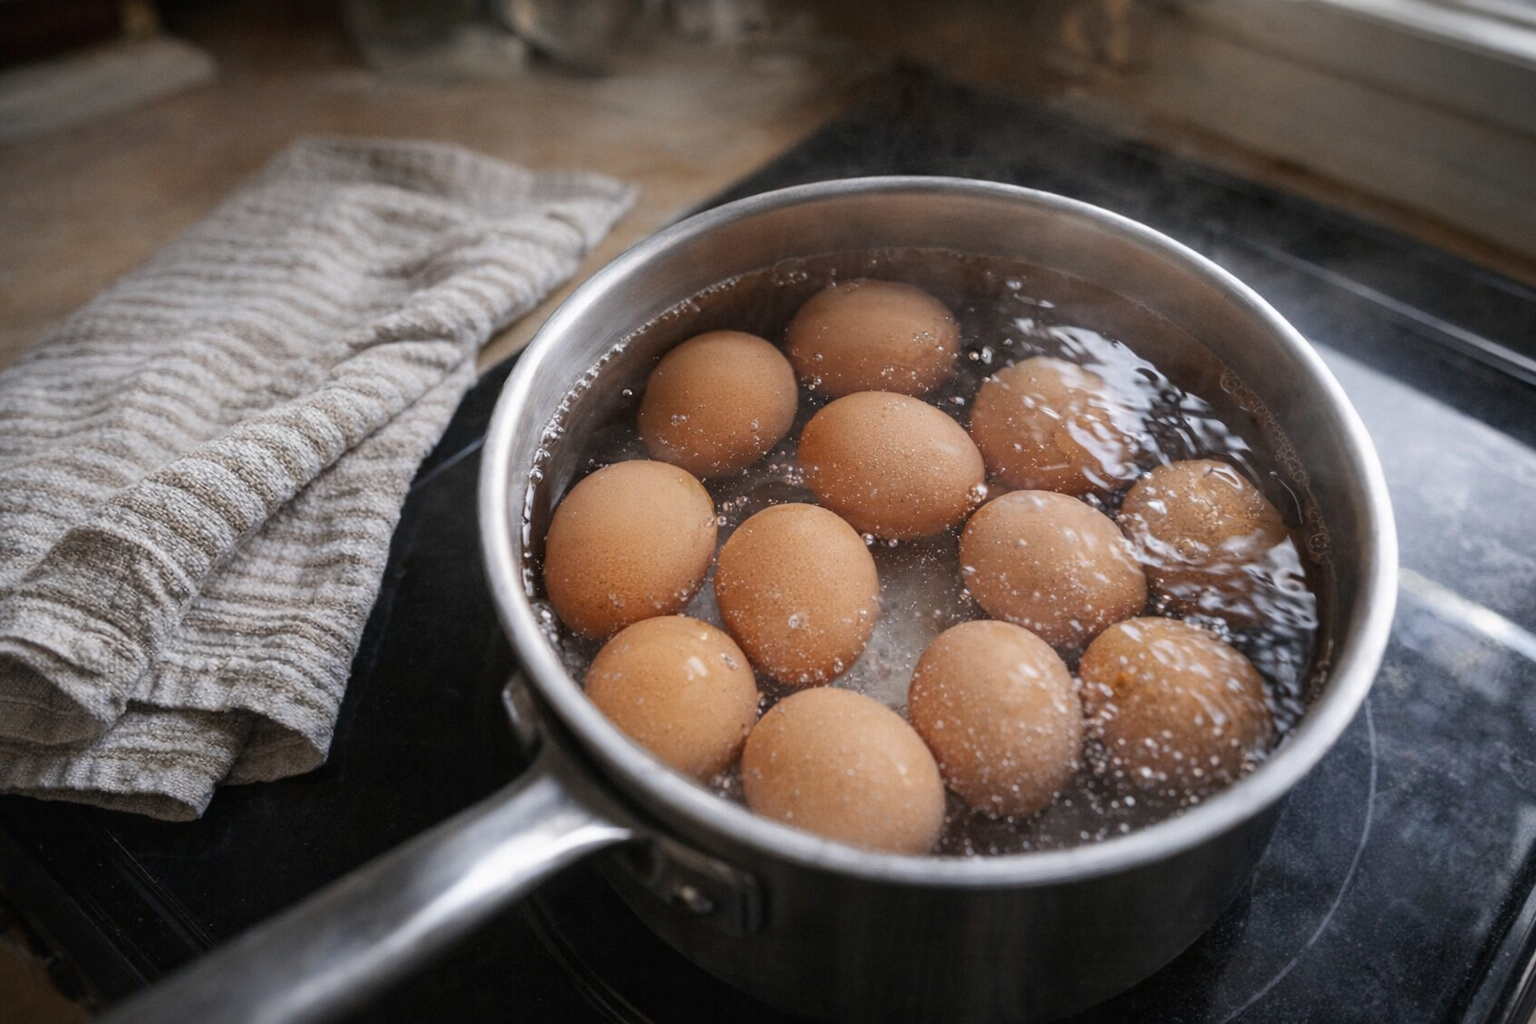
- Submerge: Place the eggs in a saucepan and cover them with at least 1 inch (2.5 cm) of cold water. Ensure the eggs aren't crowded to promote even cooking.
- Boil: Bring the water to a rolling boil over medium-high heat. Once boiling, immediately remove the pan from the heat. You should hear the water bubbling vigorously around the eggs.
- Soak: Cover the pan with a lid and let the eggs sit in the hot water for 10-12 minutes, depending on your desired yolk consistency. For firmer yolks, lean towards 12 minutes.
- Ice Bath: After the soaking time, carefully drain the hot water and immediately transfer the eggs to a bowl filled with ice water. This stops the cooking process and makes the eggs easier to peel.
- Cool: Let the eggs cool in the ice bath for at least 5 minutes. Lightly crack the shells while they are submerged in the ice water. The water seeps between the egg and the shell, assisting with peeling.
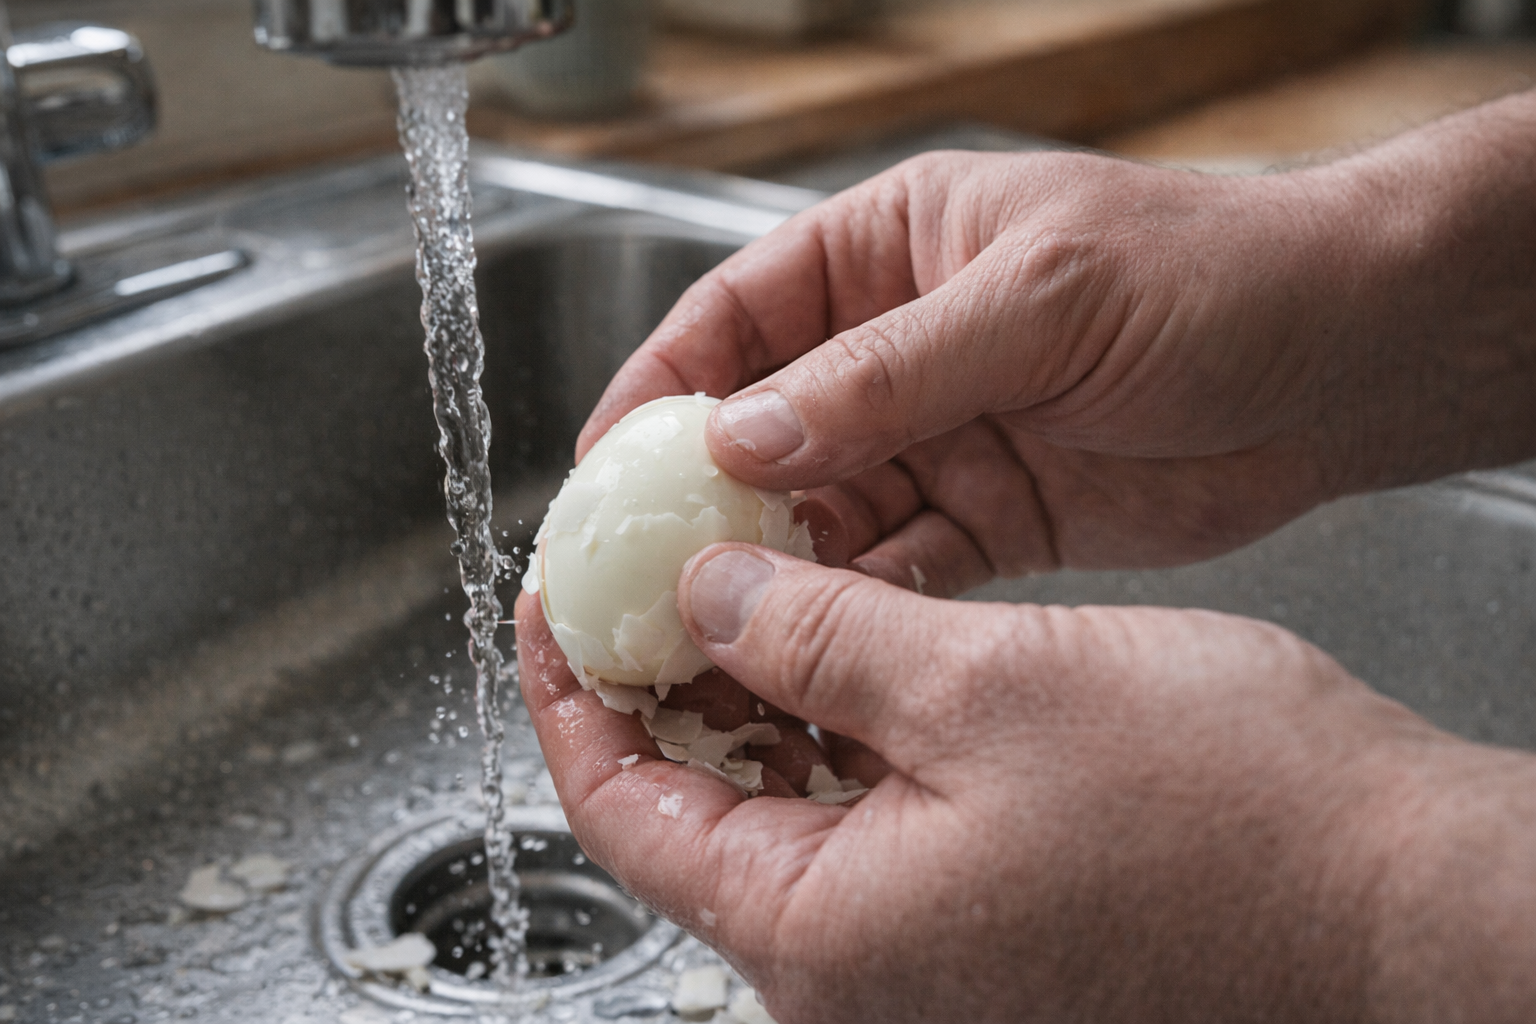
- Peel: Gently peel the eggs under cold running water. Start peeling from the larger end, where there is often an air pocket.
Cooking Time & Doneness Guide:
- 10 minutes: Soft, jammy yolk
- 11 minutes: Slightly firmer, but still creamy yolk
- 12 minutes: Fully cooked, firm yolk
Visual Cues
It's difficult to visually assess doneness without cutting into the egg. However, if you follow the timing guidelines and use an ice bath, you should achieve consistent results.
Tips for Perfection:
- Don't Overcrowd: Use a saucepan large enough to hold the eggs in a single layer.
- Immediate Cooling: Transferring the eggs to an ice bath immediately is crucial to prevent overcooking and ease peeling.
- Gentle Cracking: Crack the shell lightly all over before peeling, rather than trying to remove large pieces at once.
- Salt the water: Adding salt to the water won't change the flavor of the eggs, but it can help to prevent cracking during boiling.
Storage & Reheating:
- Storage: Hard-boiled eggs can be stored in the refrigerator, in their shell, for up to 7 days.
- Reheating: Hard-boiled eggs are best enjoyed cold or at room temperature. Reheating can make the whites rubbery.
Serving Suggestions:
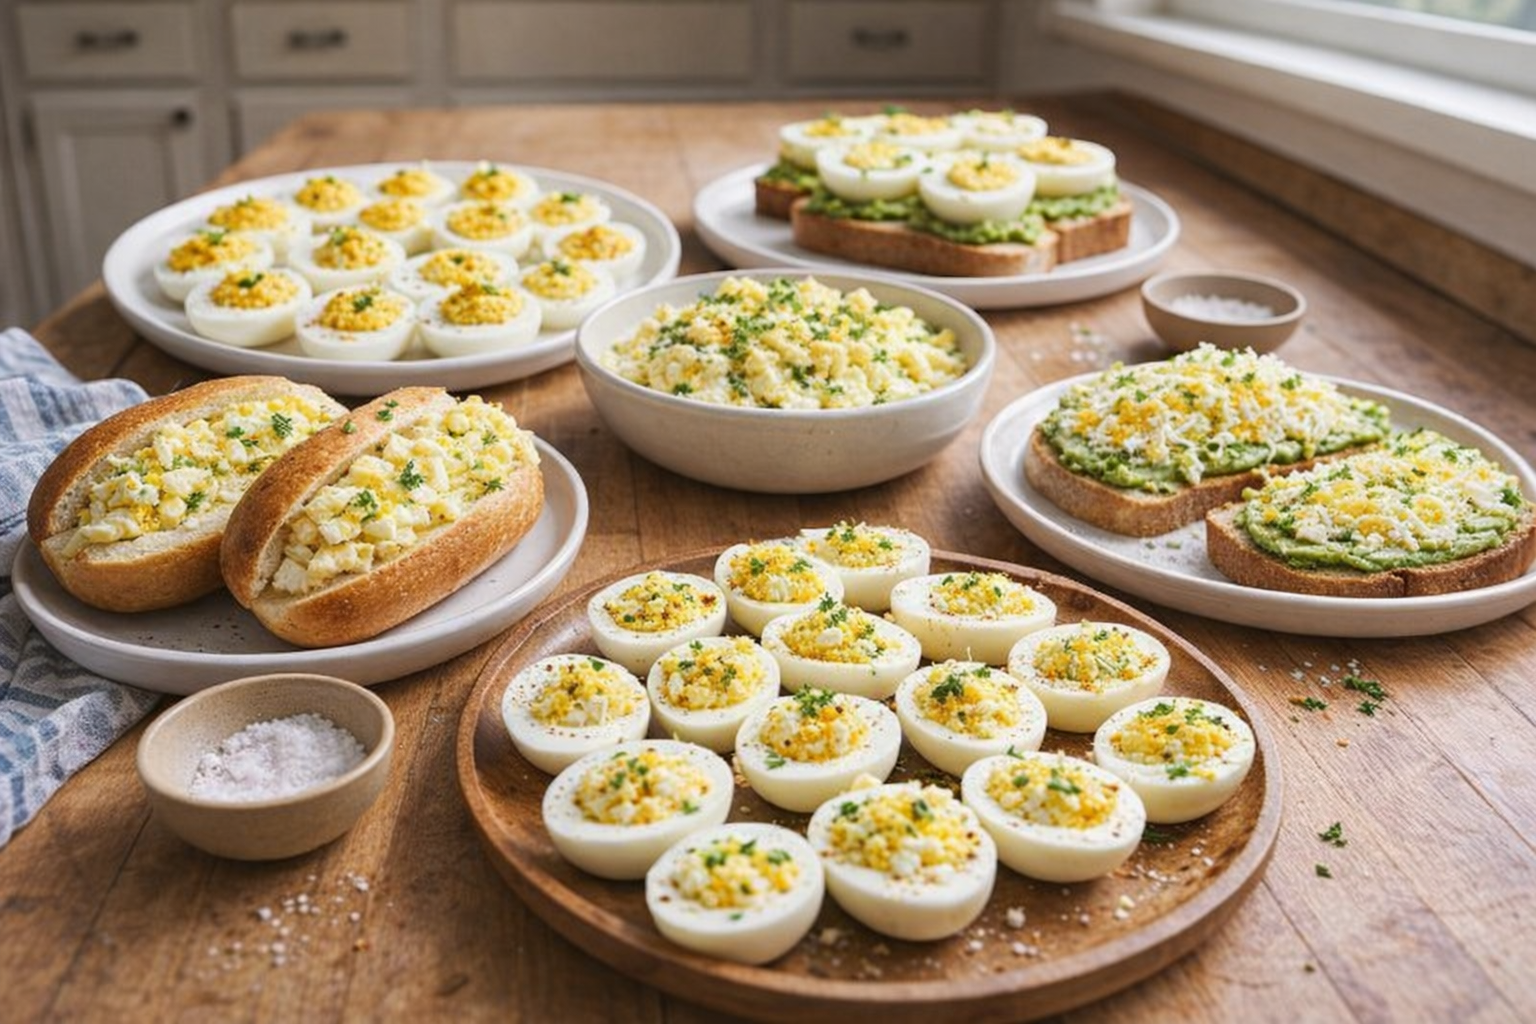
- Deviled Eggs: A classic appetizer or side dish, perfect for breakfast gatherings.
- Egg Salad Sandwich: Combine diced hard-boiled eggs with mayonnaise, mustard, celery, and seasonings for a satisfying sandwich filling.
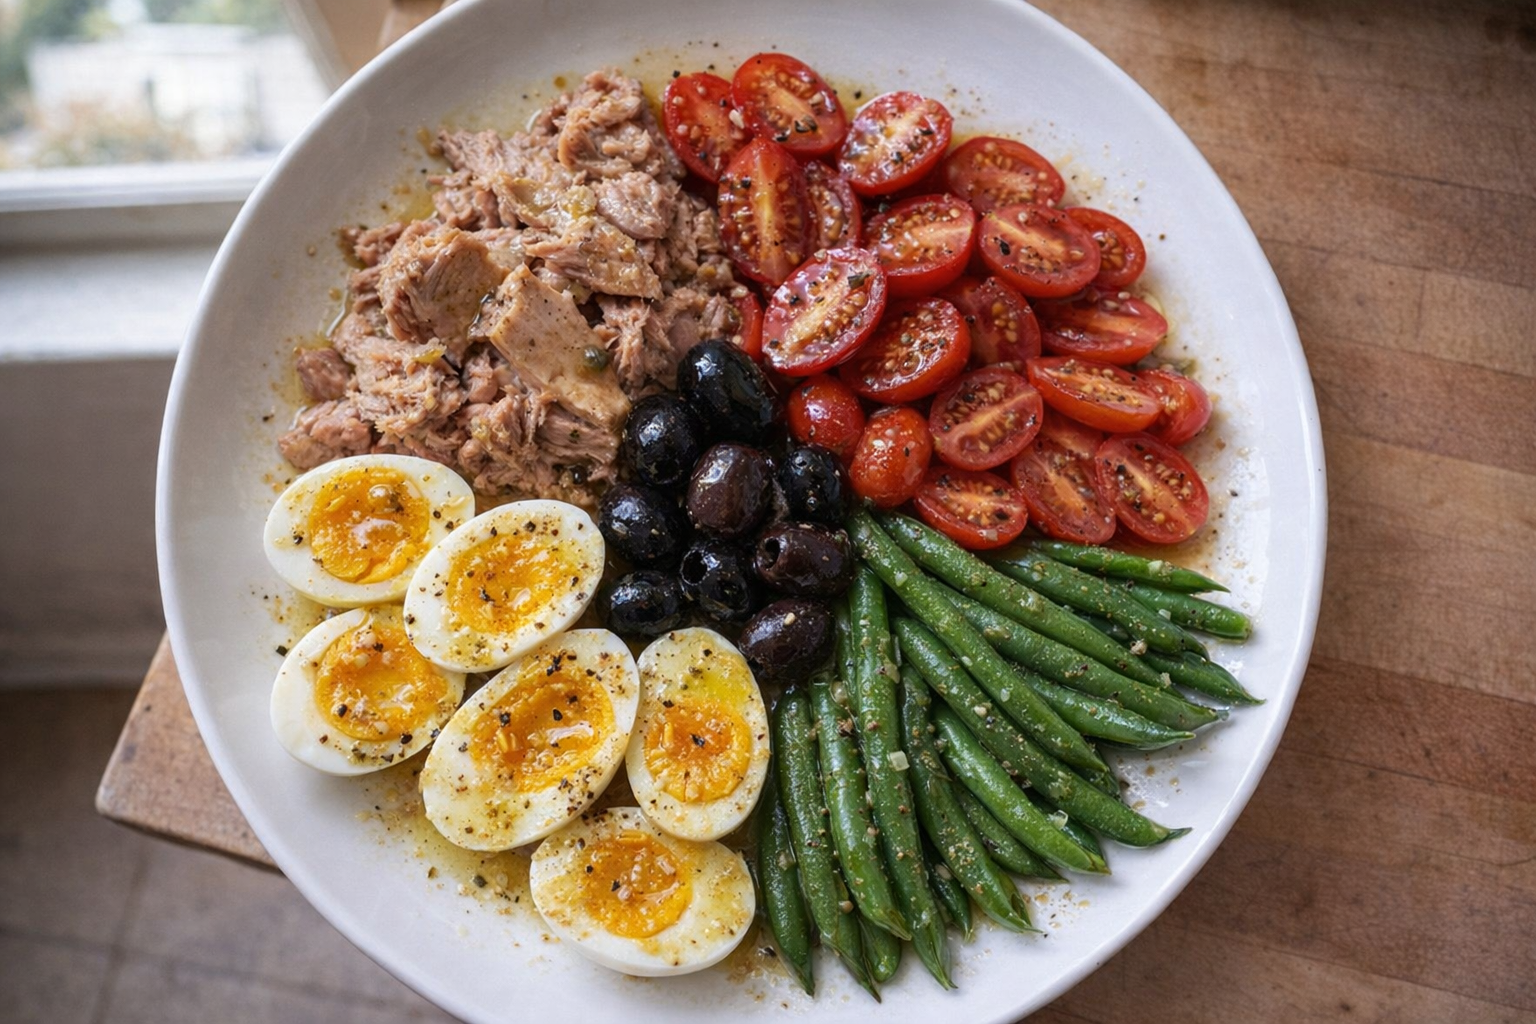
- Nicoise Salad: A vibrant and flavorful salad with tuna, olives, tomatoes, green beans, and hard-boiled eggs.
- Avocado Toast with Grated Egg: A simple yet nutritious breakfast or snack, topped with creamy avocado and protein-rich grated egg.
💡 Pro Tips
- Use eggs that have been in the refrigerator for a week or two rather than fresh ones to ensure the shells peel away effortlessly.
- Submerge the eggs in an ice bath for at least five minutes immediately after cooking to stop the heat and prevent a gray ring from forming around the yolk.
- Place your eggs in a single layer and cover them with an inch of cold water before heating to ensure even temperature distribution and prevent cracking.
- Once the water reaches a full boil, remove the pan from the heat and let the eggs sit covered for exactly 12 minutes for a firm yet creamy center.
- Crack the shells gently all over by rolling the eggs on a flat surface and peel them under a thin stream of running water to help the membrane release.
Frequently Asked Questions
A rapid temperature change after cooking helps separate the egg from the shell. After boiling, immediately transfer the eggs to an ice bath; let them sit for at least 10 minutes, or longer if possible, before attempting to peel. Cracking the shell gently all around before submerging in the ice bath can also help water seep in and ease peeling.
Hard-boiled eggs, in their shell, can be safely stored in the refrigerator for up to one week. It is best to store them in the original egg carton or a container to prevent them from absorbing odors from other foods in the refrigerator.
Yes, you can still make great hard-boiled eggs with Grade A eggs! While Grade AA eggs have the firmest whites and yolks, Grade A eggs will also work well. Just be a bit more careful when handling them, especially during the peeling process, as the whites may be slightly more delicate.
While not foolproof, an overcooked hard-boiled egg will often have a greenish-grey ring around the yolk. This is a harmless reaction between sulfur and iron in the egg, but it indicates that the egg was cooked for too long or at too high a temperature. Reduce cooking time slightly for future batches to avoid this.