 delishing
How to Roast a Perfect Sirloin Roast in the Oven

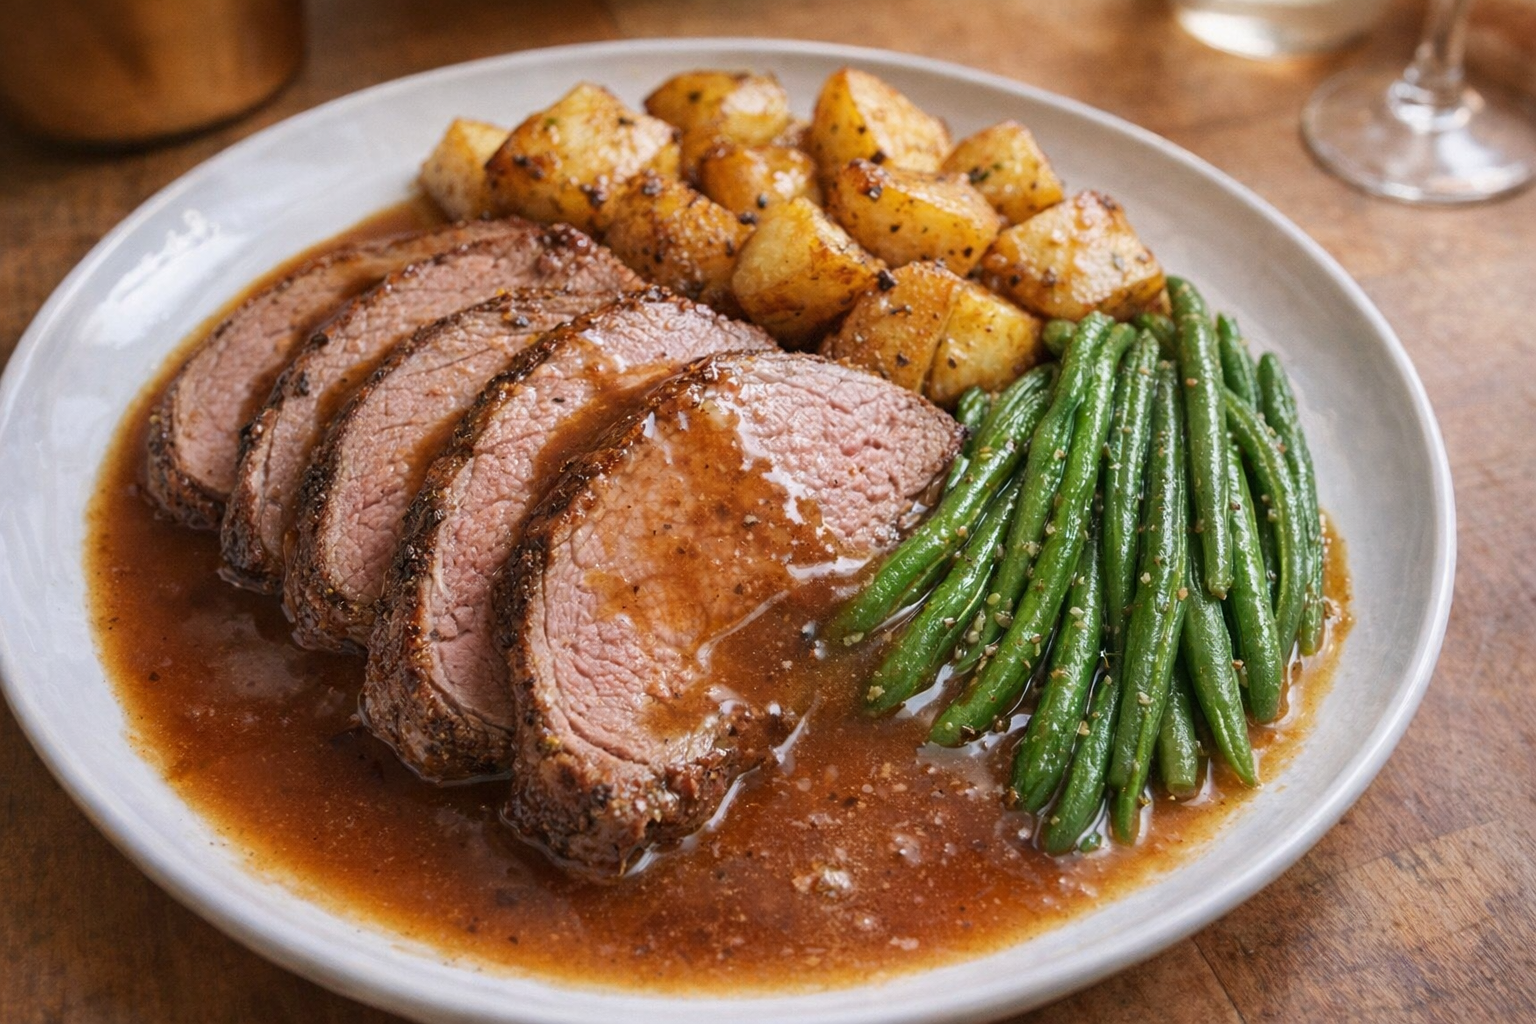
Sirloin roast, when cooked properly, is a deeply satisfying meal. The robust beefy flavor, combined with a perfectly seared crust and a tender, juicy interior, makes it a centerpiece worthy of any occasion. Roasting this cut allows the natural flavors to shine, enhanced by simple seasonings and careful temperature control.
This method of cooking sirloin roast focuses on achieving even cooking and maximum flavor. A high initial temperature creates a beautiful crust, while a lower temperature ensures the interior remains tender and doesn't dry out. This approach guarantees a restaurant-quality roast in the comfort of your own home, making it ideal for both weeknight dinners and special gatherings.
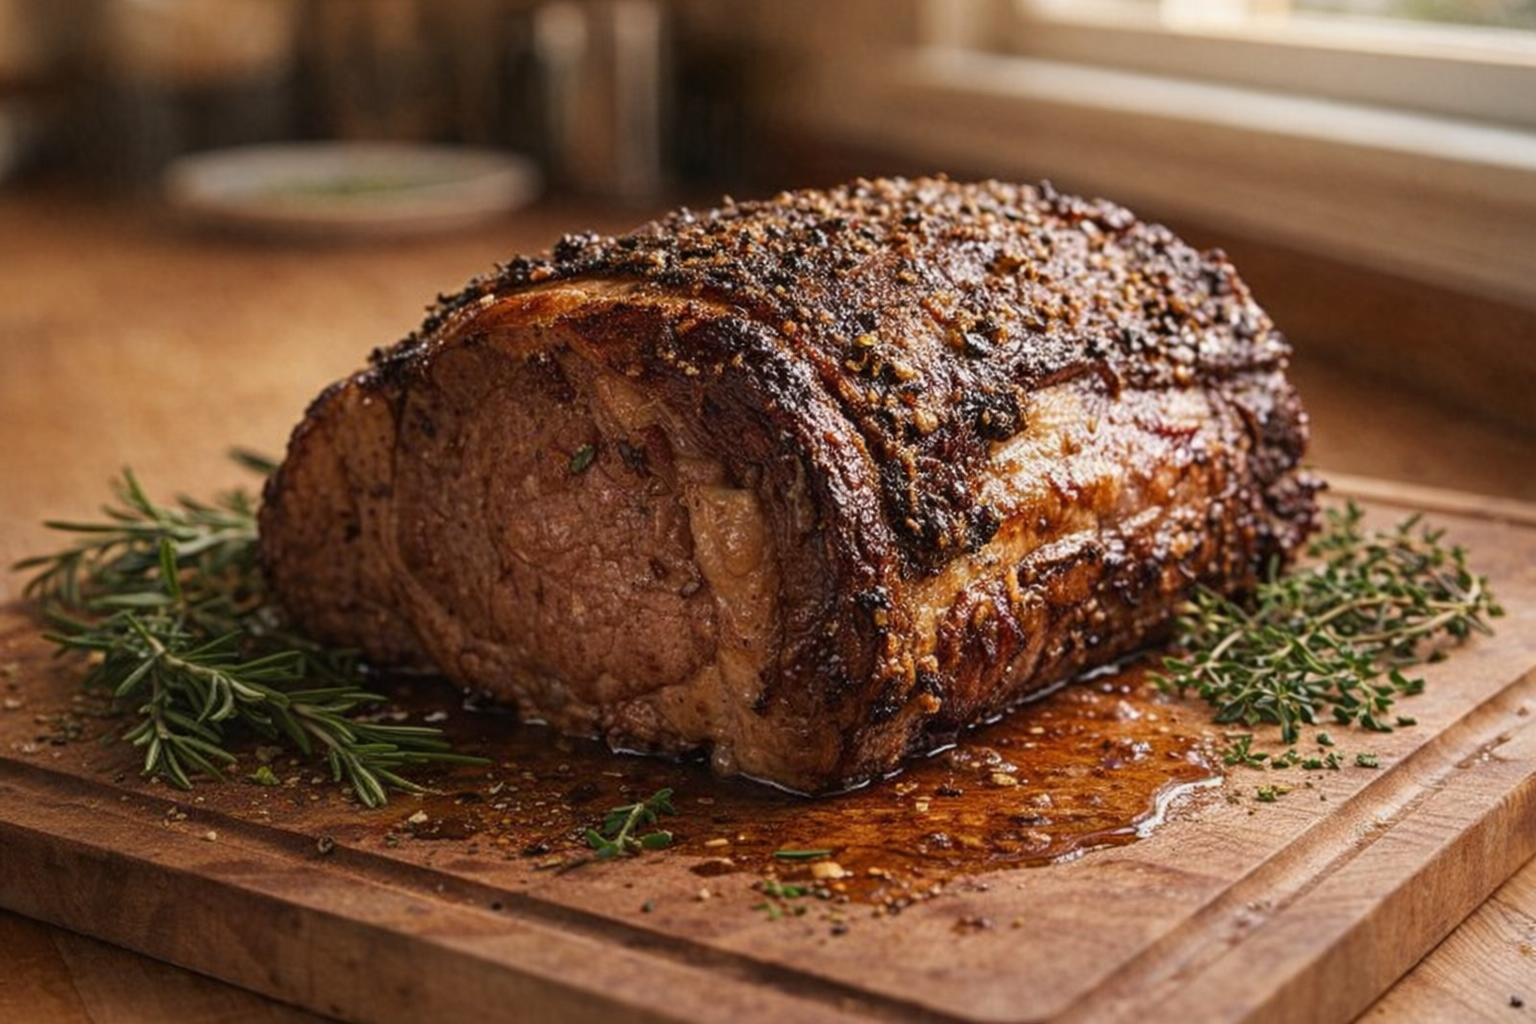
Understanding Top Sirloin
Top sirloin is a cut of beef from the primal loin, located behind the rib primal. It's known for being relatively lean while still offering good flavor and tenderness. There are several factors to consider when purchasing a sirloin roast:
- Grading: Look for USDA Prime or Choice grades for the best marbling and flavor. Select grade is a more economical option, but may be less tender.
- Marbling: Fine streaks of fat within the muscle (marbling) are crucial for moisture and flavor. More marbling generally indicates a more tender and flavorful roast.
- Size: Consider the number of servings you need. A 5-6 pound roast will typically feed 6-8 people.
- Freshness: Ensure the roast has a bright red color and a fresh, meaty smell. Avoid roasts that are dull in color or have an off-putting odor.
Why Cook Sirloin This Way?
- Flavor: Roasting allows the natural beefy flavors of the sirloin to concentrate and develop, resulting in a rich, savory taste.
- Versatility: Roasted sirloin can be served in numerous ways, from a classic Sunday dinner to sliced for sandwiches or incorporated into salads.
- Convenience: Once prepped, the roast requires minimal hands-on time, making it ideal for busy cooks. The oven does most of the work.
Preparation (Mise en Place)
Before you begin cooking, it’s essential to properly prepare the sirloin roast. This will ensure even cooking and maximum flavor.
- Thawing: If frozen, thaw the roast in the refrigerator for 24-48 hours, depending on its size. Never thaw at room temperature to prevent bacterial growth.
- Pat Dry: Thoroughly pat the roast dry with paper towels. This helps to create a beautiful crust during searing.
- Trimming: Trim any excess fat from the surface of the roast, leaving a thin layer (about 1/4 inch) to render and baste the meat during cooking.
- Bring to Room Temperature: Allow the roast to sit at room temperature for at least 30 minutes before cooking. This helps the meat cook more evenly.
Essential Tools
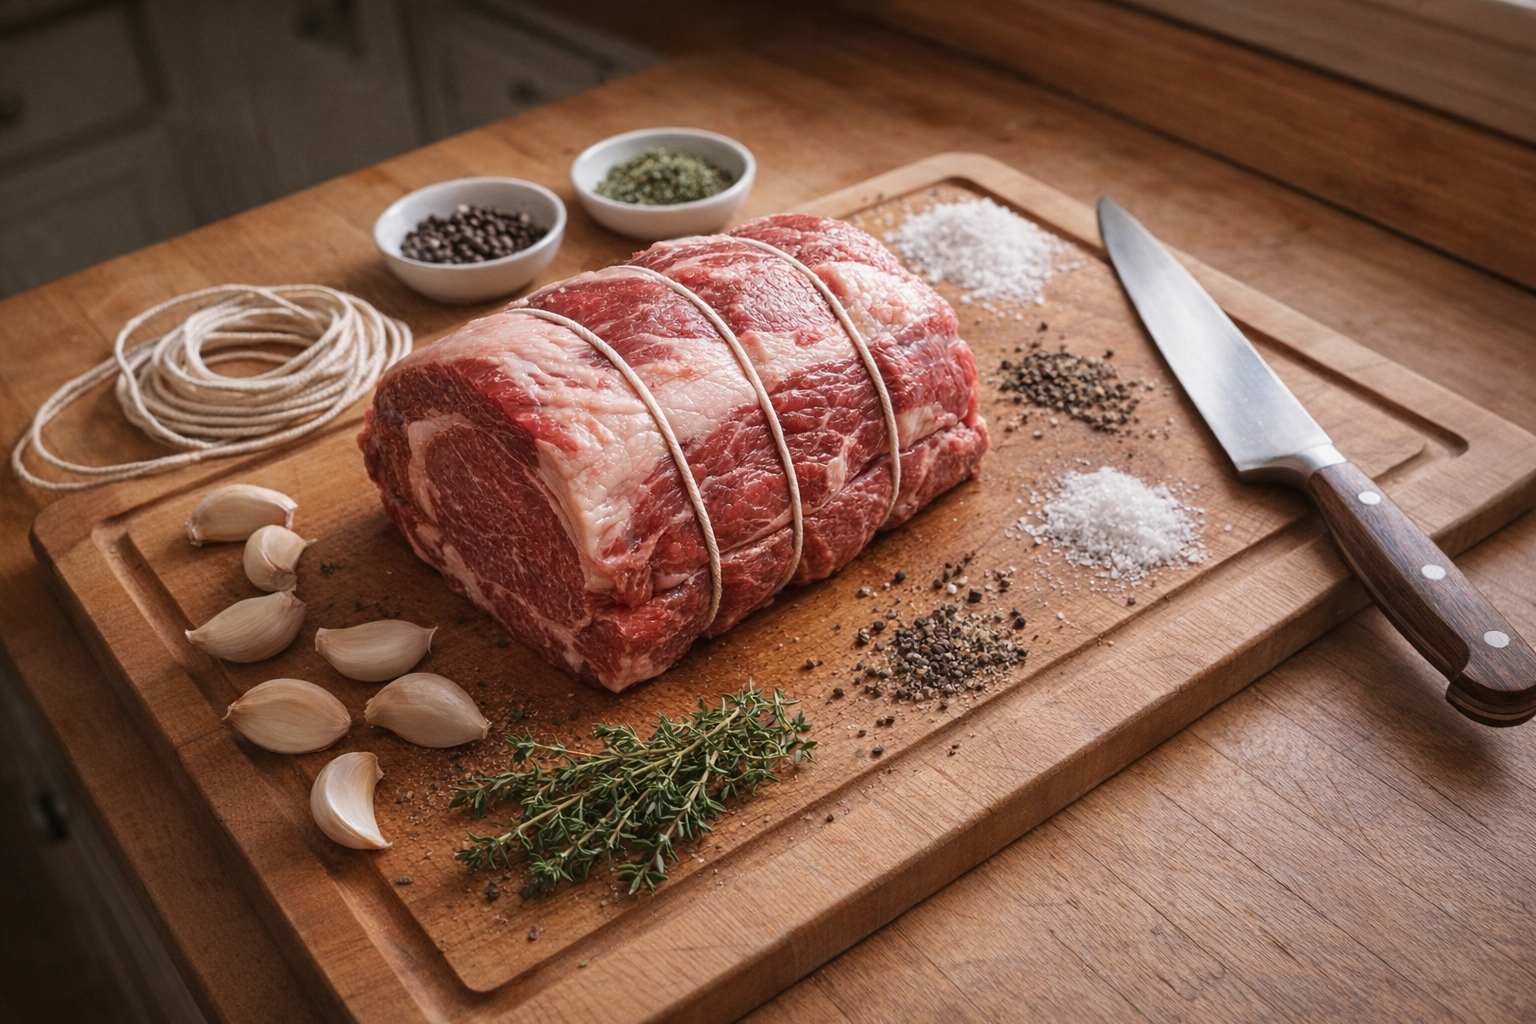
- Roasting Pan with Rack: A roasting pan with a rack allows for air circulation around the roast, ensuring even cooking. A heavy-duty pan will also help maintain a consistent temperature.
- Meat Thermometer: A reliable meat thermometer is crucial for accurately monitoring the internal temperature of the roast and achieving your desired level of doneness. An instant-read thermometer is ideal.
- Sharp Knife: A sharp knife is essential for trimming the roast and carving it after cooking.
- Kitchen Twine: Kitchen twine is used to tie the roast, creating a compact shape for even cooking.
The Cooking Method
This method uses a combination of high heat searing and lower temperature roasting to create a flavorful crust and a tender, juicy interior.
Oven Roasted Sirloin
Ingredients:
- 1 (5-6 pound) top sirloin roast
- 5-7 cloves garlic, minced or thinly sliced
- 2 tablespoons sea salt
- 1 tablespoon freshly cracked black pepper
- 1 teaspoon dried thyme
- 1 teaspoon dried oregano
- 2 tablespoons olive oil (optional, for searing if desired)
- Preheat Oven: Preheat your oven to 450°F (232°C).
- Prepare the Roast: Pat the sirloin roast dry with paper towels. In a small bowl, combine the salt, pepper, thyme, and oregano. Rub the mixture all over the roast, ensuring it's evenly coated. If using, rub the roast with olive oil for extra browning.
- Insert Garlic: Make small slits all over the roast with a sharp knife and insert the minced or thinly sliced garlic cloves into the slits.
- Sear (Optional): For enhanced browning, sear the roast in a large, oven-safe skillet over medium-high heat for 2-3 minutes per side until a dark crust forms. This step can be skipped if you prefer to go straight to roasting.
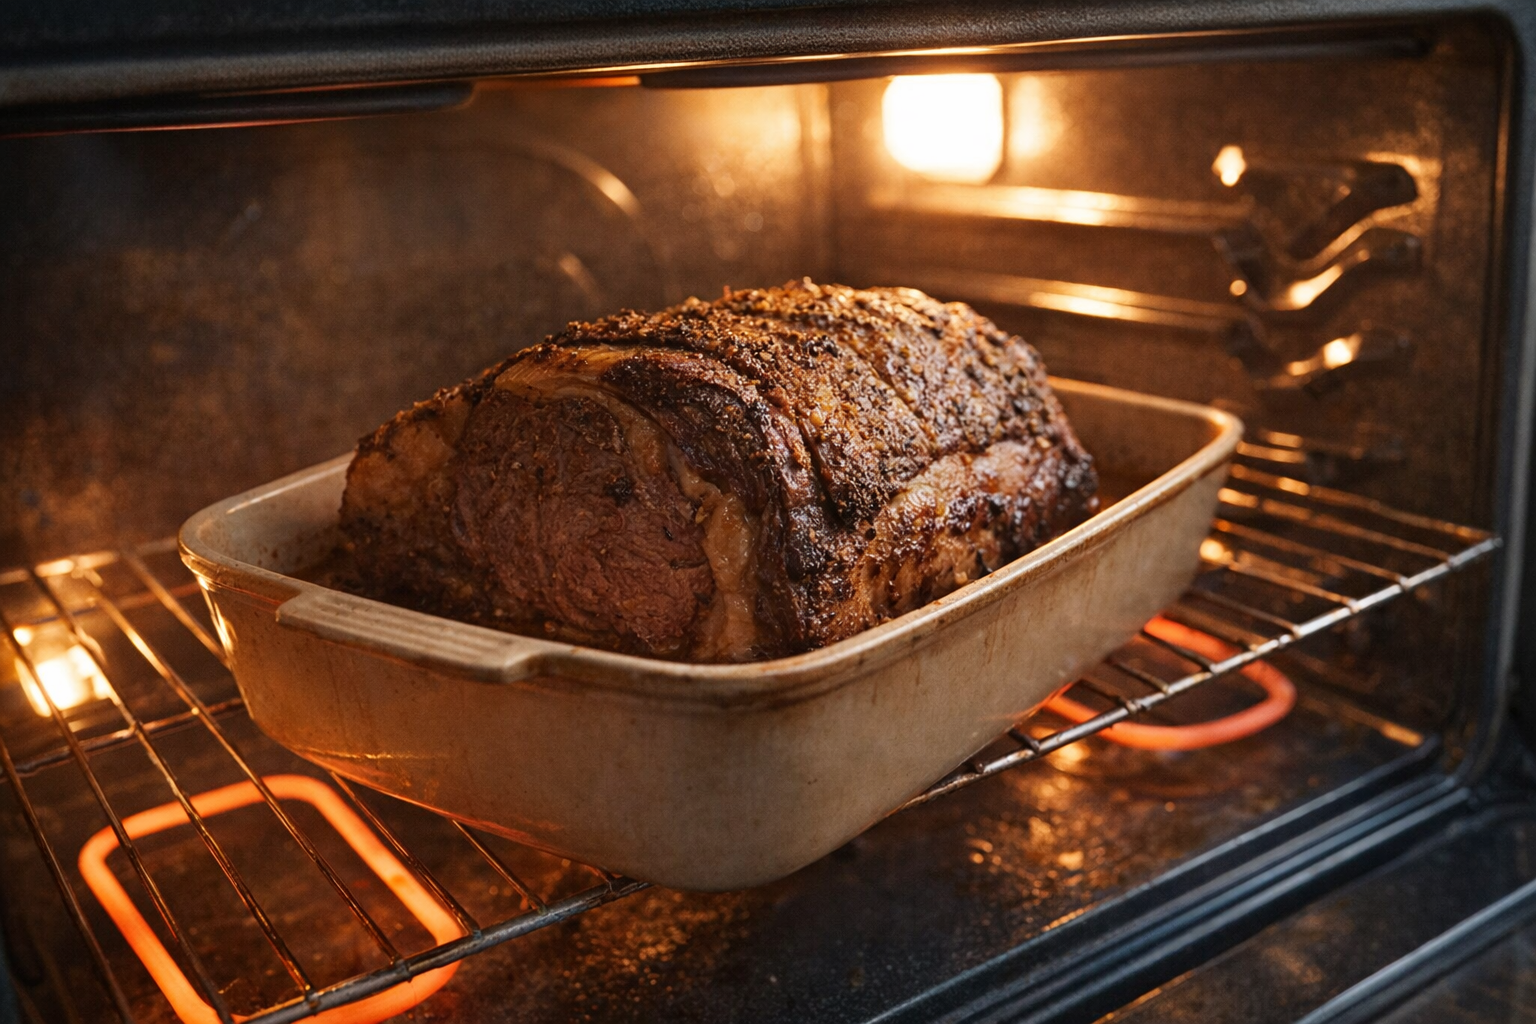
- Roast: Place the roast on a rack in a roasting pan. Transfer the pan to the preheated oven and roast for 15 minutes at 450°F (232°C).
- Reduce Temperature: Reduce the oven temperature to 325°F (163°C) and continue roasting until the internal temperature reaches your desired level of doneness (see cooking time & doneness guide below).
- Rest: Remove the roast from the oven and tent it loosely with aluminum foil. Let it rest for at least 20 minutes before carving. This allows the juices to redistribute, resulting in a more tender and flavorful roast.
Cooking Time & Doneness Guide
The cooking time for a sirloin roast depends on its size and your desired level of doneness. Use a meat thermometer to accurately gauge the internal temperature.
- Rare: 125-130°F (52-54°C)
- Medium-Rare: 130-135°F (54-57°C)
- Medium: 135-145°F (57-63°C)
- Medium-Well: 145-155°F (63-68°C)
- Well-Done: 155°F+ (68°C+)
Approximate Cooking Times (after initial 15 minutes at 450°F):
- Rare: 12-15 minutes per pound at 325°F
- Medium-Rare: 15-18 minutes per pound at 325°F
- Medium: 18-20 minutes per pound at 325°F
Visual Cues
- The roast should have a rich, brown crust.
- When pierced with a fork, the juices should run clear for medium-well to well-done, slightly pink for medium, and red for rare to medium-rare. However, relying solely on visual cues is not as accurate as using a meat thermometer.
Tips for Perfection
- Don't Overcrowd the Pan: Ensure there's enough space around the roast for proper air circulation.
- Use a Meat Thermometer: This is the most accurate way to ensure your roast is cooked to your desired level of doneness.
- Rest the Roast: Resting is crucial for allowing the juices to redistribute and preventing the roast from drying out.
- Carve Against the Grain: Carving against the grain (perpendicular to the muscle fibers) will result in more tender slices.
Storage & Reheating
- Storage: Store leftover sirloin roast in an airtight container in the refrigerator for up to 3-4 days.
- Reheating: Reheat sliced sirloin roast gently in a skillet over medium-low heat with a little beef broth or pan juices to prevent it from drying out. You can also reheat it in the oven at a low temperature (250°F) covered in foil.
Serving Suggestions
- Classic Roast Dinner: Serve sliced sirloin roast with roasted potatoes, vegetables, and gravy made from the pan drippings.
- Sirloin Sandwiches: Slice the roast thinly and serve on crusty rolls with horseradish sauce, caramelized onions, and your favorite toppings.
- Sirloin Salad: Top a bed of mixed greens with sliced sirloin roast, cherry tomatoes, cucumbers, and a vinaigrette dressing.
- Beef Stroganoff: Dice the roast and add it to a creamy mushroom stroganoff sauce, served over egg noodles or rice.
Frequently Asked Questions
While the recipe details will cover exact temperatures, generally, for medium-rare, you'll want to aim for an internal temperature of 130-135°F when measured with a meat thermometer. Remember to let it rest after cooking, as the temperature will continue to rise a few degrees.
Absolutely! While the recipe likely suggests specific seasonings, feel free to experiment with your favorite herbs and spices. Rosemary, thyme, garlic powder, onion powder, and paprika are all excellent choices that complement the flavor of beef.
Leftover roasted sirloin can be stored in the refrigerator for 3-4 days. Ensure it's properly wrapped in airtight packaging or stored in a sealed container to maintain its freshness and prevent it from drying out.
While bringing the roast to room temperature is ideal for even cooking, it's not always feasible. If you're short on time, you can still cook the roast, but expect the cooking time to be slightly longer. Just make sure to use a meat thermometer to ensure it reaches the desired internal temperature.